
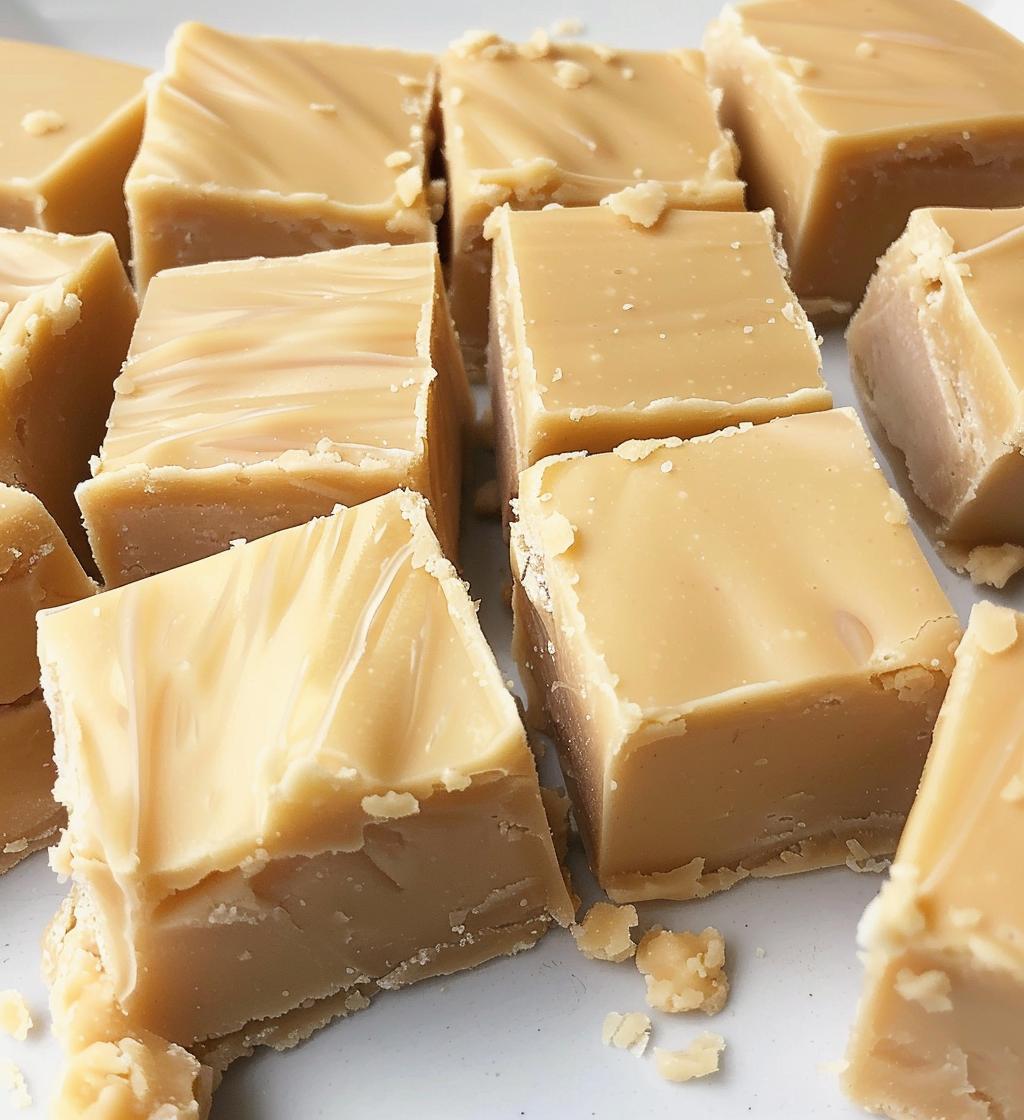
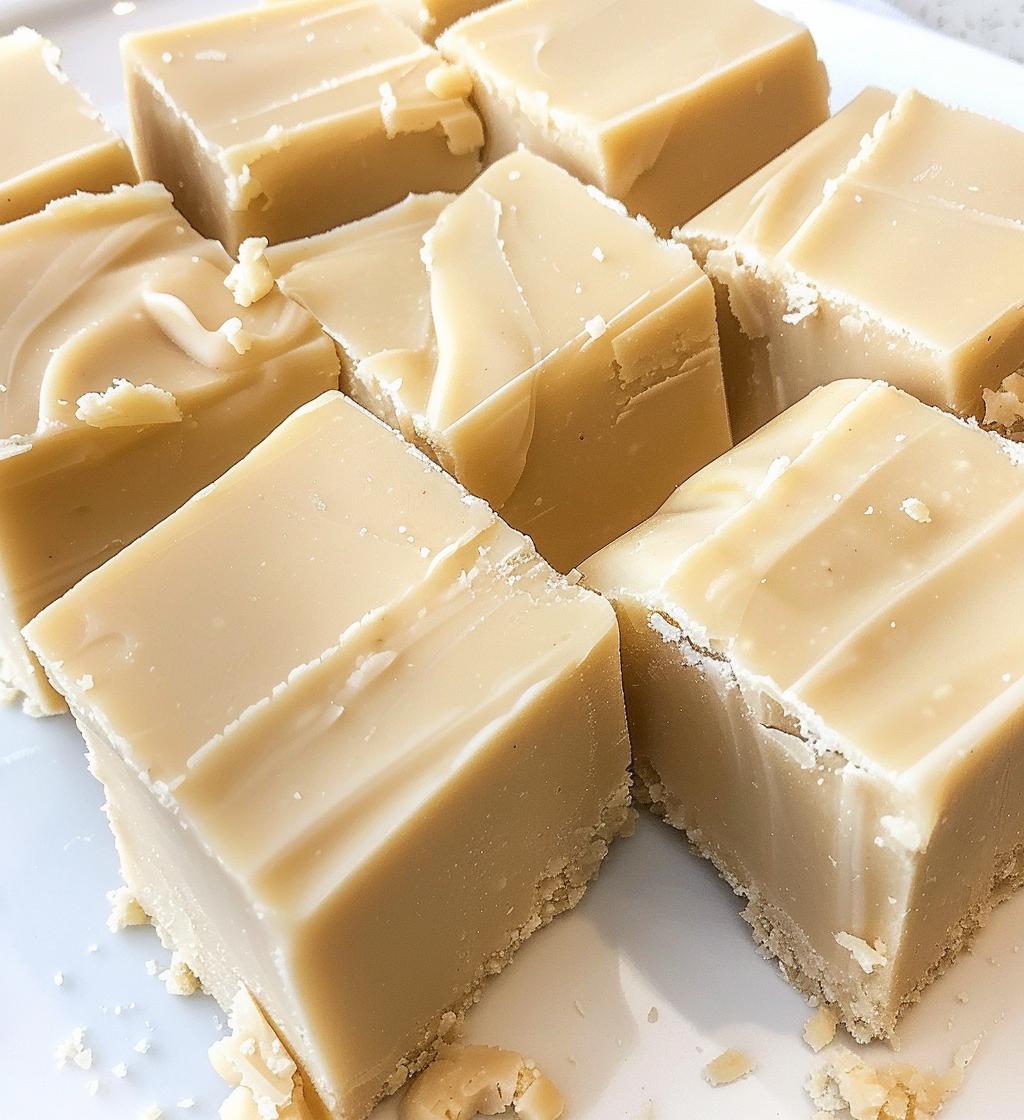
Oh my goodness, let me tell you about this white chocolate fudge! It’s the kind of treat that just melts in your mouth and leaves you craving more—seriously, it’s like a sweet little cloud of happiness. I remember the first time I made this fudge; I was just having one of those cozy afternoons, and I thought, why not whip up something sweet? With just a handful of ingredients and minimal fuss, I had a creamy, dreamy dessert that impressed everyone. The best part? You don’t need to be a baking whiz to make it! Just a little patience while it sets in the fridge, and you’ll have the ultimate indulgence ready to share (or not!). Trust me, once you try this, you’ll be hooked! Let’s dive into how to make this deliciousness happen.
Ingredients List
Here’s what you’ll need to create this luscious white chocolate fudge. I promise you, it’s super simple and you probably have most of these ingredients in your kitchen already!
- 2 cups white chocolate chips – Make sure they’re good quality for that creamy melt!
- 1 can (14 oz) sweetened condensed milk – This is what gives it that rich, gooey texture.
- 1/2 cup unsalted butter – I love using unsalted so I can control the saltiness.
- 1 teaspoon vanilla extract – This adds a lovely depth of flavor.
- 1/4 teaspoon salt – Just a pinch to balance out the sweetness.
And that’s it! So easy, right? Gather these ingredients and let’s get cooking!
How to Prepare White Chocolate Fudge
Alright, let’s get into the nitty-gritty of making this fabulous white chocolate fudge! I promise you, it’s super easy and so rewarding. Just follow these steps, and you’ll be enjoying your creamy creation in no time.
Step 1: Prepare the Baking Dish
First things first, grab an 8×8 inch baking dish and line it with parchment paper. I like to leave a little overhang on the sides—this makes it a breeze to lift the fudge out once it’s set. Just cut a piece of parchment that fits the bottom and goes up the sides, and you’re ready to go!
Step 2: Melt the Butter
Now, let’s get that butter melting! Place your 1/2 cup unsalted butter in a saucepan over low heat. This part is crucial—keep it on low so the butter melts gently without browning. It’ll take about 3-5 minutes, and you’ll want to stir it occasionally until it’s completely melted and smooth.
Step 3: Combine Ingredients
Once the butter is melted, it’s time to add the star ingredients! Toss in the 2 cups white chocolate chips and the 14 oz can of sweetened condensed milk. Stir this mixture continuously over low heat until everything is combined and silky smooth. You won’t want any lumps here, so keep stirring until it looks like a beautiful, glossy batter!
Step 4: Add Flavorings
Remove the saucepan from heat—this is important to prevent the chocolate from seizing. Now, stir in 1 teaspoon vanilla extract and 1/4 teaspoon salt. The vanilla adds such a lovely aroma, and the salt helps balance all that sweetness. Make sure everything is mixed well.
Step 5: Set the Fudge
Carefully pour your fudge mixture into the prepared baking dish. Use a spatula to spread it evenly, smoothing the top. Now, it’s time to let it chill! Pop it in the refrigerator for at least 2 hours, or until it’s firm to the touch. Patience is key here—you want it to set properly!
Step 6: Cut and Serve
Once the fudge is set, take it out of the fridge and lift it out using the parchment overhang. Place it on a cutting board and cut it into squares. I usually go for 16 squares, but you can make them however big or small you like! Serve it up and watch everyone fall in love with this melt-in-your-mouth treat!
Why You’ll Love This Recipe
- Quick and Easy: You can whip this up in just about 10 minutes of prep time—perfect for those last-minute cravings!
- Richly Creamy: The combination of white chocolate, butter, and sweetened condensed milk creates a decadently smooth texture that’s pure bliss.
- Minimal Ingredients: With just five simple ingredients, you don’t need to break the bank or your brain to make something delicious.
- Perfect for Gifting: Whether it’s a holiday treat or a sweet surprise for a friend, this fudge is beautifully packaged and always appreciated.
- Customizable: You can easily add your favorite mix-ins like nuts or dried fruit, making it a versatile treat for every taste.
- Impressive Presentation: Everyone will think you spent hours in the kitchen, but really, it’s just our little secret!
Tips for Success
Let me share some of my favorite tips to ensure your white chocolate fudge turns out absolutely perfect every single time! Trust me, these little nuggets of wisdom can make a world of difference.
- Use Quality Ingredients: Seriously, it’s worth splurging a bit on high-quality white chocolate chips. They melt better and taste so much richer, making all the difference in the final product.
- Watch the Heat: When melting the butter and chocolate mixture, keep the heat low and be patient. Rushing this step can lead to burnt chocolate, and nobody wants that! Stir gently and consistently.
- Don’t Skip the Salt: Adding that little pinch of salt really enhances the sweetness of the fudge. It’s like magic! Don’t be tempted to skip it; just trust me on this one.
- Let It Chill: I know it’s tough to wait, but giving the fudge enough time to set in the fridge is crucial. If it’s not firm enough, it might fall apart when you cut it. So, resist the urge to nibble until it’s fully set!
- Use Parchment Paper: Lining your baking dish with parchment paper not only helps with easy removal but also keeps the fudge from sticking. It makes cutting and serving a breeze!
- Experiment with Mix-ins: Feel free to get creative! Adding nuts, dried fruits, or even a drizzle of caramel on top can elevate your fudge to the next level.
With these tips, you’ll be well on your way to making the best white chocolate fudge ever. Happy cooking!
Variations
Oh, the fun doesn’t stop with just the classic white chocolate fudge! There are so many delicious ways to jazz it up and make it your own. Here are some of my favorite variations that can add a little twist to this already fabulous treat:
- Nuts: Want a bit of crunch? Toss in some chopped nuts like walnuts, pecans, or almonds for a delightful texture contrast. Just mix in about a cup of your favorite nuts before pouring the fudge into the dish.
- Dried Fruit: Add some sweetness with dried fruits like cranberries, cherries, or apricots. They not only add color but also a fruity burst that complements the creamy fudge perfectly!
- Chocolate Swirls: For a beautiful marbled effect, melt some semi-sweet or dark chocolate and swirl it into the fudge before it sets. Just drop spoonfuls of melted chocolate on top and use a toothpick to create swirls. It’s as gorgeous as it is delicious!
- Coconut Delight: If you love coconut, mix in some shredded coconut for a tropical twist. You can also sprinkle some on top for extra flair. Just about 1/2 cup should do the trick!
- Minty Fresh: Add a few drops of mint extract to the fudge mixture for a refreshing mint chocolate fudge. It’s like a thin mint cookie in fudge form—yum!
- Caramel Drizzle: Once your fudge is set, drizzle some caramel sauce on top before cutting it into squares. It adds an extra layer of sweetness that’s simply irresistible!
Feel free to mix and match these ideas or come up with your own! The possibilities are endless, and that’s what makes this white chocolate fudge so much fun to make and share. Enjoy experimenting!
Storage & Reheating Instructions
Now that you’ve whipped up this scrumptious white chocolate fudge, you’ll want to make sure it stays fresh and delicious for as long as possible! Here’s how to store it properly:
First, once your fudge has set and you’ve cut it into squares, place it in an airtight container. This is key to keeping it nice and soft, so it doesn’t dry out. I usually layer parchment paper between the squares to prevent them from sticking together—trust me, it makes serving so much easier later on!
When stored correctly, your white chocolate fudge will last in the refrigerator for about 2 weeks. If you want to keep it for even longer, you can freeze it! Just wrap each piece tightly in plastic wrap and then place them in a freezer-safe bag or container. It’ll stay good in the freezer for up to 3 months. When you’re ready to enjoy some, simply thaw it in the fridge overnight and voilà—your fudge is ready to delight again!
As for reheating, there’s really no need! This fudge is best enjoyed straight from the fridge, where it stays perfectly creamy and melt-in-your-mouth delicious. Just be careful; it can get a little soft if left out at room temperature for too long, so keep an eye on it if you’re serving it at a party!
Nutritional Information
Alright, let’s break down the nutritional info for this creamy white chocolate fudge! Keep in mind that these values are approximations and can vary a bit based on the specific ingredients you use. But here’s what you can expect per serving (that’s one square of fudge):
- Calories: 120
- Total Fat: 7g
- Saturated Fat: 4g
- Trans Fat: 0g
- Cholesterol: 15mg
- Sodium: 30mg
- Total Carbohydrates: 14g
- Dietary Fiber: 0g
- Sugars: 14g
- Protein: 1g
This fudge is definitely a sweet treat, so it’s best enjoyed in moderation! But with its rich, melt-in-your-mouth goodness, I think you’ll find it’s worth every bite. Enjoy your indulgence, and remember, life’s too short not to savor those sweet moments!
FAQ Section
Got questions about making white chocolate fudge? Don’t worry, I’ve got you covered! Here are some of the most common queries I get, along with my answers to help you out.
How long does it take to set?
Typically, your fudge will need at least 2 hours in the refrigerator to set properly. If you can resist the urge to sneak a piece, letting it chill longer—around 3-4 hours—will ensure it’s firm and easy to cut. Patience is key!
Can I use different types of chocolate?
Absolutely! While this recipe is all about the creamy goodness of white chocolate, you can swap in semi-sweet or dark chocolate for a different flavor profile. Just be mindful that the sweetness level will change, so you might want to adjust the sugar or salt accordingly. Get creative!
What if my fudge is too soft?
If your fudge turns out too soft, it might not have set long enough in the fridge. But don’t worry! You can melt it down again and add a bit more white chocolate or even a touch of powdered sugar to help it firm up when you re-cook it. Just be gentle and stir continuously until smooth again!
Can I add flavorings or mix-ins?
You bet! This fudge is super versatile, so feel free to throw in some nuts, dried fruits, or even extracts like almond or mint for a fun twist. Just remember to mix them in before you pour the fudge into the baking dish to get an even distribution.
How should I store my white chocolate fudge?
Store your fudge in an airtight container in the fridge for up to 2 weeks. If you want to keep it longer, you can freeze it for up to 3 months! Just wrap each piece tightly in plastic wrap and pop them in a freezer-safe bag. Perfect for those sweet cravings that come later!