
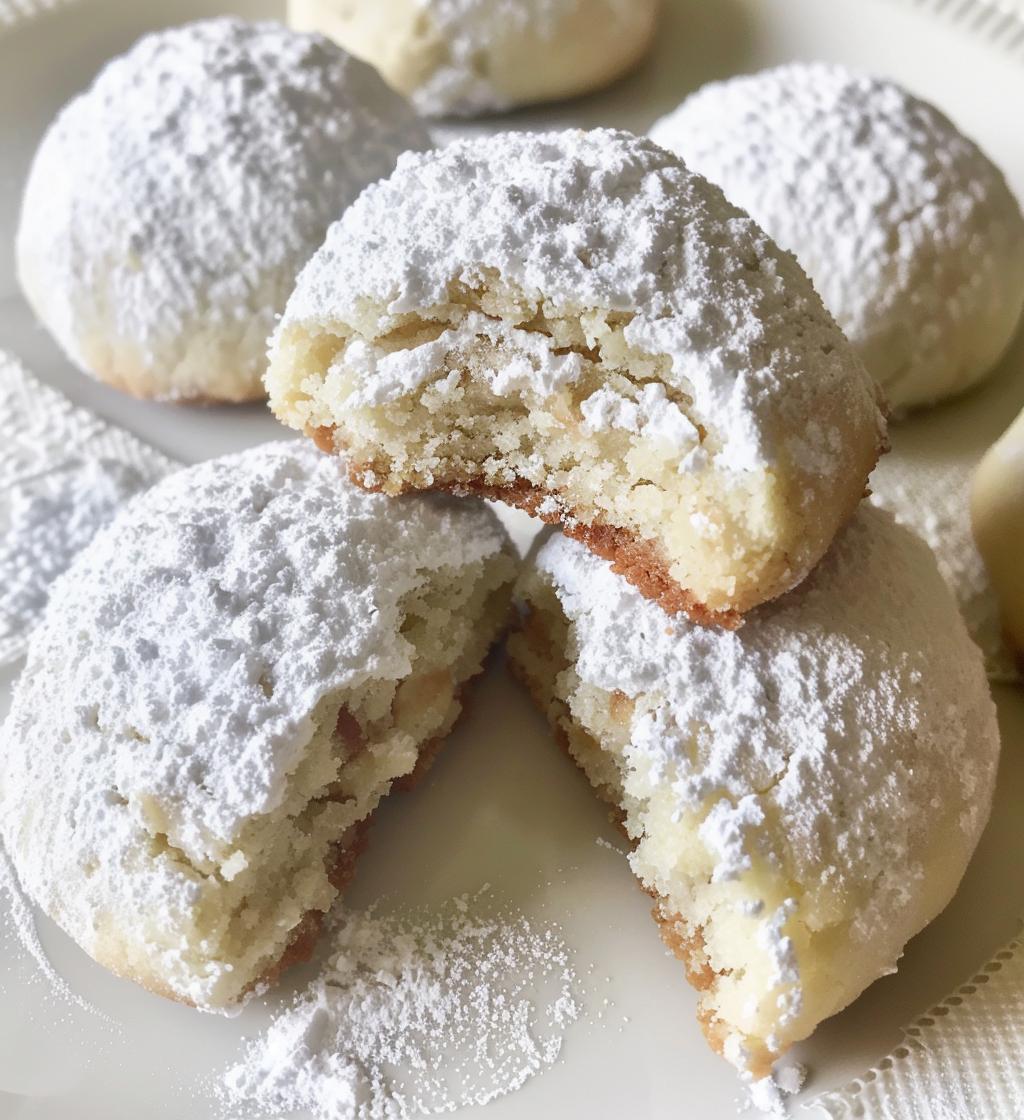
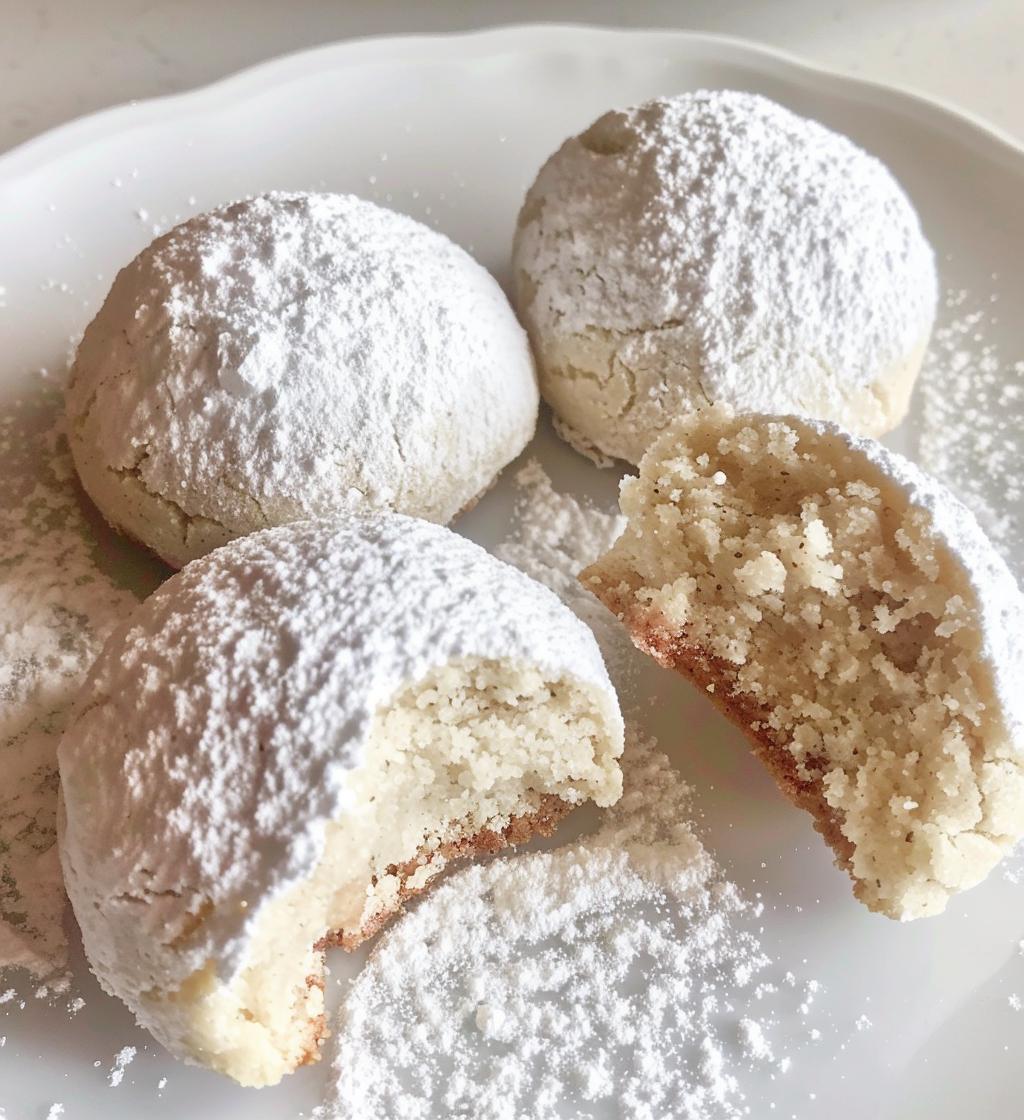
Oh my goodness, let me tell you about Snowball cookies! These delightful little treats are so buttery and melt-in-your-mouth good, they might just steal the show at your holiday gatherings. I remember the first time I made them with my grandma; she had this special way of rolling them in powdered sugar that felt like magic! The way they look—little snowy orbs—is just perfect for the festive season. Trust me, the warm, nutty aroma wafting through your kitchen while they bake will make you feel like you’re wrapped in a cozy blanket. If you haven’t tried Snowball cookies yet, you’re in for a real treat—let’s dive into this deliciousness together!
Ingredients List
- 1 cup unsalted butter, softened: This is the star of the show! Make sure it’s at room temperature so it creams nicely with the sugar.
- 1/2 cup powdered sugar: Not only do we use this for sweetness, but it also gives these cookies that signature melt-in-your-mouth texture.
- 2 cups all-purpose flour: This is the base of our dough, giving it structure without being too dense.
- 1 cup finely chopped nuts (walnuts or pecans): I love using walnuts for their rich flavor, but pecans work beautifully too! Just make sure they’re finely chopped so they incorporate well.
- 1 teaspoon vanilla extract: This adds a lovely depth of flavor—don’t skip it! It brings out the buttery goodness.
- 1/4 teaspoon salt: A pinch of salt balances the sweetness and enhances all the flavors.
- Extra powdered sugar for coating: You’ll want plenty of this for rolling the cookies after they come out of the oven. It gives them that irresistible snowy finish!
How to Prepare Snowball Cookies
Making Snowball cookies is a breeze, and I promise you’ll feel like a baking pro by the time you’re done! Follow these simple steps to create these delightful treats that are perfect for any occasion. Let’s get started!
Step 1: Preheat the Oven
First things first, you’ll want to preheat your oven to 350°F (175°C). This is key to ensuring your cookies bake evenly. While the oven is warming up, line a baking sheet with parchment paper. This will help prevent any sticking and make cleanup a snap—trust me, it’s worth it!
Step 2: Cream the Butter and Sugar
Now, grab a large mixing bowl and cream together the softened butter and powdered sugar. You want to beat them until the mixture is light and fluffy—this might take a few minutes. The texture should be smooth and creamy, which is what gives these cookies their melt-in-your-mouth quality. Don’t rush this step; it’s where the magic begins!
Step 3: Add Flavor and Dry Ingredients
Next, you’ll stir in the vanilla extract, mixing well to incorporate that lovely flavor. Then, gradually add the flour, salt, and your finely chopped nuts. I like to do this in batches, mixing until just combined. You don’t want to overmix here; we’re aiming for a tender cookie that’ll crumble delightfully in your mouth!
Step 4: Shape the Dough
Once your dough is ready, it’s time to shape it! Take small portions—about 1 inch in diameter—and roll them into balls. Don’t stress if they’re not perfect; a little rustic charm is part of the appeal! Place them on your prepared baking sheet, giving them some space to breathe as they bake.
Step 5: Bake the Cookies
Pop the baking sheet into your preheated oven and bake for 10-12 minutes. You’ll know they’re done when the edges are lightly golden—keep an eye on them, as every oven is a bit different! You want that perfect balance of soft and slightly crisp edges.
Step 6: Roll in Powdered Sugar
Here comes the fun part! Once the cookies are out of the oven, let them cool for just a couple of minutes on the baking sheet. While they’re still warm, roll them in the extra powdered sugar. This gives them that beautiful snowy finish that’s so delightful. Just be sure to coat them well; it’s the best part!
Step 7: Cool the Cookies
Finally, transfer the cookies to a wire rack to cool completely. This step is super important because it helps them set up nicely. Plus, it allows you to sneak a taste of the warm cookies before they’re fully ready—because who can resist? Enjoy the process and the mouthwatering aroma filling your kitchen!
Tips for Success
Alright, let’s make sure your Snowball cookies turn out absolutely perfect! Here are some of my favorite tips to ensure success and avoid common pitfalls. Trust me, a little extra attention goes a long way in making these cookies shine!
- Use room temperature butter: It’s crucial for creaming with the sugar. Cold butter won’t blend properly, resulting in dense cookies instead of light and fluffy ones.
- Don’t overmix the dough: Once you add the flour and nuts, mix just until combined. Overmixing can lead to tough cookies, and we want them to be melt-in-your-mouth tender!
- Chill the dough (if needed): If your kitchen is warm or the dough feels too soft to handle, pop it in the fridge for about 30 minutes. This will help the cookies hold their shape while baking.
- Experiment with nuts: While walnuts and pecans are my go-tos, feel free to try almonds or hazelnuts! Just remember to chop them finely, so they incorporate well.
- Watch the baking time: Ovens can vary, so keep an eye on your cookies. They should be lightly golden at the edges but still soft in the center when you take them out.
- Double coat in powdered sugar: For an extra snowy look, wait until the cookies are completely cool and roll them in powdered sugar again. It adds a lovely sweetness and makes them even prettier!
- Serve with a warm beverage: These cookies pair perfectly with a cup of tea or hot cocoa. It’s the ultimate cozy treat combo!
With these tips in your back pocket, you’re all set to create the most delightful Snowball cookies! Happy baking!
Nutritional Information
Alright, let’s talk about the nutritional side of these delightful Snowball cookies! Now, keep in mind that nutritional values can vary based on the specific ingredients and brands you use, so I can’t give you an exact number. But I can share some typical values to give you a rough idea. Here’s what you can expect per cookie:
- Calories: 120
- Fat: 8g
- Saturated Fat: 4g
- Trans Fat: 0g
- Cholesterol: 20mg
- Sodium: 30mg
- Carbohydrates: 12g
- Fiber: 1g
- Sugar: 4g
- Protein: 2g
These little treats are definitely a sweet indulgence, but hey, it’s all about balance, right? Enjoy them in moderation, and you’ll be just fine! Happy baking and snacking!
Why You’ll Love This Recipe
- Quick to prepare: With just a few simple steps, you can whip up a batch in no time!
- Easy to make: Perfect for bakers of all skill levels—trust me, you can do this!
- Festive treat: These cookies are not only delicious but also look beautiful on any holiday dessert table.
- Perfect for holidays: Snowball cookies are a classic holiday favorite that everyone loves—bring on the cheer!
- Adaptable with various nuts: Feel free to switch it up! Use walnuts, pecans, or even almonds to suit your taste.
Storage & Reheating Instructions
Now, let’s talk about how to keep those delicious Snowball cookies fresh and ready to enjoy! After you’ve made your batch, you’ll want to store them properly so they stay as delightful as the day you baked them.
To store your cookies, simply place them in an airtight container. They’ll stay good at room temperature for up to a week—perfect for snacking throughout the week! If you want to keep them for a longer period, you can pop them in the freezer. Just make sure to layer them between sheets of parchment paper to prevent sticking, and then seal them in a freezer-safe bag or container. They’ll keep well for about 2 months!
If you’re ready to enjoy some frozen cookies, there’s no need to thaw them before serving. Just take them out and let them sit at room temperature for a few minutes; they’ll soften up nicely. If you prefer them warm, you can pop them in a preheated oven at 300°F (150°C) for about 5-7 minutes to freshen them up. Just keep an eye on them so they don’t get too warm!
With these simple storage tips, your Snowball cookies will be ready to enjoy whenever that sweet craving hits! Happy snacking!
FAQ Section
Can I make Snowball cookies gluten-free?
Absolutely! You can use a gluten-free all-purpose flour blend in place of regular flour, and the cookies will still turn out wonderfully. Just be sure to check that your other ingredients are also gluten-free to keep everything safe for those with dietary restrictions.
What nuts can I use besides walnuts or pecans?
Oh, the possibilities are endless! You can switch it up and use finely chopped almonds, hazelnuts, or even macadamia nuts for a unique twist. Just make sure whatever nuts you choose are chopped finely so they mix in beautifully with the dough!
Can I add chocolate to my Snowball cookies?
Definitely! If you’re a chocolate lover like me, try adding mini chocolate chips or even cocoa powder to the dough. Just reduce the flour slightly to maintain the right consistency. You’ll get a decadent chocolatey version of these classic cookies!
How can I make these cookies dairy-free?
To make dairy-free Snowball cookies, substitute the unsalted butter with a dairy-free butter alternative. Be sure to check the labels on your powdered sugar as well, as some brands may use non-dairy ingredients. They’ll still be delicious!
Can I prepare the dough ahead of time?
Yes, you can! If you want to make your life easier, prepare the dough and then shape it into balls, placing them on a baking sheet. Cover with plastic wrap and refrigerate for up to 2 days before baking. You can also freeze the unbaked cookies for up to 2 months—just bake them straight from the freezer, adding a couple of extra minutes to the baking time.