

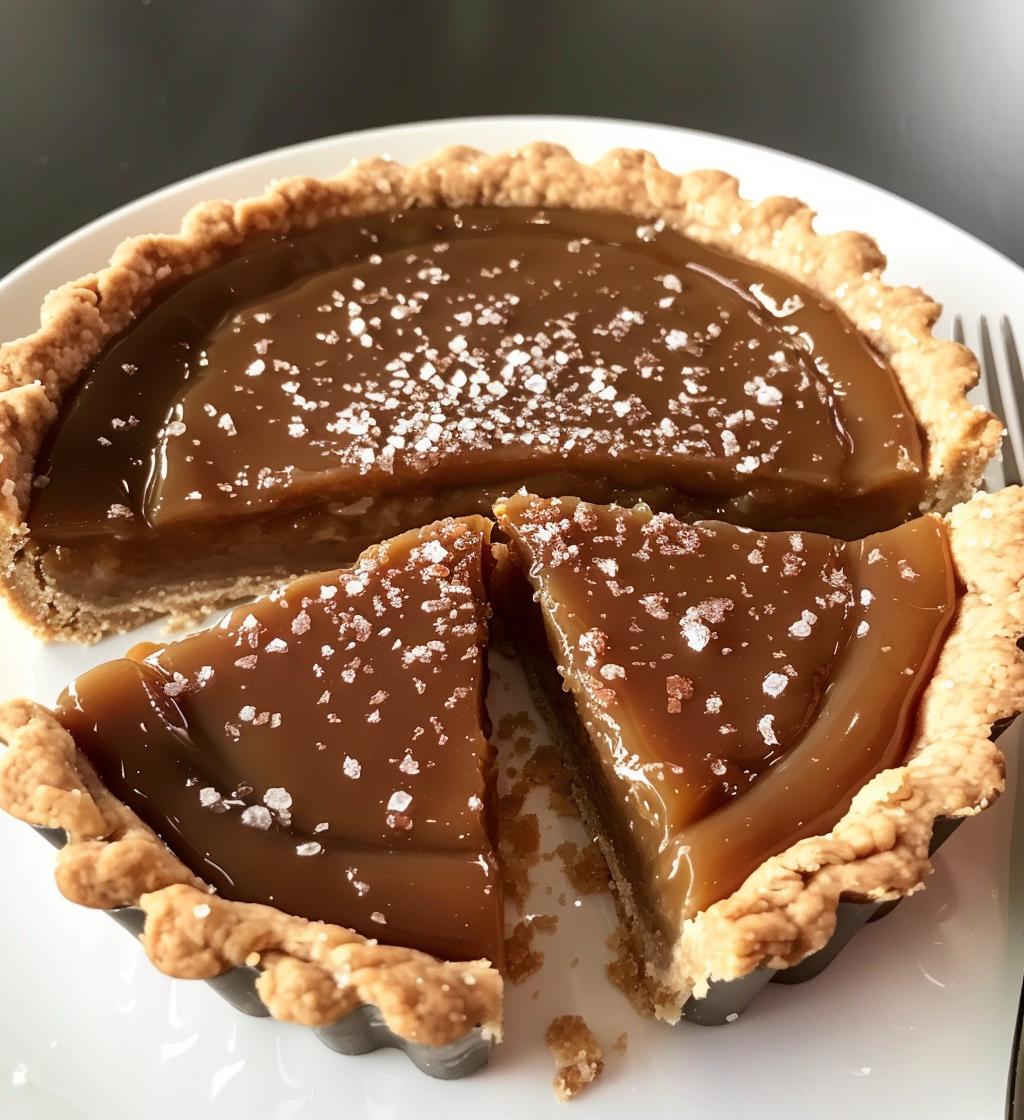
Oh my goodness, let me tell you about this salted caramel tart! It’s the kind of dessert that makes your heart skip a beat. Imagine sinking your fork into a buttery, flaky crust that gives way to a velvety, rich filling of caramel that’s just the right balance of sweet and salty. Trust me, every bite is pure indulgence! I love how this tart is not only delicious but also surprisingly simple to make. The combination of the crispy crust and that luscious caramel filling is just heavenly. You’ll feel like a pastry chef in your own kitchen, and your friends will think you’ve got secret bakery connections. So, let’s dive in and create something truly special together!
Ingredients
- 1 1/4 cups all-purpose flour
- 1/2 cup unsalted butter, softened
- 1/4 cup powdered sugar
- 1/4 teaspoon salt
- 1/4 cup heavy cream
- 1 cup granulated sugar
- 1/4 cup water
- 1/2 cup light corn syrup
- 1 teaspoon sea salt
- 1/2 teaspoon vanilla extract
How to Prepare the Salted Caramel Tart
Preparing the Tart Shell
First things first, let’s get that tart shell ready! In a mixing bowl, combine the all-purpose flour, softened unsalted butter, powdered sugar, and salt. I like to use my hands to mix it all together until it feels like crumbly sand. It’s super satisfying! Once it’s well combined, press the mixture into a tart pan, making sure to get it into the corners and up the sides. You want a nice even layer. Now, pop it in a preheated oven at 350°F (175°C) and bake for about 15 minutes, or until it’s golden brown. Your kitchen will smell amazing, by the way!
Making the Salted Caramel Filling
Now for the star of the show: the salted caramel! In a saucepan, combine the granulated sugar, water, and light corn syrup. Cook it over medium heat—don’t stir it! Just let it bubble away until it turns a beautiful amber color. This part can be a little tricky, so keep a close eye on it. Once it reaches that lovely color, carefully take it off the heat (watch out, it’s hot!) and slowly whisk in the heavy cream and sea salt. The mixture will bubble up, so be cautious! Finally, stir in the vanilla extract for that extra touch of flavor.
Assembling the Tart
Time to put it all together! Carefully pour that luscious caramel filling into your baked tart shell, spreading it evenly. Now, here’s the hardest part: let it cool completely before serving. I know, the anticipation is real! But trust me, letting it sit allows the caramel to set perfectly. Once it’s cool, you’re ready to slice and serve this decadent treat. I like to pair it with a dollop of whipped cream, which takes it to another level of yumminess!
Why You’ll Love This Recipe
- Quick and easy to prepare—perfect for a last-minute dessert craving!
- Rich, buttery flavor from the crust paired with a smooth and creamy caramel filling.
- The satisfying balance of sweet and salty will have your taste buds dancing!
- Vegetarian-friendly, making it a great option for various dietary preferences.
- Impressive enough to wow your guests but simple enough for a cozy night in.
- Leftovers (if there are any!) store well in the fridge for a delightful treat later.
- Versatile—enjoy it on its own or dressed up with toppings like whipped cream or fresh fruit!
Tips for Success
Alright, let’s make sure your salted caramel tart turns out absolutely perfect! Here are my top tips to help you avoid any little hiccups along the way:
- Chill your butter: If you can, pop your butter in the fridge for a bit before using it. Cold butter helps create a flakier tart crust. Trust me, it makes a difference!
- Don’t rush the caramel: Caramel can be a bit temperamental, so take your time with it. Watch it closely as it cooks, and don’t stir until it reaches that beautiful amber color. Patience is key!
- Use a candy thermometer: If you’re not super comfortable with making caramel, a candy thermometer can be a lifesaver. Aim for around 350°F (175°C) for that perfect amber hue.
- Cool completely: I know it’s hard to wait, but letting the tart cool completely in the pan allows the caramel to set properly. You want it to slice beautifully, right?
- Top it off: Consider adding a sprinkle of extra sea salt on top just before serving for a delightful burst of flavor. It’s the little things that elevate your dessert!
- Store it right: If you have leftovers (which I doubt, but just in case!), store them in an airtight container in the fridge. The tart will keep its deliciousness for a few days!
- Experiment: Don’t hesitate to play around with flavors! A dash of espresso or a hint of orange zest can add a unique twist to your caramel. Get creative!
Follow these tips, and you’ll be on your way to impressing everyone with your baking skills. You’ve got this!
Nutritional Information
Before we dig into the deliciousness, here’s a little heads-up: nutritional values can vary based on the specific ingredients and brands you choose. But here’s a typical breakdown per slice of this indulgent salted caramel tart. Keep in mind that this is all about enjoying the treat in moderation!
- Calories: 300
- Sugar: 25g
- Sodium: 150mg
- Fat: 15g
- Saturated Fat: 9g
- Unsaturated Fat: 4g
- Trans Fat: 0g
- Carbohydrates: 36g
- Fiber: 1g
- Protein: 2g
- Cholesterol: 40mg
So, while you savor each decadent bite, just remember it’s all about balance. Enjoy your tart guilt-free!
FAQ About Salted Caramel Tart
I’ve gotten a lot of questions about this salted caramel tart, so I thought I’d share some of the most common ones with you! Hopefully, these answers will help you feel even more confident in whipping up this delightful dessert.
How should I store the tart?
Great question! If you have any leftovers (which I hope you do, so you can enjoy it later!), store the tart in an airtight container in the refrigerator. It’ll keep well for up to 3 days. Just make sure to let it come to room temperature for a bit before serving, so the flavors shine!
Can I make this tart in advance?
Absolutely! This tart is perfect for making ahead of time. You can bake the tart shell and prepare the salted caramel filling a day in advance. Just assemble it all and let it chill in the fridge overnight. It’ll be ready for your special occasion or a cozy night in!
What can I serve with the salted caramel tart?
Oh, the options are endless! I love serving it with a dollop of whipped cream or a scoop of vanilla ice cream for that extra creaminess. Fresh fruit like berries or sliced apples can add a lovely contrast to the rich caramel, too. And if you want to keep it simple, just a sprinkle of sea salt on top right before serving is perfection!
Can I substitute ingredients?
Definitely! If you’re out of light corn syrup, you can use golden syrup or even honey, though it may change the flavor slightly. For a dairy-free version, try using coconut cream in place of heavy cream. Just keep in mind that it might give a different taste, but it’ll still be delicious!
What if my caramel doesn’t turn out right?
Oops! Don’t worry, it happens to the best of us. If your caramel crystallizes, try adding a bit more water and gently reheating it until it melts down again. And remember, patience is key! If it’s too dark or burnt, it’s best to start over for that perfect flavor. Practice makes perfect!
Can I freeze the salted caramel tart?
Yes, you can! If you want to prepare ahead, freeze the tart after it’s fully cooled. Wrap it tightly in plastic wrap and then in foil to protect it. It should stay good in the freezer for up to 2 months. When you’re ready to enjoy it, just let it thaw in the fridge overnight.
So there you have it! I hope these FAQs help answer any lingering questions you might have about making your very own salted caramel tart. Happy baking!
Serving Suggestions
Now that you’ve crafted this stunning salted caramel tart, let’s talk about what to serve alongside it to really elevate the experience! Trust me, a few thoughtful touches can take your dessert from great to absolutely unforgettable.
- Whipped Cream: A dollop of freshly whipped cream is a classic pairing. It adds a light, airy contrast to the rich caramel, and you can even sprinkle a little sea salt on top for that salty-sweet magic!
- Ice Cream: Vanilla ice cream is a match made in dessert heaven! The creaminess melts into the warm caramel, creating a deliciously decadent treat. If you’re feeling adventurous, try a scoop of salted caramel ice cream to double down on that flavor!
- Fresh Fruit: Berries, such as strawberries or raspberries, offer a lovely tartness that cuts through the sweetness of the caramel. Sliced apples or pears can bring a refreshing crunch that complements the tart beautifully.
- Coffee or Espresso: Pairing your tart with a cup of hot coffee or a shot of espresso can enhance the caramel’s flavors. The bitterness of the coffee balances the sweetness perfectly—plus, it’s a great way to end a meal!
- Nuts: Toasted nuts, like pecans or walnuts, can add a delightful crunch. Just chop them up and sprinkle them on top of the tart right before serving. It adds texture and a nutty flavor that works wonderfully with the caramel!
- Citrus Zest: A sprinkle of lemon or orange zest on top of the tart can brighten the flavors and add a zesty twist. It’s a simple way to elevate your dessert and wow your guests!
These serving suggestions are just the beginning! Feel free to mix and match to create your perfect plate. Enjoy every indulgent bite of your salted caramel tart, and let your creativity shine!