
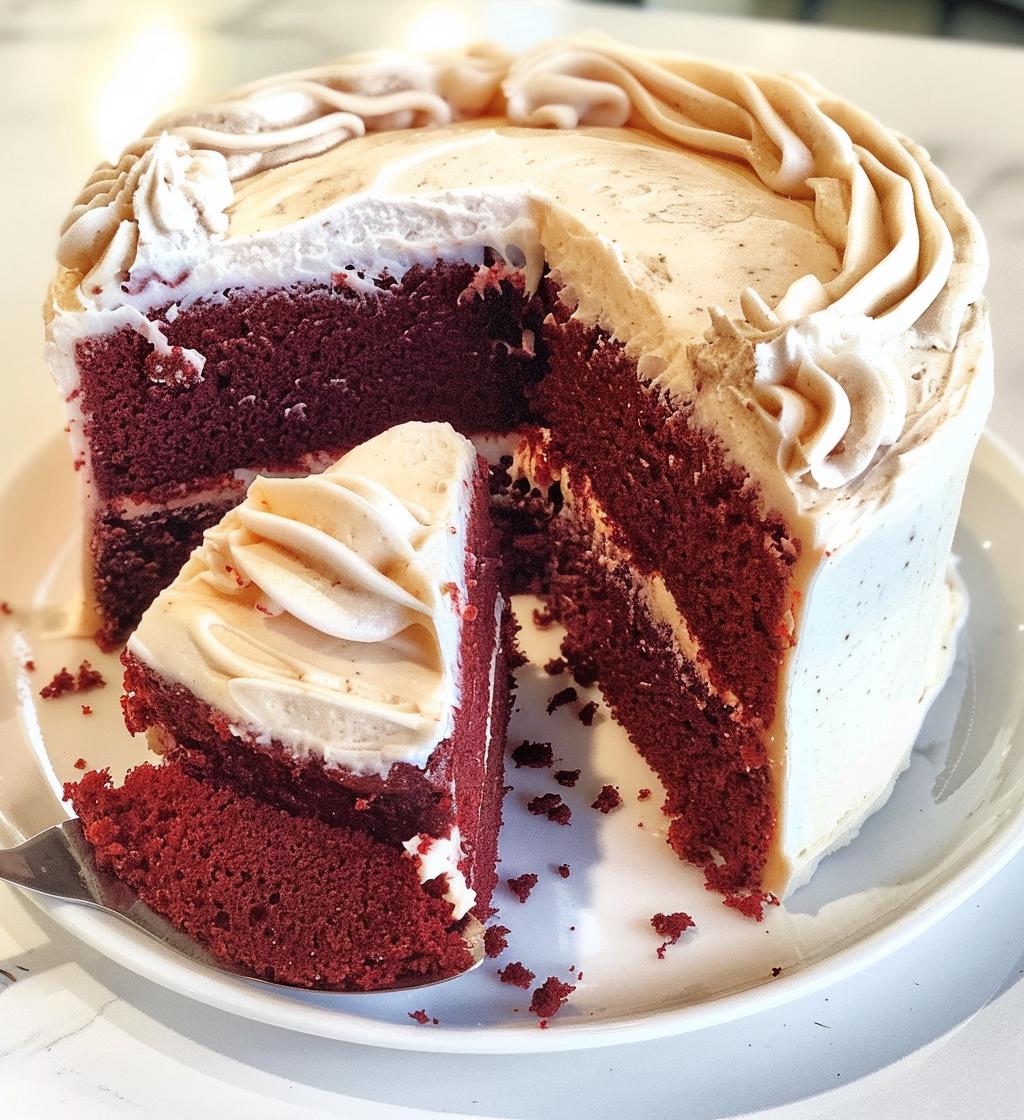
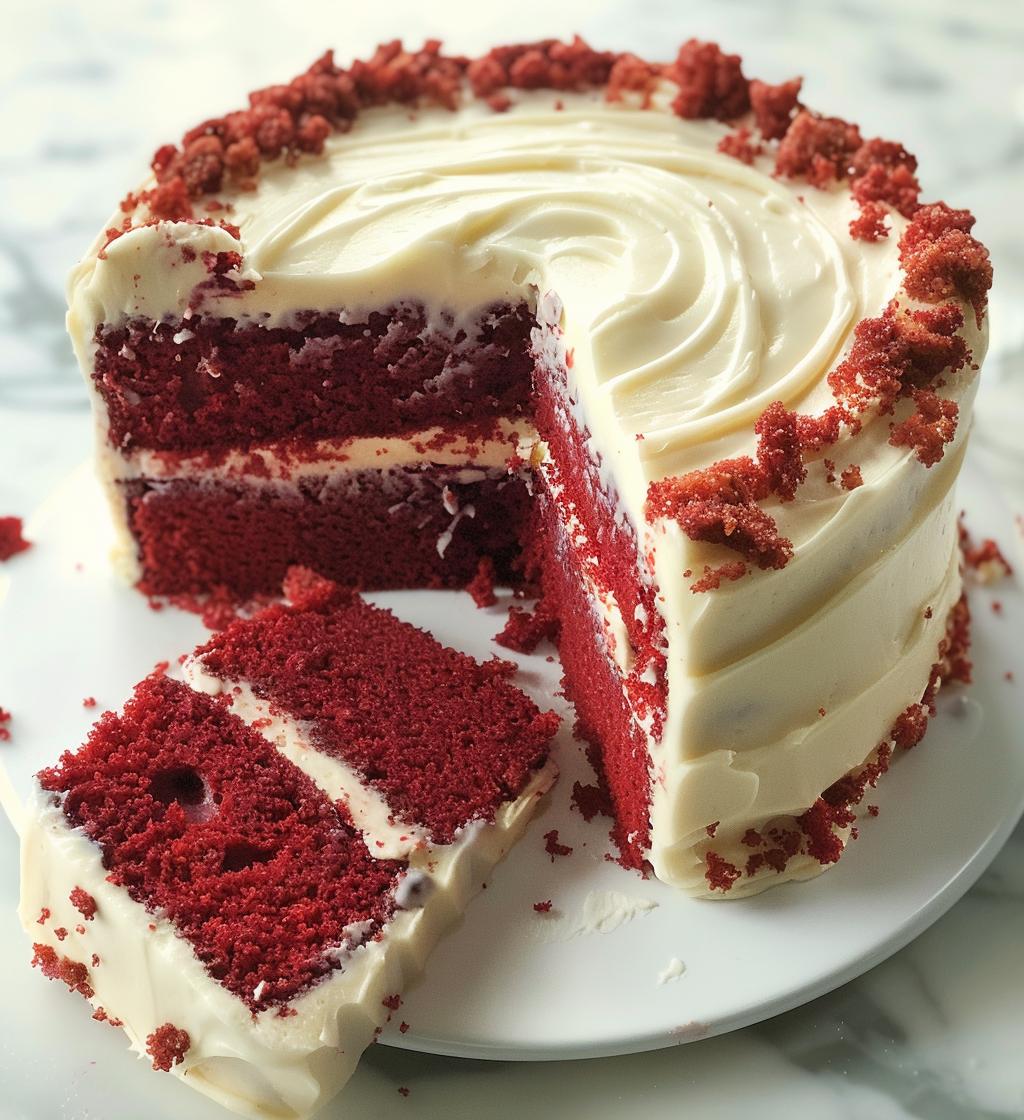
Oh, let me tell you about red velvet cake! This beauty has taken the dessert world by storm, and for good reason. Its striking deep red color is not just a feast for the eyes; it’s a celebration of flavors that dance on your palate. Imagine slicing into a moist, velvety cake that gives you that delightful hint of cocoa, complemented perfectly by a luscious cream cheese frosting. It’s like a hug in cake form!
I remember the first time I made red velvet cake for my best friend’s birthday. I was a bit nervous because I wanted it to be perfect. As soon as that cake came out of the oven, my whole kitchen was filled with an aroma that just screamed “party!” I decorated it with some cute sprinkles on top, and let me tell you, everyone couldn’t stop raving about it. It was a hit! Since then, I’ve made it for countless celebrations, and it never fails to impress.
If you’re looking to wow your friends or just treat yourself to something special, this red velvet cake recipe is a must-try. Trust me, once you taste it, you’ll understand why it’s become such a beloved classic! So, let’s dive into how to make this stunning dessert that’s sure to steal the show.
Ingredients for Red Velvet Cake
Before we get our hands dirty, let’s gather all the goodies we need to whip up this gorgeous red velvet cake. Here’s what you’ll need:
- 2 1/2 cups all-purpose flour – this is the foundation of our cake, lending it that perfect structure.
- 1 1/2 cups sugar – for just the right amount of sweetness to balance all those rich flavors.
- 1 teaspoon baking soda – this will help our cake rise beautifully.
- 1 teaspoon salt – a little salt enhances the sweetness and flavors.
- 1 teaspoon cocoa powder – just a touch to give that subtle chocolatey hint.
- 1 1/2 cups vegetable oil – this keeps our cake moist and oh-so-delicious!
- 1 cup buttermilk, room temperature – adds moisture and a slight tang that’s irresistible.
- 2 large eggs, room temperature – they help bind everything together.
- 2 tablespoons red food coloring – this is what gives our cake that stunning red hue!
- 1 teaspoon vanilla extract – for a warm, comforting flavor.
- 1 teaspoon white vinegar – it reacts with the baking soda for a lovely lift.
Make sure to have everything ready, and trust me, you’ll be well on your way to creating a masterpiece!
How to Prepare Red Velvet Cake
Now that we’ve got our ingredients lined up, it’s time to bring this cake to life! Don’t worry, I’ll walk you through each step to make it a breeze. Ready? Let’s go!
Preheat the Oven
First things first, preheat your oven to 350°F (175°C). This step is crucial because a properly heated oven ensures even baking, and we want that gorgeous red velvet cake to turn out just right!
Prepare Cake Pans
Next, let’s get our cake pans ready. Grease and flour two 9-inch round cake pans. I like to use a bit of vegetable oil or butter to grease them, then sprinkle a little flour and shake it around to coat the bottom and sides. This will help our cakes slide out easily once they’re baked. Trust me, no one likes a cake that sticks!
Mix Dry Ingredients
In a large mixing bowl, combine the flour, sugar, baking soda, salt, and cocoa powder. Whisk them together until they’re well mixed. This step not only ensures even distribution of the leavening agents but also helps aerate the flour, which is key for a fluffy cake. I always love the smell of cocoa powder; it’s like a little chocolatey hug!
Combine Wet Ingredients
In another bowl, it’s time to combine our wet ingredients. Pour in the vegetable oil, buttermilk, eggs, red food coloring, vanilla extract, and white vinegar. Whisk everything together until it’s smooth and well blended. The food coloring is where the magic happens—watch that vibrant red come alive!
Combine Wet and Dry Mixtures
Now, gradually add the dry ingredients to the wet mixture. I like to do this in three parts, mixing gently until everything is just combined. Be careful not to overmix; we want a tender crumb in our cake! Once it’s smooth, you’re ready for the next step.
Bake the Cakes
Divide the batter evenly between the two prepared pans. Pop them into the oven and bake for 25 to 30 minutes. I usually set a timer for 25 minutes and then check for doneness by inserting a toothpick into the center. If it comes out clean or with just a few crumbs, they’re done! The smell wafting through your kitchen will be heavenly!
Cool the Cakes
Once baked, let the cakes cool in the pans for about 10 minutes. This is important to let them set a bit. After that, gently remove them from the pans and transfer to wire racks to cool completely. Patience is key here—let them cool fully before frosting or you’ll end up with a melty mess!
Frosting the Cake
Once your cakes are completely cool, it’s time for the fun part—frosting! Spread a generous layer of cream cheese frosting between the layers and on top. I like to start with a crumb coat first—a thin layer of frosting to seal in any crumbs—then add a thicker layer on top for that beautiful finish. Make it as smooth or as rustic as you like; it’s your masterpiece!
Tips for Success
Now that you’re ready to bake, let me share some of my top tips for ensuring your red velvet cake turns out absolutely perfect. Trust me, these little nuggets of wisdom can make a big difference!
- Use Room Temperature Ingredients: This is key! Make sure your eggs and buttermilk are at room temperature before you start mixing. It helps everything blend together more smoothly and creates that lovely, tender crumb we all love.
- Check Your Oven Temperature: Ovens can be a bit tricky. I always recommend using an oven thermometer to make sure it’s accurate. A properly heated oven is essential for even baking and prevents any surprises!
- Don’t Overmix: When combining the wet and dry ingredients, mix just until everything is combined. Overmixing can lead to a dense cake instead of the light, fluffy texture you want.
- Let the Cakes Cool Completely: I know it’s tempting to frost while it’s still warm, but resist the urge! Allowing the cakes to cool completely ensures that your frosting doesn’t melt and slide right off.
- Adjust the Food Coloring: If you want a deeper red, you can add a bit more food coloring, just be careful not to go overboard. It’s all about finding your perfect shade!
- Experiment with Frosting: While cream cheese frosting is a classic, feel free to play around with flavors! A chocolate ganache or a buttercream with a hint of almond could be delightful variations.
With these tips in your back pocket, you’re well on your way to creating a show-stopping red velvet cake that will have everyone asking for seconds. Happy baking!
Nutritional Information
Now that you’re all set to indulge in this delicious red velvet cake, let’s talk about what you’re getting in each slice. Here’s a general breakdown of the nutritional values per serving. Keep in mind that these values are estimates and can vary based on specific ingredients and portion sizes.
- Calories: 350
- Fat: 18g
- Saturated Fat: 3g
- Unsaturated Fat: 15g
- Trans Fat: 0g
- Carbohydrates: 45g
- Sugar: 25g
- Fiber: 1g
- Protein: 4g
- Cholesterol: 45mg
- Sodium: 300mg
So, there you have it! This cake is definitely a treat, and while it’s not the lightest option, it’s worth every bite. Just remember to enjoy it in moderation—after all, it’s all about savoring those moments of deliciousness!
FAQ About Red Velvet Cake
So, I know you might have some burning questions about red velvet cake! Don’t worry, I’ve got you covered with the answers to some of the most common queries that pop up.
Can I use different food coloring?
Absolutely! While the classic red food coloring gives that signature look, you can experiment with other colors if you want to mix things up. Just keep in mind that using gel food coloring will give you a more vibrant hue without affecting the cake’s consistency too much. You could even try a deep blue or green for a fun twist, especially for themed occasions! Just remember that the flavor should still shine through, so don’t go overboard with the coloring.
How do I store leftovers?
Storing leftovers is super easy! Once your red velvet cake is completely cooled and frosted, place it in an airtight container. If you don’t have one big enough, you can wrap the cake tightly in plastic wrap and then cover it with foil. It’ll stay fresh in the fridge for about 3 to 4 days. Just make sure to let it come to room temperature before serving to enjoy that soft, rich texture!
Can I make this cake gluten-free?
Yes, you can totally make this red velvet cake gluten-free! Substitute the all-purpose flour with a good quality gluten-free flour blend. I’ve had great results with brands that include xanthan gum, which helps with the cake’s structure. Just keep in mind that you might need to adjust the liquid ingredients slightly, as gluten-free flour can absorb moisture differently. But don’t worry, with a little experimentation, you’ll achieve that delicious cake everyone will love!
Why You’ll Love This Recipe
- Irresistible Flavor: The combination of cocoa and that tangy cream cheese frosting creates a flavor explosion that’s hard to resist!
- Moist and Velvety Texture: Thanks to the buttermilk and oil, this cake is incredibly moist and has that signature velvety crumb that melts in your mouth.
- Eye-Catching Color: The vibrant red hue makes this cake a showstopper at any gathering—perfect for birthdays, holidays, or just because!
- Simple Preparation: With straightforward steps, even beginner bakers can master this recipe. You’ll feel like a pro in no time!
- Perfect for Any Occasion: Whether it’s a cozy family dinner or a grand celebration, this red velvet cake fits right in and always impresses.
- Endless Customization: While the classic version is fantastic, you can easily tweak it with different frostings or add-ins to make it your own!
- Leftovers Are a Dream: If there’s any cake left (which is rare!), it stores beautifully and is just as delicious the next day!