
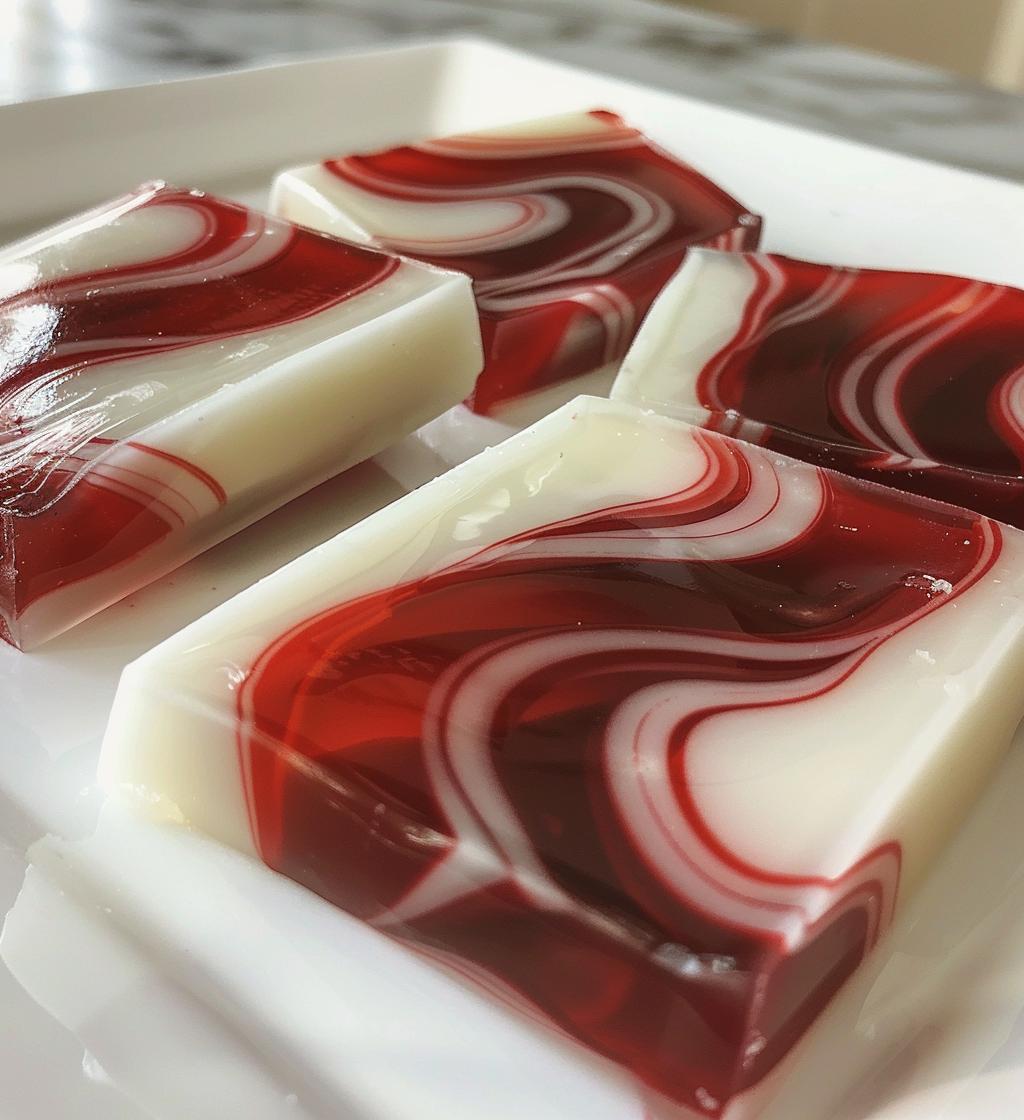
Ah, peppermint candy! Just saying those words makes me think of winter holidays, cozy evenings, and the sweet scent of peppermint wafting through the air. There’s something so delightful about that cool, refreshing flavor that just takes me back to childhood—like when my grandma would whip up a batch just in time for the festive season. Trust me, once you taste that homemade peppermint goodness, you’ll never want to go back to store-bought again!
What I love most is how incredibly easy it is to make peppermint candy right at home. You don’t need any fancy gadgets, just a saucepan and a bit of patience. Plus, you can customize it with colors and flavors to make it truly your own. I mean, who wouldn’t want to impress their friends and family with a batch of vibrant, homemade peppermint candy? So, let’s dive in and get that candy-making magic started!
Ingredients for Peppermint Candy
Before we get started on our candy-making adventure, let’s gather all the ingredients you’ll need. It’s super simple, and I bet you have most of these in your pantry already!
- 1 cup granulated sugar – This is the star of our show! It gives our peppermint candy that sweet, satisfying crunch.
- 1/3 cup water – Just enough to help dissolve the sugar and create that perfect candy mixture.
- 1/2 teaspoon peppermint extract – This is where the magic happens! It brings that cool, refreshing peppermint flavor that we all love.
- Red food coloring – Optional, but it adds a festive touch! Feel free to get creative with colors if you want to mix things up.
That’s it! Just a few basic ingredients to create something absolutely delightful. You’ll see how these come together to make a treat that’s not only delicious but also a joy to share with friends and family!
How to Prepare Peppermint Candy
Alright, let’s get down to the fun part—making our peppermint candy! It’s a straightforward process, but trust me, you’ll want to pay attention to the details. Follow these steps, and you’ll be rewarded with a delightful, homemade treat that’s sure to impress!
Step 1 – Combine Sugar and Water
First things first, grab a medium-sized saucepan. You want something sturdy that can handle a bit of heat. Add 1 cup of granulated sugar and 1/3 cup of water to the pan. Give it a little stir to combine before we start heating things up. It’s like the calm before the candy-making storm!
Step 2 – Heat and Dissolve
Now, place the saucepan over medium heat. This is where the magic begins! Keep an eye on it as the sugar starts to dissolve. It’s important to stir gently at this stage—just enough to help the sugar along without splashing. You want everything to blend smoothly before we crank up the heat!
Step 3 – Boil to the Right Temperature
Once the sugar is fully dissolved, it’s time to bring it to a boil. Keep the heat at medium and watch closely as it bubbles away. You’re aiming for a precise temperature of 300°F (that’s the hard crack stage!). This is crucial, folks—if it’s not hot enough, your candy won’t hold its shape. I recommend using a candy thermometer if you have one, as it’ll take the guesswork out of this step!
Step 4 – Add Peppermint Extract
Once you hit that magic 300°F, carefully remove the saucepan from the heat. Here comes the best part—stir in 1/2 teaspoon of peppermint extract! Be cautious, as it will bubble up a little. This is where you’ll get that wonderful, aromatic scent that fills the kitchen with holiday cheer. Mix it in well, and let that peppermint flavor shine!
Step 5 – Color the Mixture
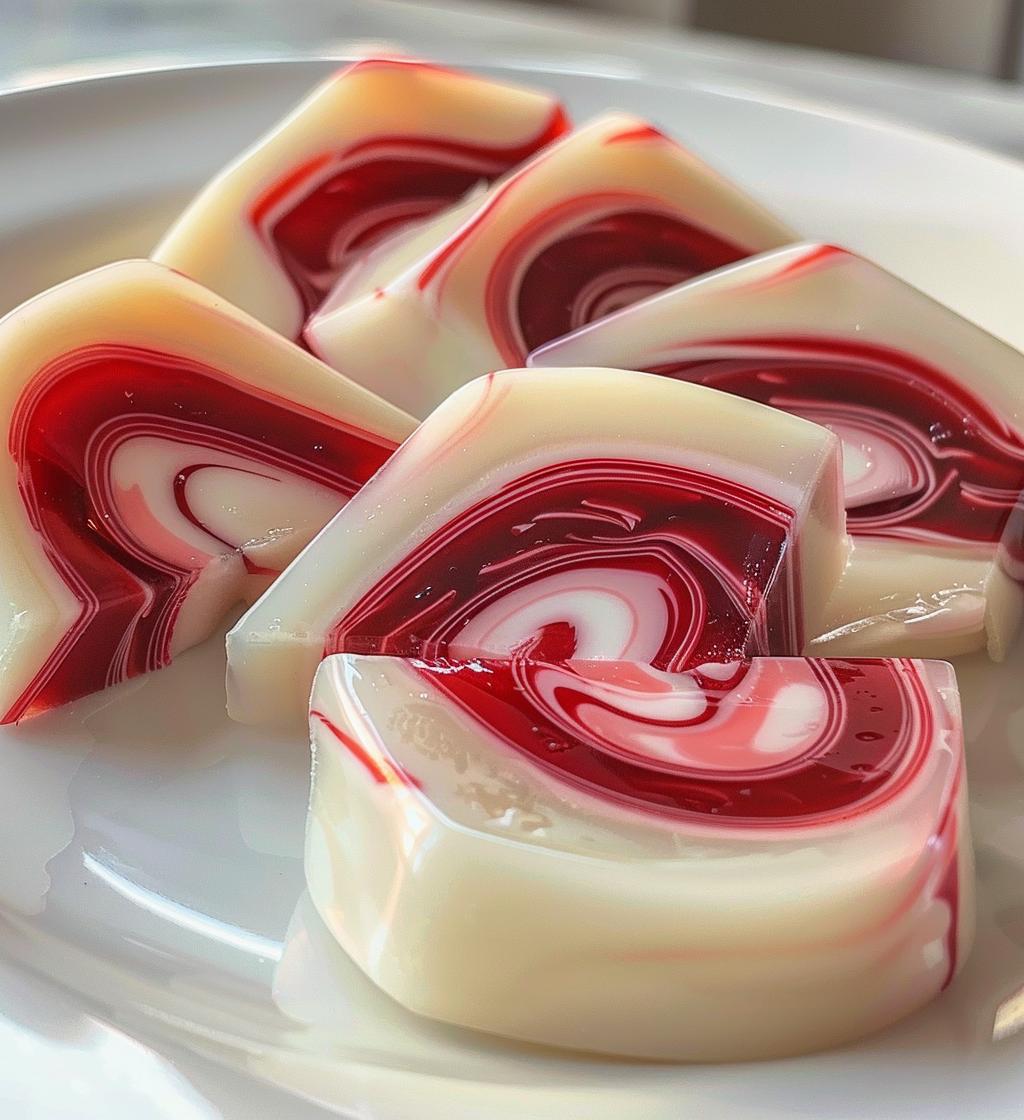
Now, let’s get creative! Divide the mixture evenly between two bowls. In one bowl, add a few drops of red food coloring and stir until you achieve your desired shade. This step is optional, but it adds a festive flair to our candy! Feel free to experiment with different colors if you’re feeling adventurous!
Step 6 – Pour onto Surface
Next, it’s time to pour! Make sure you’ve prepared a greased surface—like a marble countertop or a baking sheet lined with parchment paper—to prevent sticking. Carefully pour both colored mixtures onto the greased surface, allowing them to spread out a little. You want to make sure they have space to cool and set properly.
Step 7 – Cool and Shape
Let the candy cool for just a few minutes until it’s safe to handle. Now comes the fun part—pulling and shaping! Once it’s cool enough, you can start pulling the candy. Use your hands (be careful, it can still be hot!) to stretch and shape it into your desired forms. Whether you want classic sticks or fun shapes, get creative! Just remember, the more you pull, the shinier and smoother your candy will become!
Tips for Success
Now that you’re all set to make your peppermint candy, let me share some of my top tips to ensure your candy turns out perfectly every time! Trust me, these little nuggets of wisdom can make all the difference between a sweet success and a sticky situation.
- Use a Candy Thermometer: If you have one, definitely use a candy thermometer to monitor that temperature closely. It’s the key to achieving that perfect hard crack stage. If you don’t have one, keep a close eye on the bubbling mixture; it should be a rolling boil before you take it off the heat.
- Be Careful with Heat: When heating the sugar and water, make sure to keep the heat at medium. Too high, and you risk burning the sugar, which can ruin the whole batch. Patience is key here!
- Watch for Bubbles: When you add the peppermint extract, be prepared for a bit of bubbling. It’s normal! Just stir gently and let that lovely peppermint aroma fill your kitchen.
- Grease Well: Don’t skimp on greasing your surface! This helps prevent the candy from sticking, which can be a real pain when you’re trying to pull and shape it. A little butter or non-stick spray goes a long way!
- Cool Before Handling: Let the candy cool for a few minutes before you start pulling it. If it’s too hot, you might burn yourself. But if you wait too long, it can become too hard to shape. Aim for that sweet spot where it’s warm but manageable!
- Get Creative: Don’t hesitate to experiment with different colors and flavors! You can use other extracts like vanilla or almond, or even try mixing in some crushed candies for added texture. Have fun with it!
By following these tips, you’ll be well on your way to making delicious, homemade peppermint candy that’ll wow everyone. Happy candy-making!
Nutritional Information
Curious about what’s in that delicious peppermint candy you just made? Here’s a quick rundown of the typical nutritional values based on standard ingredients. Keep in mind, these are estimates, and actual values can vary depending on specific brands and measurements used.
- Serving Size: 1 piece
- Calories: 50
- Sugar: 12g
- Sodium: 0mg
- Fat: 0g
- Saturated Fat: 0g
- Unsaturated Fat: 0g
- Trans Fat: 0g
- Carbohydrates: 13g
- Fiber: 0g
- Protein: 0g
- Cholesterol: 0mg
So there you have it! A sweet treat that’s light on calories but big on flavor. Perfect for those moments when you need a little pick-me-up or want to share a nostalgic candy with loved ones. Enjoy every delightful bite!
FAQ About Peppermint Candy
Can I use other flavors?
Absolutely! One of the best things about making peppermint candy is how versatile it is. If you’re not a big fan of peppermint, you can easily swap it out for other flavors. Try using vanilla extract for a sweet, creamy twist, or almond extract for a nutty touch. You can even experiment with fruity flavors like orange or lemon for a refreshing change. Just keep in mind that the strength of the flavor might vary, so start with a small amount and adjust to your taste!
How do I store peppermint candy?
Storing your homemade peppermint candy is super easy! Just make sure to keep it in an airtight container to maintain its freshness and prevent it from getting sticky. A glass jar with a tight lid works wonderfully, or you can use a plastic container with a good seal. Avoid exposing it to heat or moisture, as this can affect the texture and flavor. If you’re gifting some away, wrapping pieces in cellophane or placing them in cute bags is a lovely touch!
How long does peppermint candy last?
When stored properly, your peppermint candy can last for about 2 to 3 weeks. Just keep it in a cool, dry place, and you’ll be able to enjoy that delicious peppermint flavor for a little while. If you notice any changes in texture or taste, it’s best to toss it out. But trust me, it’ll probably be gone long before it has a chance to spoil—everyone will want to snag a piece or two!
Serving Suggestions
Now that you’ve made your delightful peppermint candy, let’s talk about how to enjoy it! There are so many fun ways to incorporate this sweet treat into your life, and I can’t wait to share some of my favorites with you!
- Gift it Up: Homemade peppermint candy makes for a fantastic gift! Wrap a few pieces in festive cellophane and tie them with a pretty ribbon. You can even create a charming little gift jar filled with candy to brighten someone’s day during the holidays or for special occasions.
- Pair with Hot Chocolate: There’s nothing quite like curling up with a warm cup of hot chocolate and adding a piece of peppermint candy for an extra burst of flavor. It’s a match made in heaven! You can even crush some pieces and sprinkle them on top for a delicious candy cane twist.
- Use in Desserts: Crushed peppermint candy can add a lovely crunch and festive flavor to desserts. Think peppermint bark, ice cream sundaes, or even sprinkled on top of brownies for that added holiday cheer!
- Holiday Decor: Get creative and use your peppermint candy as a decorative element for your holiday table or as part of a candy display. It adds a pop of color and a sweet aroma to your festivities!
- Enjoy as a Treat: Of course, you can always just enjoy these delightful candies on their own! Keep a stash handy for when you need a little pick-me-up or want to share a nostalgic treat with friends and family.
Whichever way you choose to enjoy your peppermint candy, I’m sure it’ll bring a smile to your face and a little sweetness to your day. Happy indulging!