
Oh, the joy of the holiday season! It’s that magical time when the air is filled with laughter, love, and the irresistible smell of sweet treats wafting from the kitchen. One of my favorite traditions is making *Holiday truffles*—they’re like little bites of happiness wrapped in chocolate! The best part? They’re super easy to whip up, requiring minimal effort but delivering maximum joy. Imagine gathering with friends and family, sharing these rich, creamy delights while sipping hot cocoa. Trust me, once you make these truffles, they’ll become a staple in your holiday celebrations, spreading cheer with every delicious bite!

Ingredients List
- 8 oz dark chocolate, chopped: Use a good-quality dark chocolate for the richest flavor. The higher the cocoa content, the more intense the chocolatey goodness!
- 1/2 cup heavy cream: This is what makes the truffles wonderfully creamy and smooth. Don’t skimp on the cream—it’s essential for that melt-in-your-mouth texture.
- 1 tsp vanilla extract: Just a touch of vanilla adds a beautiful depth of flavor that complements the chocolate perfectly. I love using pure vanilla for that extra kick!
- Cocoa powder for dusting: This is the final touch to give your truffles that classic look and a slightly bitter contrast to the sweet filling. Use unsweetened cocoa powder for the best results.
How to Prepare *Holiday Truffles*
Making *Holiday truffles* is a delightful experience that’s easier than you might think! Follow these simple steps, and you’ll have a batch of luscious chocolate truffles ready to share (or keep all to yourself, no judgment here!).
Step 1: Heat the Cream
First things first, grab a saucepan and pour in the heavy cream. Heat it over medium heat until it just starts to boil—this usually takes about 3 to 5 minutes. Keep a close eye on it, because you want those little bubbles to form around the edges, not a full rolling boil. Once you see that, you’re ready for the next step!
Step 2: Mix Chocolate and Cream
Now, take that boiling cream and pour it over the chopped dark chocolate in a bowl. Make sure all the chocolate is submerged in the cream. Let it sit for about 5 minutes. This waiting game is crucial! It allows the chocolate to soften beautifully, making it super easy to stir into a smooth mixture later.
Step 3: Add Vanilla and Chill
After the 5 minutes, grab a whisk and gently stir the chocolate and cream mixture until it’s silky and smooth. Then, add in your vanilla extract and mix well. Now it’s time to cover the bowl with plastic wrap and pop it in the fridge for about 2 hours. This step is essential for the mixture to firm up, which makes shaping the truffles easier!
Step 4: Shape the Truffles
Once the mixture is firm, take it out of the fridge. Using a melon baller or a spoon, scoop out small portions of the mixture and roll them into balls. I find that about a teaspoon-sized portion works perfectly. Remember, they don’t have to be perfectly round—hand-rolled charm is part of the fun!
Step 5: Coat the Truffles
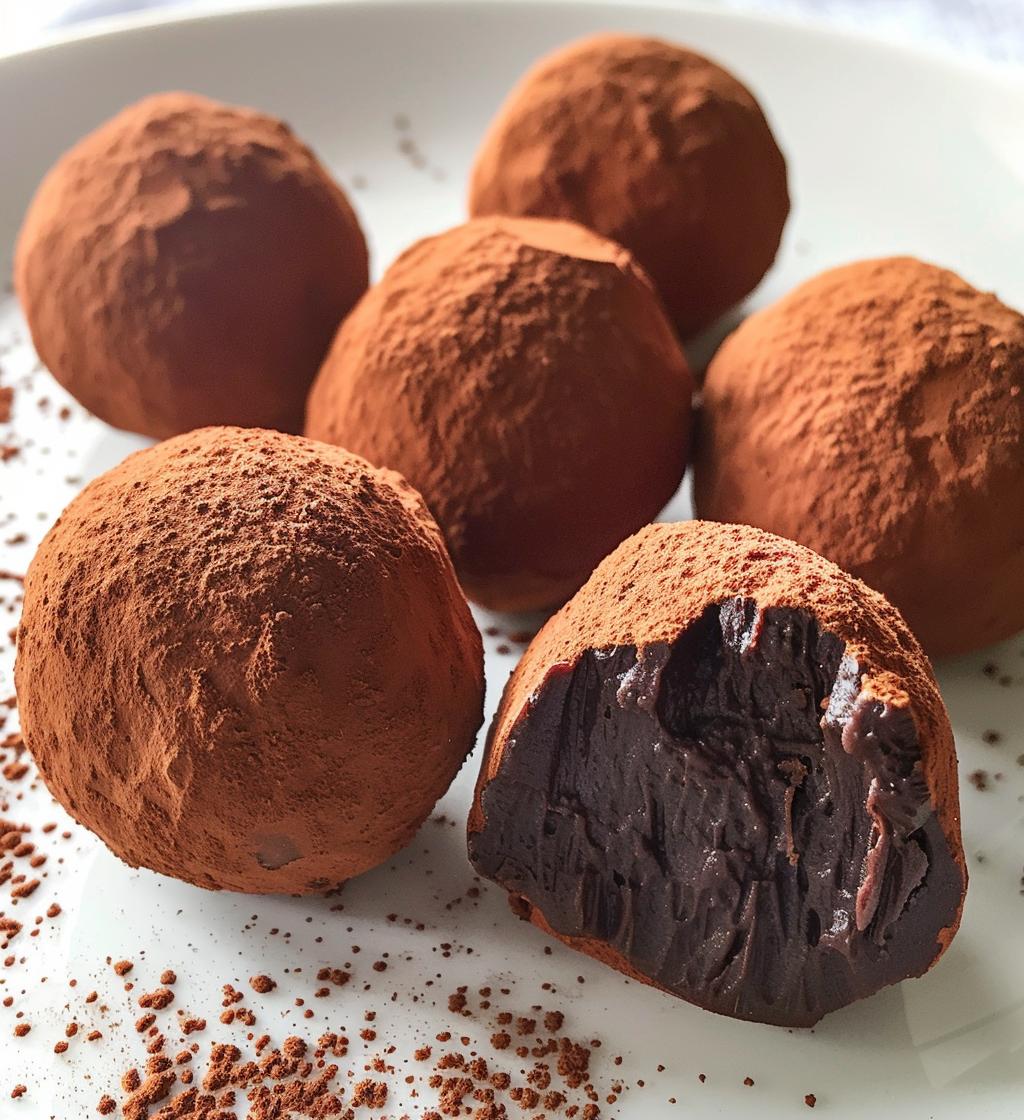
Finally, it’s time for the fun part! Roll each truffle in cocoa powder to coat them evenly. Make sure you give them a good roll, so they’re fully covered. This not only adds a beautiful finish but also balances the sweetness of the truffle with a nice, rich cocoa flavor. And there you have it—your *Holiday truffles* are ready to be enjoyed!
FAQ Section
Can I use milk chocolate instead of dark chocolate?
Absolutely! While I love the rich flavor of dark chocolate, using milk chocolate will give your *Holiday truffles* a sweeter, creamier taste. Just keep in mind it may change the texture slightly, so adjust the cream if needed.
How long do these truffles last?
When stored in an airtight container in the fridge, your *Holiday truffles* can last up to a week. They’re perfect for making ahead of time for holiday gatherings!
Can I freeze the truffles?
Yes, you can freeze them! Just make sure to wrap each truffle tightly in plastic wrap and place them in a freezer-safe container. They’ll keep well for about 2 months. Thaw them in the fridge before serving for the best texture.
What other coatings can I use?
If you want to get creative, try rolling your truffles in crushed nuts, shredded coconut, or even sprinkles for a festive touch. Each option gives a different flavor and texture, making your *Holiday truffles* even more special!
Do I need to temper the chocolate?
Nope! The beauty of these *Holiday truffles* is that they’re no-bake, so you don’t need to worry about tempering chocolate. Just melt it gently with the cream, and you’re good to go!
Why You’ll Love This Recipe
- Super easy to make with just a few simple ingredients
- Perfectly festive for holiday gatherings and celebrations
- Rich, creamy, and indulgent—every bite is pure bliss
- Customizable with different chocolate types and coatings
- Make-ahead convenience for stress-free entertaining
Tips for Success
To ensure your *Holiday truffles* turn out perfectly every time, here are some of my go-to tips! First, always use high-quality chocolate; it makes a world of difference in flavor and texture. I personally love a brand with at least 60% cocoa for that deep, rich taste!
When rolling the truffles, keep your hands slightly damp to prevent the mixture from sticking. It’s a little trick I swear by! Also, don’t be afraid to get creative with coatings—try crushed nuts or shredded coconut for a fun twist. For storage, make sure they’re in an airtight container in the fridge to maintain their freshness. Enjoy your truffles within a week for the best taste, but I guarantee they won’t last that long!
Variations for *Holiday Truffles*
One of the best things about *Holiday truffles* is how easily they can be customized! If you want to switch things up, try using milk chocolate or even white chocolate for a sweeter, creamier version. You can also infuse the cream with flavors like peppermint extract for a festive twist or orange zest for a bright, citrusy note. Feeling adventurous? Add a splash of your favorite liqueur, like Baileys or Amaretto, to the mixture for an adult-only treat!
When it comes to coatings, think beyond cocoa powder! Crushed nuts, shredded coconut, or even colored sprinkles can add a fun touch. You could also dip the truffles in chocolate and drizzle them with contrasting colors for a more elegant presentation. The possibilities are endless, so let your imagination run wild!
Storage & Reheating Instructions
To keep your *Holiday truffles* fresh and delicious, store them in an airtight container in the refrigerator. They’ll stay tasty for up to a week, but trust me, they might not last that long! If you want to make them ahead of time, you can also freeze the truffles. Just wrap each one tightly in plastic wrap and place them in a freezer-safe container. They’ll keep well for about two months. When you’re ready to enjoy them, simply thaw in the fridge for a few hours before serving—no need to reheat! Enjoy your delightful treats!
Nutritional Information Section
Just a quick note: the nutritional values for these *Holiday truffles* can vary based on the ingredients and brands you use, so take this as a general guide! Typically, each truffle has about 100 calories, with 7g of fat, 1g of protein, and 9g of carbohydrates. Enjoy these delicious bites, but remember that indulgence is part of the holiday fun!