
Ah, the holidays! It’s that magical time of year when sweet treats fill our homes and warmth radiates from our kitchens. One of my absolute favorites is holiday caramel. The way it melts in your mouth, sweet and buttery, is just pure bliss! I remember the first time I made this caramel with my grandma. We’d stand side by side, her hands guiding mine as we stirred the bubbling mixture on the stove, our laughter mixing with the sweet aroma wafting through the air. It became a cherished tradition, and now I whip up a batch every year, gifting them to friends and family. Trust me, once you try this recipe, you’ll understand why it’s a holiday must-have. It’s not just a treat, it’s a memory in every bite!
Ingredients List
- 1 cup unsalted butter
- 2 cups brown sugar
- 1 cup corn syrup
- 1 can (14 ounces) sweetened condensed milk
- 1 teaspoon vanilla extract
- 1/2 teaspoon salt
How to Prepare *Holiday Caramel*
Making holiday caramel is easier than you might think! Just follow these simple steps, and you’ll have a delightful treat to share. Let’s dive in!
Step 1: Melting the Butter
First things first, grab a good-sized saucepan and toss in your 1 cup of unsalted butter. Set the heat to medium and let it melt gently. Keep an eye on it! You’ll want to stir occasionally to ensure it doesn’t brown. It should be completely melted and bubbly, which usually takes about 3-5 minutes.
Step 2: Combining Ingredients
Once your butter is melted, it’s time to add in 2 cups of brown sugar and 1 cup of corn syrup. Stir, stir, stir until everything is well combined! It’s super important to mix it thoroughly to avoid any burning on the bottom of the pan. If it starts to bubble too vigorously, just reduce the heat a notch.
Step 3: Boiling the Mixture
Bring that delicious mixture to a boil! This is where the magic happens, so keep stirring constantly. You want it to bubble nicely without overflowing—this should take about 5 minutes. The consistency will thicken slightly as you stir, and that’s exactly what you’re looking for!
Step 4: Adding Sweetened Condensed Milk
Now, reduce the heat to low and carefully stir in 1 can (14 ounces) of sweetened condensed milk, along with 1 teaspoon of vanilla extract and 1/2 teaspoon of salt. Keep stirring continuously for about 10 minutes. You’ll notice it thickening even more, and it should have a luscious, creamy texture that just beckons to be poured!
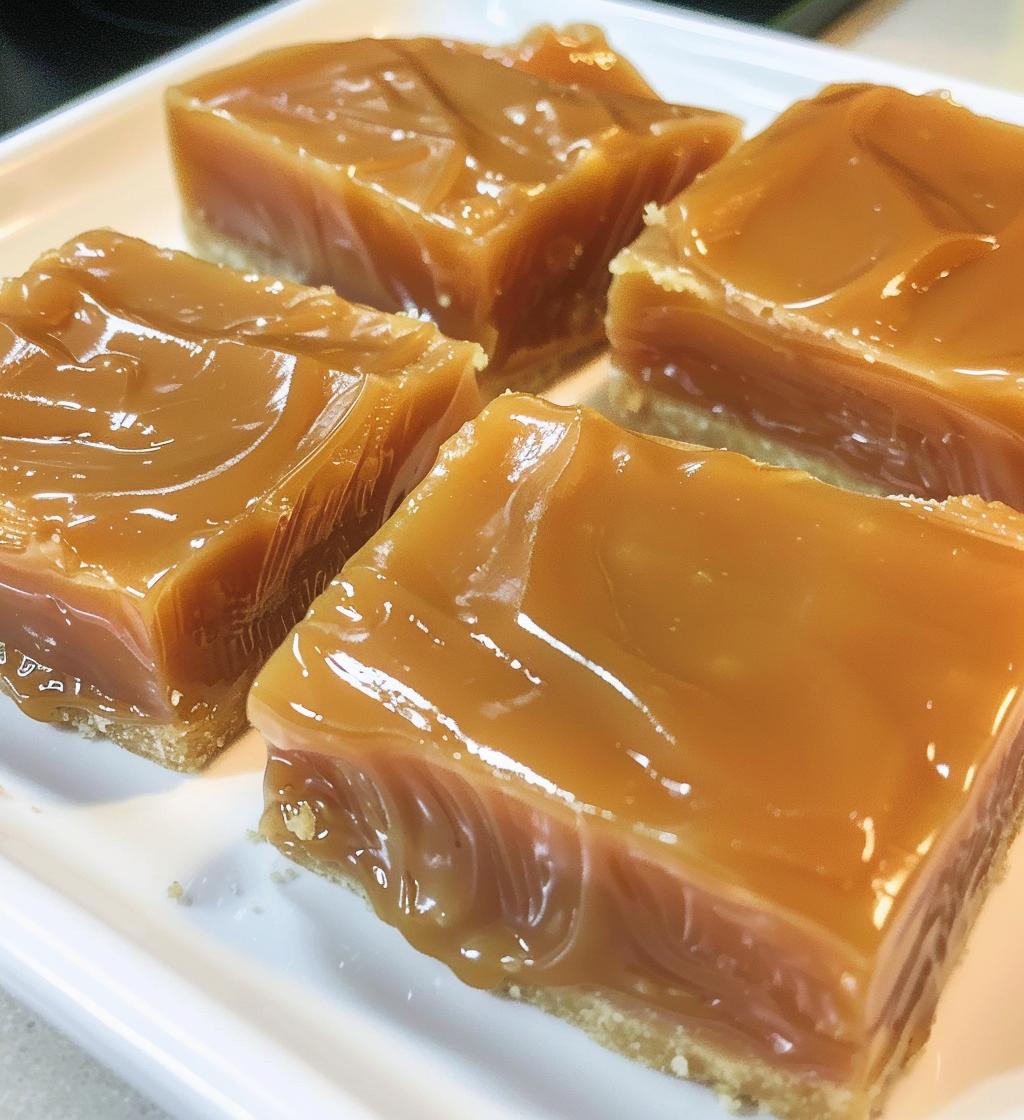
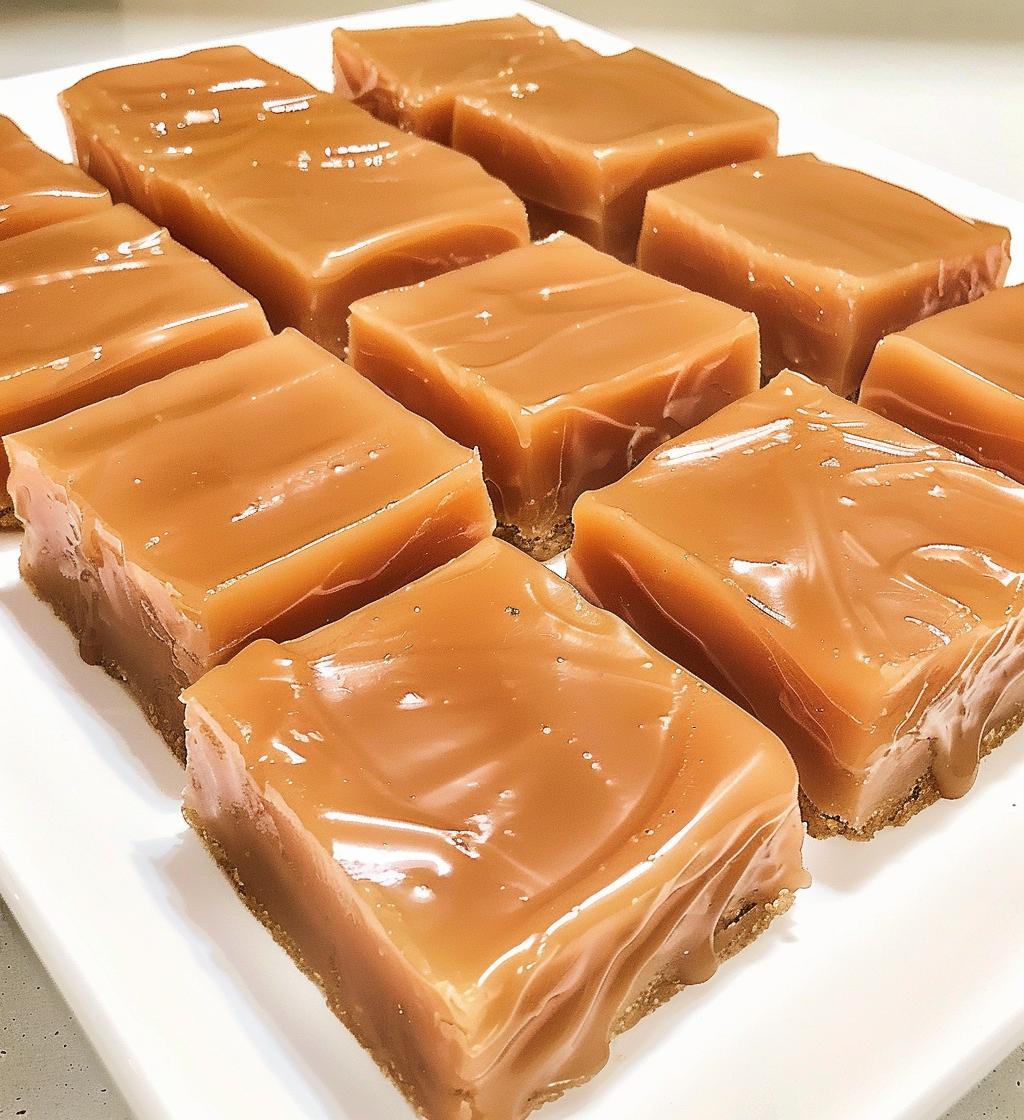
Step 5: Cooling and Cutting
Pour your heavenly mixture into a greased pan and spread it out evenly. Let it cool completely at room temperature; this usually takes a few hours. Once it’s set, cut it into squares and serve! Store any leftovers in an airtight container, but I doubt there will be many left once your friends and family get a taste!
Why You’ll Love This Recipe
- It’s incredibly easy to make, perfect for both novice and experienced cooks!
- The flavor is out of this world—rich, buttery, and just the right amount of sweetness.
- Perfect for gifting! Wrap it up in pretty packaging for a thoughtful homemade present.
- Versatile as can be—use it as a topping for ice cream, in desserts, or just enjoy it on its own!
- Can be made ahead of time, so it fits perfectly into your busy holiday schedule.
- It fills your kitchen with the most delightful aroma that makes everyone feel cozy.
- Each bite is a nostalgic reminder of holiday traditions and cherished memories.
Tips for Success
To ensure your *holiday caramel* turns out perfectly every single time, I’ve got some pro tips to share! Trust me, these little nuggets of wisdom can make all the difference.
- Use a heavy-bottomed saucepan: This helps distribute heat evenly and reduces the risk of burning your caramel. You want it to cook gently and evenly, so don’t skimp on the quality!
- Keep stirring: I can’t stress this enough! Stirring constantly prevents the sugar from sticking to the bottom and burning. If you feel your arm getting tired, just think of the delicious reward waiting for you!
- Don’t rush the cooling process: Letting your caramel cool completely at room temperature is key. If you’re tempted to stick it in the fridge, just remember that it needs time to set properly and develop that perfect chewy texture.
- Check for consistency: When you’re cooking the mixture, it should be thick enough to coat the back of a spoon. If it seems too runny, give it a few more minutes on the heat!
- Use a greased spatula: When pouring the caramel into your pan, use a greased spatula to help spread it out evenly. This will make your life a lot easier and keep everything nice and neat!
- Experiment with flavors: Once you’ve mastered the classic version, feel free to play around! Add a pinch of sea salt on top for a salted caramel twist, or mix in some chopped nuts for added texture. The possibilities are endless!
With these tips in your back pocket, you’re all set to create some truly unforgettable *holiday caramel*. Enjoy the sweet journey!
Storage & Reheating Instructions
Storing your *holiday caramel* properly ensures that it stays delicious and fresh for as long as possible! Once your caramel has cooled completely and you’ve cut it into those irresistible squares, grab an airtight container. This is key! Just stack those little treasures inside, making sure they’re not touching too much to avoid sticking. You can keep them at room temperature for about a week, but if you want to stretch their life even longer, pop them in the fridge. They’ll be good for up to two weeks that way!
If you find yourself needing to reheat them—maybe for drizzling over ice cream or just to enjoy that warm, gooey goodness again—simply place a few pieces in the microwave for about 10-15 seconds. Keep a close eye on them, though! You want them warm, not melted into a puddle. And if you’re feeling fancy, try placing the caramel in a small saucepan over low heat, stirring gently until it reaches your desired consistency. Trust me, a little warmth brings out that rich flavor even more!
Nutritional Information
Curious about the nutritional values of this delightful *holiday caramel*? Here’s a breakdown of what you can expect per piece. Keep in mind that these are estimates, but they give you a good idea of what you’re indulging in!
- Calories: 150
- Fat: 7g
- Saturated Fat: 4g
- Unsaturated Fat: 2g
- Trans Fat: 0g
- Cholesterol: 15mg
- Sodium: 50mg
- Sugar: 15g
- Carbohydrates: 22g
- Fiber: 0g
- Protein: 1g
So, whether you’re treating yourself or sharing with loved ones, you can savor each piece with a little knowledge in your back pocket. Enjoy this sweet indulgence during the holidays, and remember, it’s all about balance!
FAQ Section
Can I use margarine instead of butter for this *holiday caramel*?
While you can use margarine, I highly recommend sticking with unsalted butter for that rich and creamy flavor that truly makes this caramel shine. Trust me, it makes a world of difference!
How do I know when my caramel is ready?
The key is in the texture! When it thickens enough to coat the back of a spoon, you’re on the right track. It should be smooth and glossy, not runny. Remember, patience is key here!
Can I add nuts or other mix-ins to my caramel?
Absolutely! Feel free to stir in some chopped nuts, like pecans or walnuts, just before pouring the mixture into the pan. You can also swirl in some chocolate for a decadent twist. The options are endless!
What’s the best way to cut the caramel into squares?
Once your caramel is set, I find using a sharp knife works best. For clean cuts, you can lightly grease the knife with a bit of butter or oil between cuts. This keeps everything neat and pretty!
Can I freeze my *holiday caramel*?
You can, but I recommend wrapping each piece individually in wax paper or plastic wrap before freezing. This helps keep them from sticking together. They’ll stay good for about a month, but I doubt they’ll last that long once you share them with friends and family!