
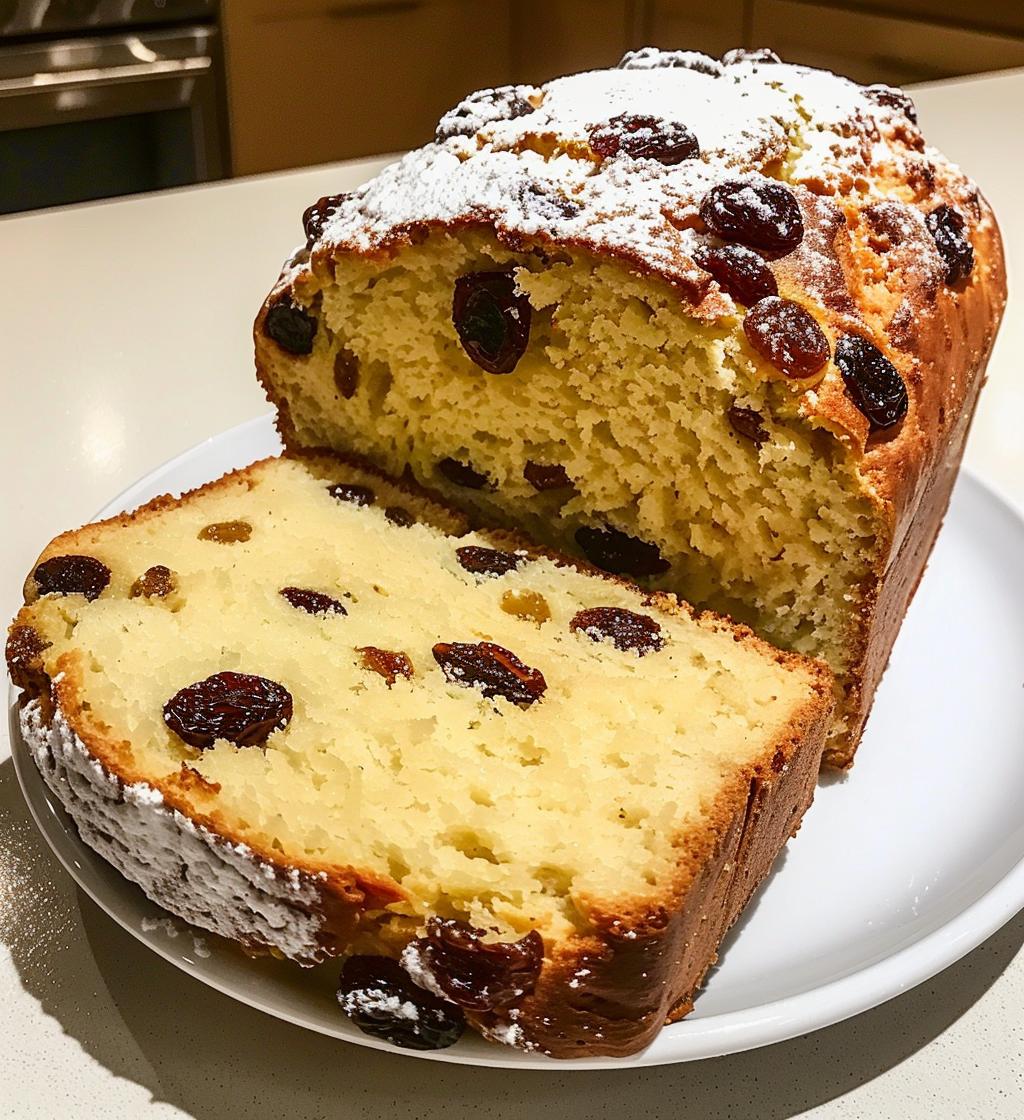
Welcome to my cozy corner of holiday baking! There’s something truly magical about the aroma of freshly baked breads wafting through the house during the festive season. Growing up, my family had a tradition of gathering around the kitchen on chilly mornings, the table laden with warm slices of bread, drizzled with butter and jam. It was our way of starting the day together, filled with laughter and love. These Holiday breakfast breads are not just a recipe but a way to create those cherished moments that linger long after the last slice is gone. Trust me, this delightful assortment will elevate your holiday gatherings and fill your home with joy and deliciousness!
Ingredients List
- 3 cups all-purpose flour
- 1 cup packed sugar
- 1 cup milk
- 1/2 cup softened butter
- 2 large eggs
- 2 tsp baking powder
- 1 tsp vanilla extract
- 1/2 tsp salt
- 1 cup dried fruits (like raisins and cranberries)
How to Prepare Instructions
Making these Holiday breakfast breads is a breeze, and I promise it’s going to fill your kitchen with the most inviting scents! Let’s get started!
Preparing the Batter
First things first, preheat your oven to 350°F (175°C). This step is key—trust me, you want your oven nice and toasty for that perfect bake! In a large mixing bowl, combine your flour, sugar, baking powder, and salt. Give it a little whisk to blend everything together. In another bowl, whisk together the milk, softened butter, eggs, and vanilla extract until it’s all smooth and creamy. Now, here’s the important part: gently pour your wet mixture into the dry ingredients. Use a spatula to fold them together just until combined. Don’t overmix! A few lumps are perfectly fine—overmixing can lead to a dense bread, and we want fluffy, delightful slices!
Baking the Bread
Next, grab a greased loaf pan and pour that beautiful batter right in. Smooth it out a bit with your spatula. Now, it’s time to bake! Pop it into your preheated oven and let it work its magic for about 50-60 minutes. Here’s a little tip: check for doneness by inserting a toothpick into the center. If it comes out clean or with just a few crumbs, you’re good to go! If it’s still wet, give it a few more minutes. Patience is key!
Cooling and Serving
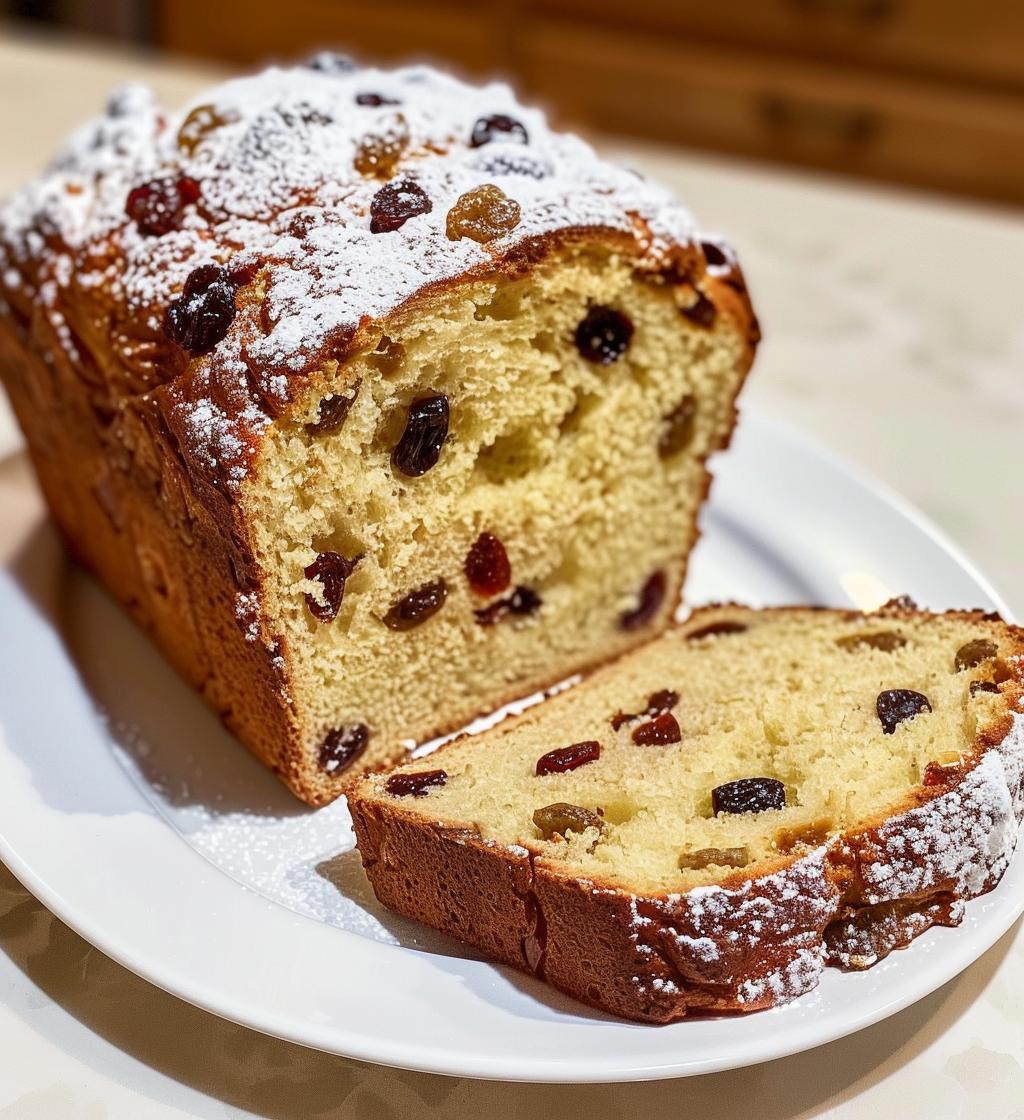
Once it’s done baking, let your bread cool in the pan for about 10 minutes. This will make it easier to remove it without falling apart. Then, carefully transfer it to a wire rack to cool completely. I know it’s hard to resist slicing into it right away, but letting it cool helps the texture set beautifully. When you’re ready to serve, slice it up and enjoy it warm. For an extra festive touch, you can sprinkle some powdered sugar on top or drizzle it with a sweet glaze. Your guests will be asking for seconds!
Why You’ll Love This Recipe
- Quick and easy preparation—perfect for busy holiday mornings!
- Deliciously festive flavors with hints of vanilla and sweet dried fruits.
- Ideal for gatherings, making it a crowd-pleaser at any brunch or breakfast table.
- Versatile and easy to customize—swap in your favorite dried fruits or add spices like cinnamon or nutmeg.
- Creates a warm, inviting atmosphere as it fills your home with delightful aromas.
- Each slice is soft, fluffy, and perfect for toasting with butter or spreading with jam.
Tips for Success
To make sure your Holiday breakfast breads turn out absolutely perfect, I’ve got some tried-and-true tips that I swear by!
- Room temperature ingredients: Make sure your butter and eggs are at room temperature before mixing. This helps them combine seamlessly into the batter, resulting in a fluffier loaf!
- Flour measurement: When measuring your flour, spoon it into your measuring cup and level it off with a knife. Don’t scoop directly from the bag, as this can pack it down and lead to a denser bread.
- Mixing method: Remember, less is more when it comes to mixing! Gently fold your wet and dry ingredients together until just combined. A few lumps are okay—this will keep your bread light and airy.
- Ingredient substitutions: If you’re out of dried fruits, feel free to swap in chocolate chips or nuts for a fun twist! You can also use almond milk or coconut milk if you prefer a dairy-free option.
- Oven temperature: Every oven is a little different, so keep an eye on your bread as it bakes. If your oven runs hot, you might want to check for doneness a few minutes early to avoid overbaking.
- Cooling properly: Don’t skip the cooling step! Letting your loaf cool completely on a wire rack helps maintain its texture and flavor. It’s hard to wait, but trust me, it’s worth it!
With these tips in your back pocket, you’re all set to create the most delightful holiday breakfast breads that everyone will love!
Nutritional Information
Here’s a rough breakdown of the nutrition for each slice of these delightful Holiday breakfast breads: approximately 180 calories, 7g of fat, 3g of protein, and 28g of carbohydrates, including 12g of sugar. Keep in mind, these values are estimates and can vary based on the specific ingredients you use. Enjoying this bread as part of a balanced breakfast can be a delicious way to kickstart your day!
FAQ Section
Can I use fresh fruits instead of dried fruits in my Holiday breakfast breads?
While dried fruits work beautifully for their sweetness and texture, you can use fresh fruits like mashed bananas or applesauce. Just keep in mind that fresh fruits may add extra moisture, so you might need to adjust the flour slightly.
What’s the best way to store leftover bread?
I recommend keeping any leftover bread in an airtight container at room temperature for up to 3 days. If you want to keep it fresh for longer, you can wrap it tightly in plastic wrap and store it in the freezer for up to 2 months. Just thaw it overnight in the refrigerator before serving!
Can I make these breads ahead of time?
Absolutely! You can prepare the batter the night before and refrigerate it until you’re ready to bake. Just remember to let it sit at room temperature for about 30 minutes before putting it in the oven to help it bake evenly.
What variations can I try with this recipe?
The possibilities are endless! You can add spices like cinnamon or nutmeg for a warm touch, or even try incorporating nuts or seeds for added crunch. For a festive twist, consider adding a splash of orange zest or swapping in different dried fruits according to your preference!
Why did my bread not rise properly?
If your Holiday breakfast breads didn’t rise as expected, it could be due to expired baking powder. Always check the freshness of your baking powder, and make sure to mix your batter just until combined. Overmixing can lead to dense bread!
Storage & Reheating Instructions
Storing your leftover Holiday breakfast breads is super simple! Just wrap the loaf tightly in plastic wrap or place it in an airtight container to keep it fresh. It’ll stay good at room temperature for up to 3 days. If you want to keep it longer, pop it in the freezer for up to 2 months. When you’re ready to enjoy it again, simply thaw it overnight in the fridge. For a warm, cozy treat, slice and pop it in the toaster or microwave for a few seconds. This way, you’ll have that freshly baked taste all over again!