
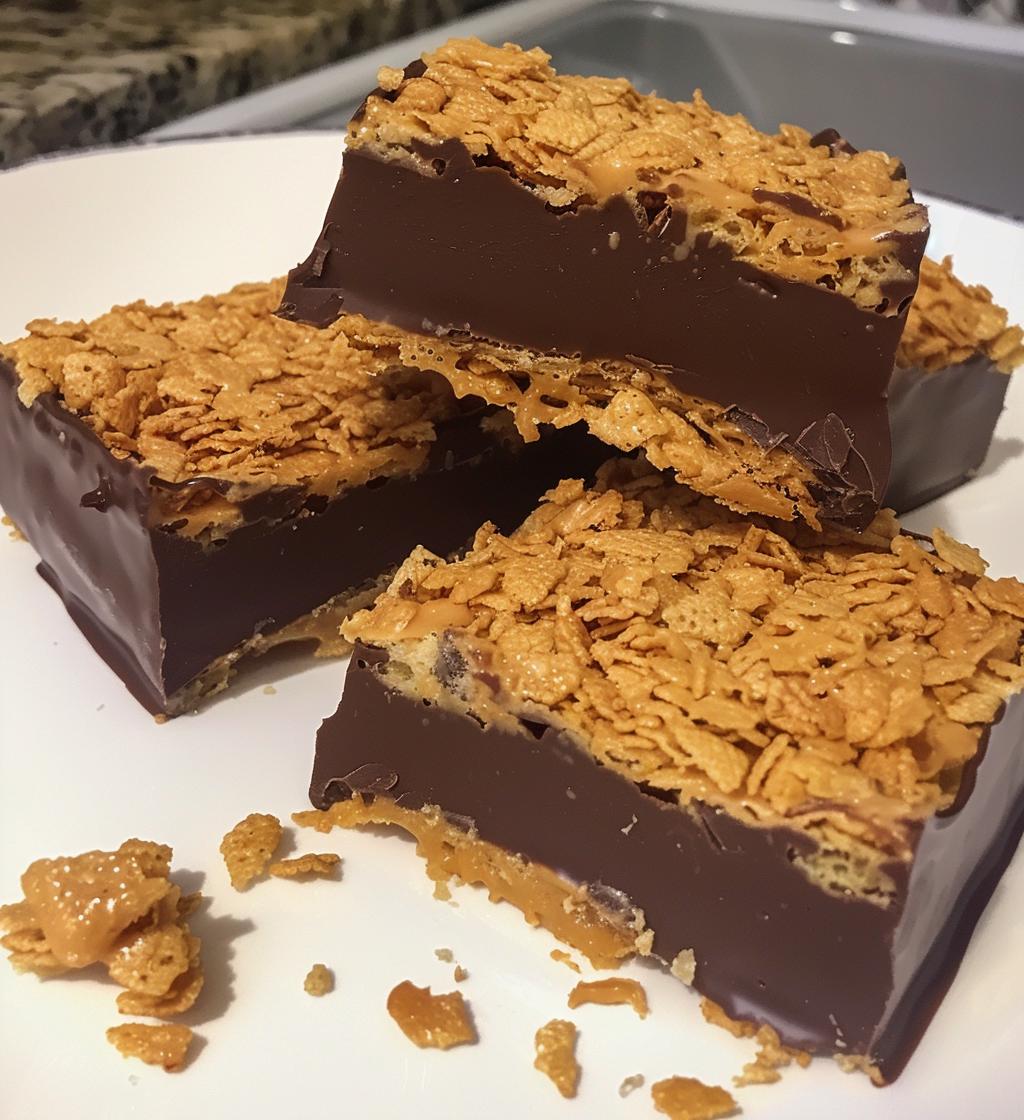
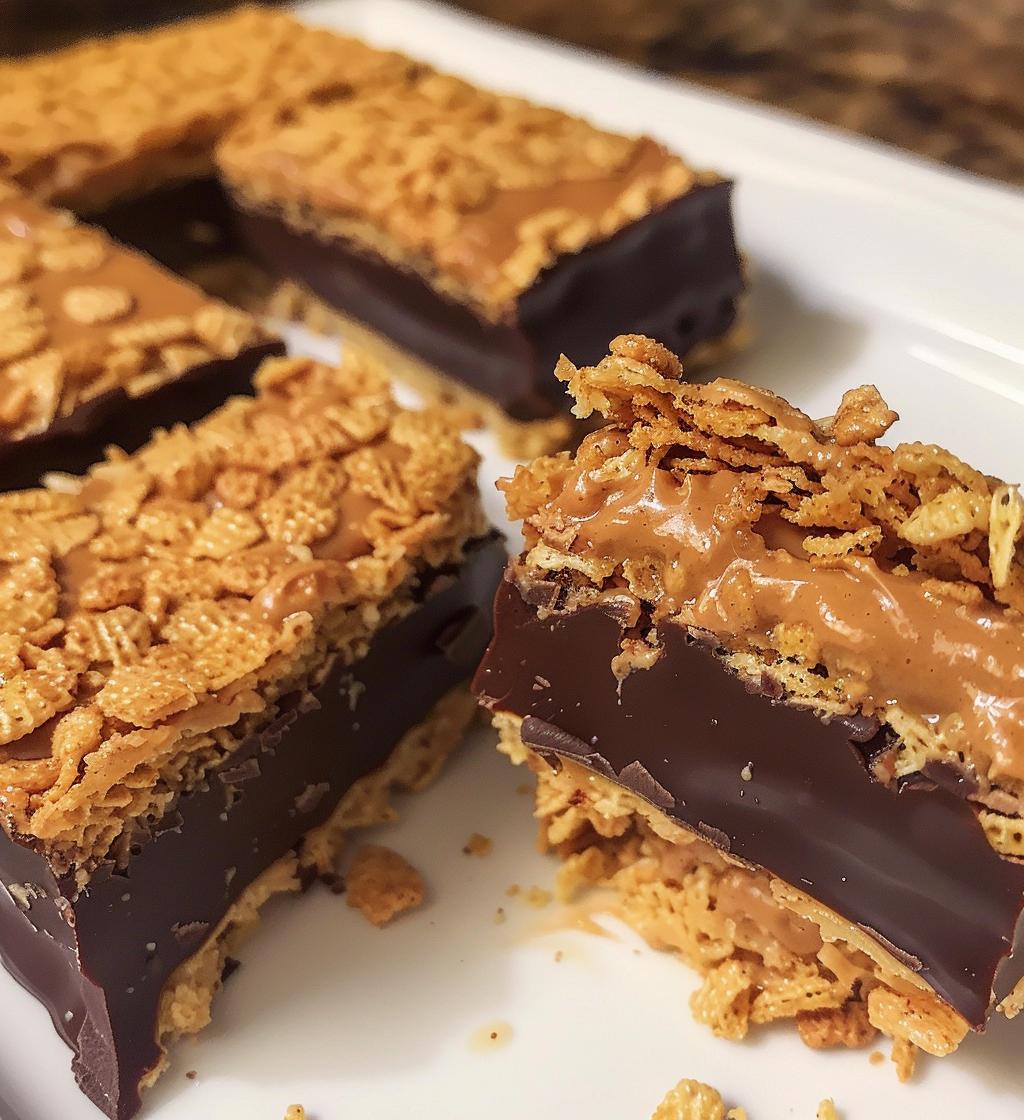
Hey there, snack lovers! If you’re like me, you probably have a soft spot for those crunchy, chocolatey Butterfinger bars that take us back to childhood. But what if I told you that you can whip up a healthier version right at home? Yup, you heard me! These Healthy Homemade Butterfingers are not only delicious but made with natural ingredients that you can feel good about indulging in. I remember the first time I made these—my kitchen was filled with that irresistible peanut butter aroma, and I couldn’t help but sneak a taste before they even set. Trust me, once you try these, you’ll never want to go back to the store-bought ones! Let’s dive into making these mouthwatering treats that are perfect for a guilt-free snack or dessert.
Ingredients for Healthy Homemade Butterfingers
Alright, let’s get to the fun part—gathering our ingredients! You’ll find that these goodies are made with simple, wholesome items that you probably already have in your pantry. Here’s what you’ll need:
- 1 cup natural peanut butter
- 1/4 cup honey or maple syrup
- 2 cups crushed cornflakes
- 1 cup dark chocolate chips
- 1 tablespoon coconut oil
Trust me, you’ll love how these come together. The peanut butter gives that classic flavor, while the cornflakes add that delightful crunch. And don’t get me started on the rich, melty chocolate on top—yum! So, are you ready to bring these ingredients to life? Let’s move on to the next step!
How to Prepare Healthy Homemade Butterfingers
Now that we have our ingredients ready, let’s get into the fun part—making these delicious bars! It’s super simple, and I promise you’ll feel like a pro in no time. Follow along with these easy steps, and you’ll have your very own Healthy Homemade Butterfingers ready to enjoy!
Step 1: Mix Peanut Butter and Honey
First things first, grab a good-sized bowl and add in your peanut butter and honey (or maple syrup if you prefer a different sweetness). Now, mix them together until it’s all smooth and creamy. I like to use a spatula because it really helps to scrape down the sides and ensure everything’s well combined. This step is crucial because it helps create that rich, decadent flavor that’s going to shine through in your bars!
Step 2: Add Cornflakes
Next up, it’s time to bring in the cornflakes! Gently fold them into your peanut butter mixture until they’re well coated. This is where the magic happens—the crunchiness of the cornflakes combined with the creamy peanut butter is just heavenly! Make sure you take your time here; we want every flake to be covered for that perfect texture. Trust me, it’s worth the extra love!
Step 3: Press into Dish
Now that your mixture is looking fantastic, it’s time to transfer it into a lined baking dish. I usually use parchment paper—it makes removal so much easier later! Press the mixture down firmly with your hands or the back of a spatula to create an even layer. Don’t be shy about getting in there; you want it nice and compact so it holds together when you cut it into bars later.
Step 4: Melt Chocolate
While your mixture is setting, let’s melt that rich dark chocolate! In a microwave-safe bowl, combine the chocolate chips and coconut oil. Microwave in 30-second intervals, stirring in between until it’s all melted and smooth. Be careful not to overheat it—burnt chocolate is a sad fate! If you see it starting to clump or look thick, stop and stir—it’ll melt beautifully as you mix.
Step 5: Pour Chocolate Over
Time to pour that luscious melted chocolate over your peanut butter layer! Start at one end of the dish and pour it evenly across the top, using a spatula to spread it out if needed. You want every inch covered in that gorgeous chocolate. This is where it gets a little messy, but in the best way possible! Just imagine the taste—oh, it’s going to be divine!
Step 6: Refrigerate and Cut
Finally, pop your baking dish into the fridge and let it chill for about 1-2 hours, or until the chocolate is set. This part is the hardest because the anticipation is real! Once it’s firm, take it out, lift the whole thing out of the dish using the parchment paper, and cut it into bars. I like to make them about the size of a traditional Butterfinger, but you can make them smaller or larger depending on your craving. Enjoy the process and get ready to indulge in your homemade goodness!
Nutritional Information
Let’s talk numbers! Knowing what’s in your treats can make indulging just a bit sweeter. Here’s the estimated nutritional breakdown for each bar of these Healthy Homemade Butterfingers:
- Calories: 150
- Sugar: 5g
- Fat: 8g
- Saturated Fat: 2g
- Unsaturated Fat: 6g
- Trans Fat: 0g
- Carbohydrates: 15g
- Fiber: 2g
- Protein: 4g
- Cholesterol: 0mg
Now, keep in mind that these values are estimates and can vary based on the specific brands and ingredients you use. But overall, you can feel good about enjoying a bar (or two!) without the guilt. Isn’t that the best part? You’re treating yourself while still keeping it on the healthier side!
Why You’ll Love This Recipe
- It’s a healthier alternative to traditional Butterfingers—less sugar and all-natural ingredients!
- Super easy to prepare—no baking involved, just mix, press, and chill!
- Delicious crunchy texture combined with creamy peanut butter and rich chocolate.
- Perfect for satisfying sweet cravings without the guilt—great for snacking or dessert!
- Customizable! You can switch up the nut butter or add in your favorite spices for a personal touch.
- Great for meal prep—make a batch and have a tasty treat ready to go for the week!
- Kid-friendly! Little ones will love helping out in the kitchen and enjoying these treats.
Tips for Success
Alright, my fellow kitchen adventurers! Here are some of my favorite tips to ensure your Healthy Homemade Butterfingers turn out absolutely perfect every time. Trust me, these little details can make all the difference!
- Mix Well: Make sure to mix the peanut butter and honey thoroughly. You want it to be completely smooth before adding in the cornflakes. This helps to create that luscious texture throughout your bars.
- Be Gentle with Cornflakes: When folding in the cornflakes, do it gently! You want them coated without crushing them too much. We need that crispy crunch in every bite!
- Press Firmly: When pressing the mixture into the baking dish, make sure to apply enough pressure to compact it well. This will help keep your bars from falling apart when you cut them.
- Watch the Chocolate: When melting your chocolate chips, keep a close eye on it! Chocolate can go from perfect to burnt in a flash. Stir frequently and use short intervals in the microwave to avoid any mishaps.
- Chill Time Matters: Don’t rush the refrigeration process! Letting your bars chill for at least 1-2 hours ensures they set up properly. If you cut them too soon, they might crumble, and we want them to stay beautifully intact!
- Use Parchment Paper: Lining your baking dish with parchment paper is a game changer. It makes removing the bars a breeze, and you won’t have to worry about them sticking!
- Storage Tip: Store your bars in an airtight container in the fridge. This keeps them fresh and maintains their chewy texture. Plus, they’re perfect for grabbing on the go!
With these tips, you’ll be well on your way to whipping up a batch of these tasty treats that everyone will love. Happy cooking!
Variations of Healthy Homemade Butterfingers
Ready to get a little creative? One of the best things about making your own Healthy Homemade Butterfingers is how easily you can customize them to suit your taste or dietary needs. I love experimenting with different flavors and ingredients, and I’m excited to share some fun variations with you!
- Nut Butter Swap: Switch up the peanut butter for almond butter, cashew butter, or even sunflower seed butter! Each nut butter brings its own unique flavor and texture, so feel free to get adventurous.
- Chocolate Choices: Want to mix things up? Try using white chocolate chips or even a dairy-free chocolate if you’re looking for a vegan option. You could also add a pinch of sea salt to enhance the sweetness of the chocolate.
- Add Some Spice: For a little kick, sprinkle in some cinnamon or even a dash of cayenne pepper! It might sound wild, but the warmth of the spice pairs beautifully with the sweetness of the bars.
- Boost the Crunch: If you’re a texture lover like me, consider adding in some chopped nuts, seeds, or even a sprinkle of toasted coconut flakes. It’ll give your bars an extra layer of crunch that’s absolutely delightful!
- Fruit Infusion: Want a fruity twist? Fold in some dried fruit like cranberries, raisins, or chopped apricots with the cornflakes. They add a lovely sweetness and chewiness that complements the bars perfectly.
- Protein-Packed: For a protein boost, stir in some protein powder into the peanut butter mixture. It’s a fantastic way to make these bars even more filling, especially for a post-workout snack!
- Different Shapes: Instead of pressing the mixture into a baking dish, consider using silicone molds to create fun shapes. Kids love this, and it makes for a visually fun treat!
The possibilities are endless, and that’s what makes these Healthy Homemade Butterfingers so special! Feel free to mix and match these ideas or even come up with your own unique combinations. Whatever you choose, just know that you’re in for a delicious treat that’s all your own!
Storage & Reheating Instructions
Now that you’ve whipped up a batch of these scrumptious Healthy Homemade Butterfingers, let’s talk about how to keep them fresh and tasty! It’s super simple, and you’ll want to make sure they stay just as delicious as when you first made them.
First things first, once your bars are cut, place them in an airtight container. This is key! You don’t want them to dry out or absorb any funky odors from the fridge. I usually layer them with a piece of parchment paper in between to keep them from sticking together. They’ll happily stay fresh in the fridge for up to a week—though I bet they won’t last that long because they’re just too good!
If you find that you’ve got a lot leftover (or just want to save some for later), these bars freeze beautifully! Just wrap each bar tightly in plastic wrap, and then pop them into a freezer-safe bag or container. They can be frozen for up to two months. When you’re ready to indulge, just take out as many as you want and let them thaw in the fridge for a couple of hours. No need to reheat—enjoy them chilled for that perfect crunchy texture!
With these simple storage tips, you can savor your homemade treats for days to come! Happy snacking!
Print
Healthy Homemade Butterfingers: 6 Irresistible Steps
- Prep Time: 15 minutes
- Cook Time: 10 minutes
- Total Time: 25 minutes
- Yield: 12 bars 1x
- Category: Dessert
- Method: No-Bake
- Cuisine: American
- Diet: Vegan
Description
A healthier version of the classic Butterfinger candy bar made with natural ingredients.
Ingredients
- 1 cup natural peanut butter
- 1/4 cup honey or maple syrup
- 2 cups crushed cornflakes
- 1 cup dark chocolate chips
- 1 tablespoon coconut oil
Instructions
- In a bowl, mix peanut butter and honey until smooth.
- Add crushed cornflakes and stir until well coated.
- Press the mixture into a lined baking dish.
- Melt dark chocolate chips and coconut oil together.
- Pour chocolate over the peanut butter layer.
- Refrigerate until set, then cut into bars.
Notes
- Store in an airtight container in the fridge.
- Use vegan chocolate for a dairy-free option.
- Adjust sweetness to your taste.
Nutrition
- Serving Size: 1 bar
- Calories: 150
- Sugar: 5g
- Sodium: 50mg
- Fat: 8g
- Saturated Fat: 2g
- Unsaturated Fat: 6g
- Trans Fat: 0g
- Carbohydrates: 15g
- Fiber: 2g
- Protein: 4g
- Cholesterol: 0mg
Keywords: Healthy Homemade Butterfingers, Dessert, Snack, Vegan Candy