
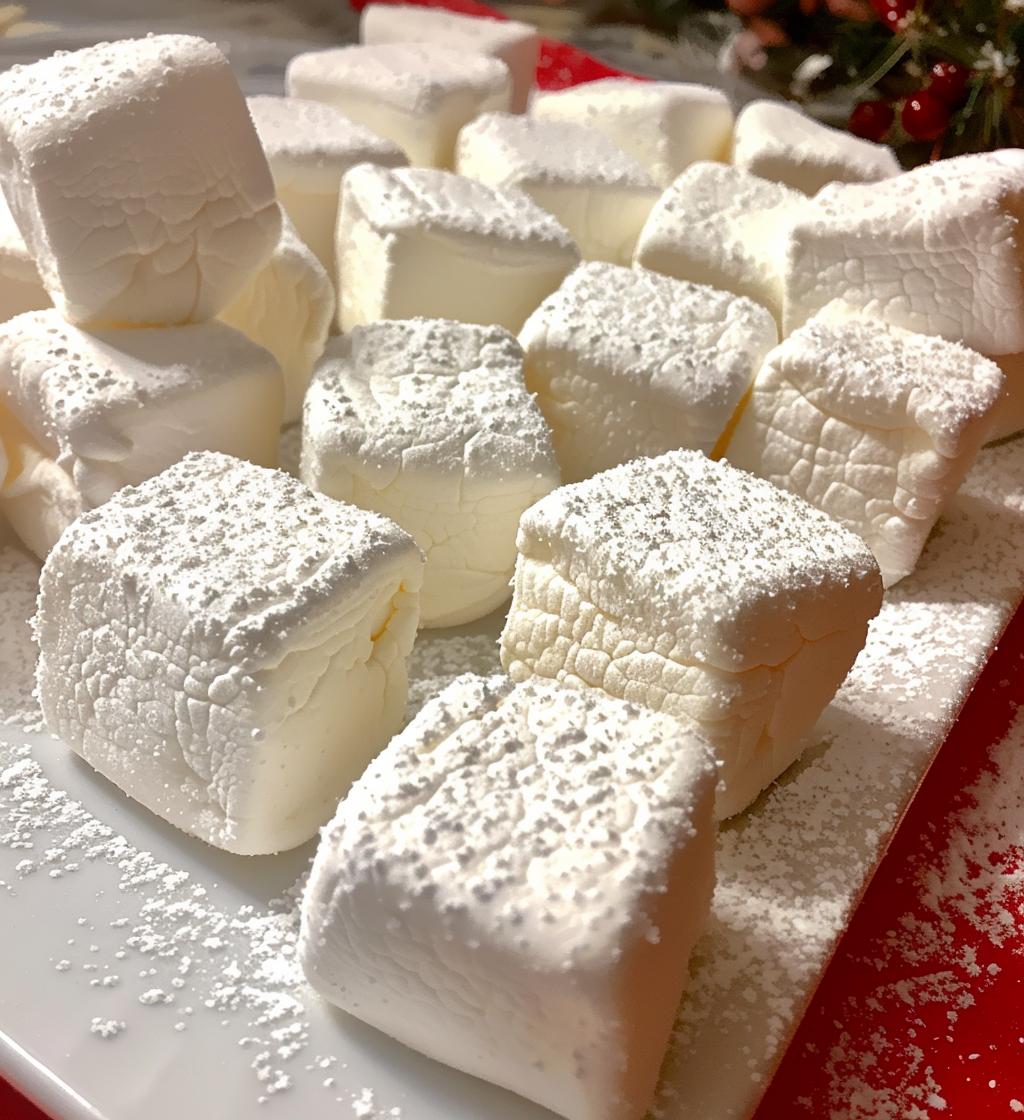
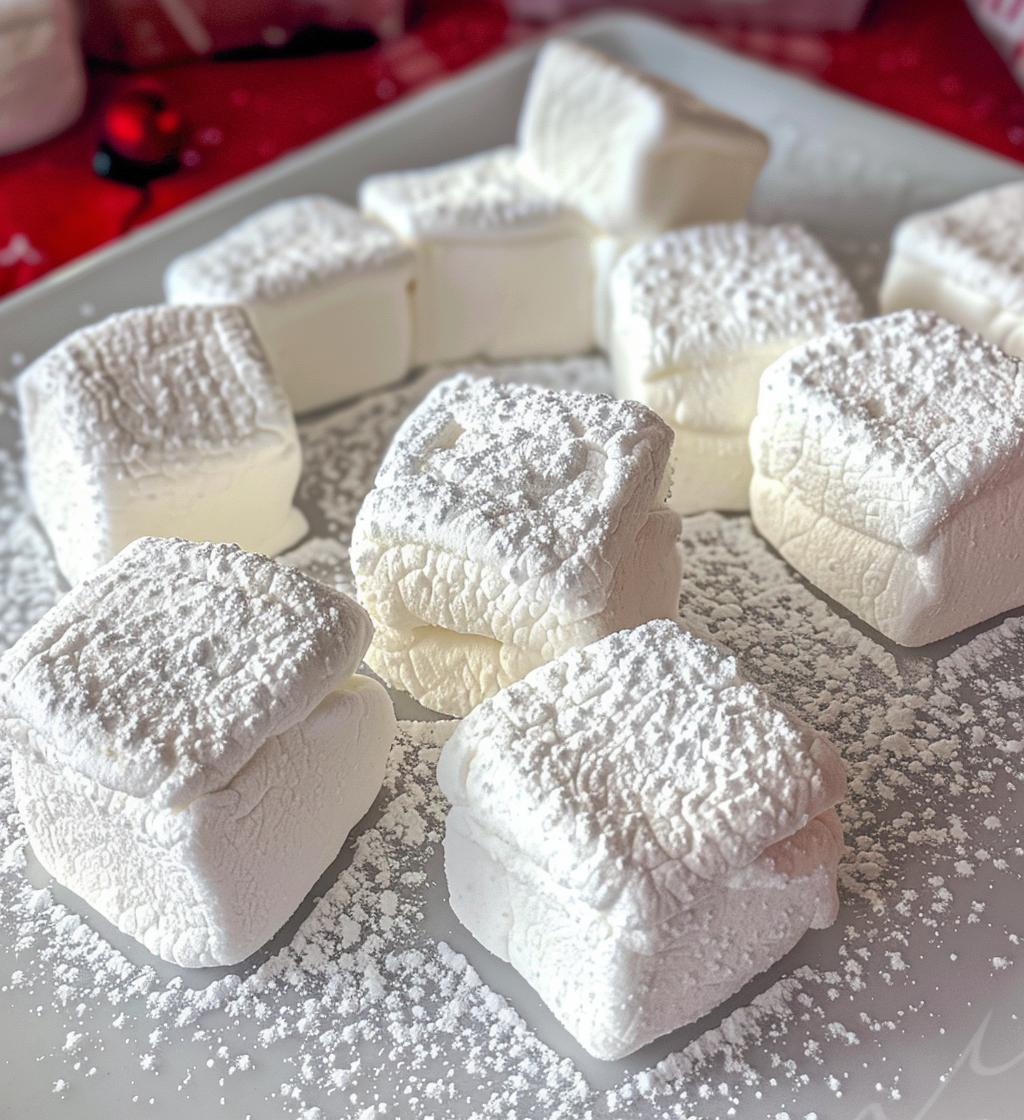
Oh my goodness, let me tell you about the magic of homemade Christmas marshmallows! These fluffy little clouds of sweetness are not just delicious; they bring a festive spirit that can light up any holiday gathering. I remember the first time I made them with my kids—we had marshmallow fluff everywhere! But the giggles and smiles when we finally tasted those gooey treats made it all worth it. Each bite is a soft, sugary hug that melts in your mouth, perfectly paired with hot cocoa or just enjoyed on their own. Trust me, once you try making these, you’ll never want store-bought again. They’re a holiday tradition you can’t miss!
Ingredients List
- 1 cup granulated sugar
- 1/2 cup corn syrup
- 1/4 cup water
- 1 tablespoon gelatin
- 1/2 cup powdered sugar (for dusting)
- 1 teaspoon vanilla extract
- 1/4 teaspoon salt
How to Prepare Christmas Marshmallows
Making your own Christmas marshmallows is a delightful process, and I promise it’s easier than it sounds! Just follow these steps, and you’ll be on your way to fluffy goodness in no time.
Step 1: Combine the Sugar Mixture
Start by grabbing a saucepan and combining 1 cup of granulated sugar, 1/2 cup of corn syrup, and 1/4 cup of water. Stir it together gently, then heat over medium heat. You’ll want to keep an eye on it until the sugar dissolves completely—this usually takes about 5 minutes. It’s like watching a sweet potion come to life!
Step 2: Bloom the Gelatin
While the sugar mixture is heating, take a small bowl and mix 1 tablespoon of gelatin with 1/4 cup of cold water. Let it sit for about 5 minutes to bloom. You’ll see it get all gelatinous and puffy, which is exactly what you want! This step is crucial for that fluffy texture.
Step 3: Mix Hot Ingredients
Once your sugar mixture is all ready and bubbly, pour it slowly into the bloomed gelatin. Be careful—it’s hot! Whisk it together until the gelatin is completely dissolved. This should take just a minute. The mixture will start to look glossy and smooth, and you’ll be wondering how something so simple can become pure magic.
Step 4: Add Flavor
Now, it’s time to add flavor! Stir in 1 teaspoon of vanilla extract and 1/4 teaspoon of salt. Make sure everything is mixed thoroughly. This is where the aroma starts to fill your kitchen, and trust me, it’s heavenly!
Step 5: Set the Mixture
Pour the mixture into a greased pan—an 8×8 inch pan works perfectly. Spread it out evenly, then let it set for about 4 hours at room temperature. I know it’s hard to wait, but this is the time when all that marshmallow goodness comes together!
Step 6: Cut and Dust
Once set, dust the top with 1/2 cup of powdered sugar. This prevents sticking and adds a lovely sweetness! Cut the marshmallows into squares (or any shape you like!), and give each piece a little dusting of powdered sugar on all sides. There you go—your own homemade Christmas marshmallows, ready to be enjoyed!
Tips for Success
To make your Christmas marshmallows a real success, I’ve got a few pro tips to share! First, it’s super important to use fresh ingredients—especially the gelatin. Old gelatin can lead to sad, flat marshmallows that just won’t fluff up. Also, keep an eye on the temperature of your sugar mixture; it should be hot but not boiling. If it boils too much, it could affect the texture. Another great tip is to whip the mixture for a longer time once it’s all combined—this adds extra air and gives you those dreamy, fluffy marshmallows! And don’t forget to dust with powdered sugar generously before cutting; it’ll keep them from sticking together. Happy marshmallow making!
Variations on Christmas Marshmallows
Now, let’s get a little creative with these Christmas marshmallows! One of my favorite twists is adding a splash of peppermint extract to the mixture—oh, the holiday spirit it brings! Just a teaspoon will do, and you’ll have a delightful peppermint flavor that pairs perfectly with hot chocolate. If you want to make your marshmallows even more festive, consider using food coloring. A few drops can transform your marshmallows into beautiful red and green treats that are perfect for the season.
Feeling adventurous? Try adding a sprinkle of crushed candy canes on top just before they set for a crunchy, minty finish. You can also experiment with different extracts, like almond or orange, for unique flavors. The best part? You can mix and match to create your perfect holiday treat. Enjoy the fun of customizing your marshmallows—let your creativity shine!
Storage & Reheating Instructions
To keep your Christmas marshmallows fresh and fluffy, store them in an airtight container at room temperature. This will help maintain their delightful texture for up to two weeks—if they last that long, because trust me, they’re hard to resist! If you want to enjoy them later, you can also freeze them. Just layer them in an airtight container with parchment paper between the layers to prevent sticking. When you’re ready to indulge, let them thaw at room temperature. No reheating needed! Enjoy them as a sweet treat on their own, or pop them into a warm cup of cocoa for that extra cozy touch.
Nutritional Information
Here’s the estimated nutritional data for one of your homemade Christmas marshmallows. Keep in mind, these values are just estimates, but they give you a good idea of what you’re indulging in!
- Calories: 30
- Sugar: 6g
- Sodium: 10mg
- Fat: 0g
- Saturated Fat: 0g
- Unsaturated Fat: 0g
- Trans Fat: 0g
- Carbohydrates: 7g
- Fiber: 0g
- Protein: 0g
- Cholesterol: 0mg
So, there you have it! These marshmallows are a fun treat for the holiday season without too much guilt. Enjoy them in moderation, and let the sweetness bring joy to your celebrations!
Why You’ll Love This Recipe
- Quick and easy to make—just a few simple steps!
- Perfect for holiday gatherings, adding a personal touch to your dessert table.
- Fluffy, melt-in-your-mouth texture that’s irresistible.
- Fun to customize with flavors and colors, making them uniquely yours.
- A delightful treat for kids and adults alike—everyone loves marshmallows!
FAQ Section
How long do homemade Christmas marshmallows last?
If stored in an airtight container at room temperature, your marshmallows will stay fresh for about two weeks. Trust me, though, they’ll probably be gone long before then!
Can I flavor my Christmas marshmallows differently?
Absolutely! Besides the classic vanilla, you can try adding peppermint extract for a festive twist, or even flavors like almond or orange for something unique. The flavor possibilities are endless—get creative!
How do I make Christmas marshmallows vegan?
To make these marshmallows vegan, you can substitute the gelatin with agar-agar. Just follow the package instructions for blooming and using it, and you’ll have a delicious vegan version of these holiday treats!
Can I use colored sugar instead of powdered sugar for dusting?
Yes, you can! Using colored sugar is a fun way to add a festive touch to your marshmallows. Just make sure to dust them lightly so they don’t get too sticky.
What’s the best way to cut my marshmallows?
To get nice, clean cuts, I find it helpful to use a sharp knife dusted with powdered sugar or cornstarch. This prevents sticking and keeps your marshmallows looking perfect!