

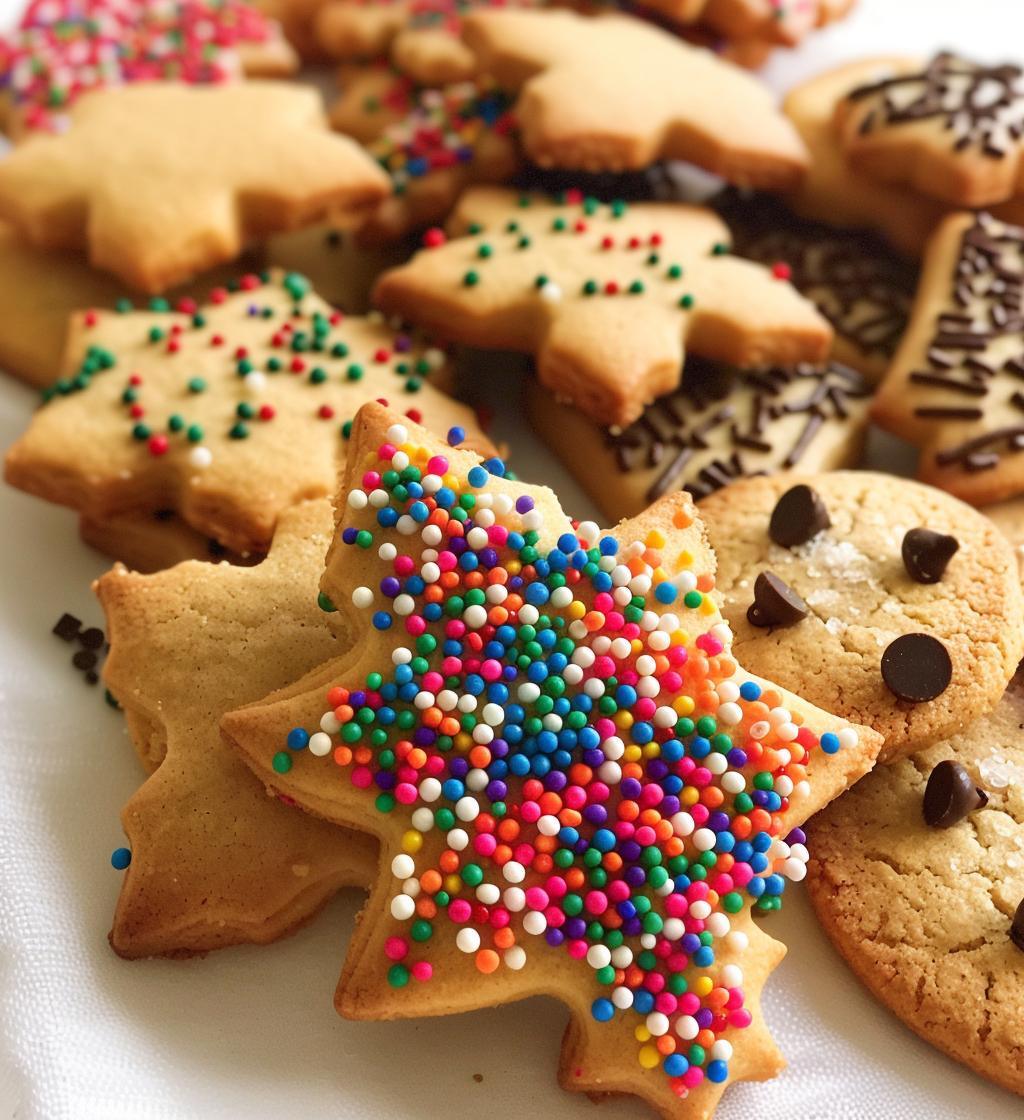
There’s something truly magical about the holiday season, and what better way to celebrate than by creating a stunning Christmas cookie platter? This recipe is all about bringing joy and color to your festive gatherings. Trust me, the moment you place that platter on the table, eyes will light up with excitement! Imagine an array of delicious, vibrant cookies, each one bursting with flavor and charm. It’s the perfect way to share love and warmth with friends and family. Plus, these cookies are super easy to whip up, making them a go-to for any holiday party. So, roll up your sleeves and let’s make some cookies that’ll not only taste amazing but also look absolutely beautiful on your spread!
Ingredients List
Here’s everything you’ll need to create your vibrant Christmas cookie platter! Each ingredient plays an important role in making these cookies not just delicious but also visually stunning. Let’s get started!
- 2 cups all-purpose flour: This is the foundation of your cookies, giving them structure and that satisfying bite.
- 1 cup unsalted butter, softened: Make sure it’s at room temperature for easy creaming. This adds richness and a lovely buttery flavor.
- 1 cup granulated sugar: This sweetener gives your cookies that classic sweetness and helps them spread just right.
- 1/2 cup brown sugar: The molasses in brown sugar adds depth and moisture, giving your cookies a soft texture.
- 1 large egg: A binder that helps hold everything together while providing moisture.
- 1 teaspoon vanilla extract: Adds a warm, inviting aroma and flavor that perfectly complements the sweetness.
- 1/2 teaspoon baking powder: This is your leavening agent, making sure those cookies rise and aren’t too dense.
- 1/2 teaspoon salt: Just a pinch to balance the sweetness and enhance all the flavors.
- 1 cup chocolate chips: Choose your favorite type—milk, dark, or semi-sweet—to create delicious pockets of chocolate in every bite!
- 1 cup assorted sprinkles: The star of your Christmas cookie platter! They add a burst of color and festive cheer.
How to Prepare Instructions
Alright, let’s get baking! Follow these simple steps, and you’ll have your colorful Christmas cookie platter ready in no time. Trust me, the smell of these cookies baking will fill your kitchen with holiday cheer!
- Preheat your oven: Start by preheating your oven to 350°F (175°C). This step is crucial because it ensures your cookies bake evenly and come out just right!
- Cream the butter and sugars: In a large mixing bowl, cream together the softened unsalted butter, granulated sugar, and brown sugar until the mixture is light and fluffy. This typically takes about 2-3 minutes. It’s the key to getting that perfect texture!
- Add the wet ingredients: Now, crack in the large egg and pour in the vanilla extract. Mix well until everything is beautifully combined. You want it to be smooth and creamy, so don’t rush this part!
- Mix the dry ingredients: In another bowl, whisk together the all-purpose flour, baking powder, and salt. This helps to evenly distribute the leavening agent and ensures your cookies rise perfectly.
- Combine the mixtures: Gradually mix the dry ingredients into the wet mixture. I like to do this in batches to make sure everything is well incorporated without overmixing. Just blend until you see no more flour pockets!
- Fold in the fun: Gently fold in the chocolate chips and assorted sprinkles. This is where the magic happens—your cookies will be bursting with color and flavor!
- Drop the dough: Using a spoon or cookie scoop, drop spoonfuls of dough onto a lined baking sheet, leaving some space between them. They’ll spread a bit while baking, so don’t crowd them!
- Bake: Pop those trays in the preheated oven and bake for 10-12 minutes. Keep an eye on them—they’re ready when the edges are golden brown, but the centers will look a bit soft. That’s perfect!
- Cool down: Once baked, let the cookies cool on the baking sheet for about 5 minutes before transferring them to a wire rack. This helps them set and makes sure they don’t crumble apart.
And voilà! Your beautiful Christmas cookies are ready to be displayed on your platter. Just try to resist eating them all at once! Enjoy every delightful bite with your loved ones.
Why You’ll Love This Recipe
- Quick and Easy: With just a few simple steps, you’ll have a platter full of cookies ready to impress your guests in no time.
- Festive Flavors: Each bite bursts with the warm, comforting flavors of vanilla and chocolate, capturing the essence of the holiday season.
- Colorful Presentation: The assorted sprinkles make these cookies not only delicious but also a feast for the eyes—perfect for your festive gatherings!
- Perfect for Sharing: There’s nothing like the joy of sharing homemade treats with family and friends, creating lasting memories around the holiday table.
- Customizable: Feel free to swap in your favorite mix-ins or sprinkles, making every platter uniquely yours!
- Kid-Friendly: Kids will love helping out in the kitchen, from mixing the dough to adding sprinkles. It’s a fun family activity!
Tips for Success
To make sure your Christmas cookie platter turns out perfectly, here are some practical tips that I swear by! Each little detail counts, so let’s dive in!
- Room Temperature Ingredients: Always use room temperature butter and egg. This helps create that delightful creamy texture when you mix the butter and sugars, ensuring your cookies are light and fluffy!
- Don’t Overmix: When combining the dry and wet ingredients, mix just until everything is incorporated. Overmixing can lead to tough cookies—yikes! We want soft and chewy, not hockey pucks!
- Baking Time: Keep a close eye on your cookies while they bake. Remember, they’ll continue to cook a bit as they cool, so take them out when the edges are golden but the centers still look a tad soft. This guarantees a nice chewy center!
- Chill the Dough: If you have time, chilling the dough for about 30 minutes before baking can help the cookies maintain their shape and enhance the flavors. Plus, it’s a good excuse to enjoy a festive drink while waiting!
- Ingredient Substitutions: Feel free to swap chocolate chips for your favorite add-ins. Dried fruits, nuts, or even white chocolate can create a delicious twist! Just make sure the total amount stays around one cup.
- Store Properly: Keep your cookies in an airtight container to maintain freshness. They’ll last for about a week, but trust me, they probably won’t last that long!
With these tips, you’ll be well on your way to creating the most delicious and visually stunning Christmas cookie platter! Happy baking!
Variations
If you’re feeling adventurous and want to mix things up a bit, I’ve got some fabulous variations for your Christmas cookie platter! Trust me, these ideas will keep your cookies exciting and delightful for everyone at your holiday gatherings.
- Chocolate Twist: Swap out the standard chocolate chips for white chocolate or even mint chocolate chips! They’ll add a deliciously different flavor and look so festive on your platter.
- Nutty Addition: Toss in some chopped nuts like walnuts or pecans for a delightful crunch. They add a great texture and pair wonderfully with the sweetness of the cookies.
- Dried Fruits: Substitute chocolate chips with dried cranberries, cherries, or raisins for a chewy and fruity twist. This is especially nice if you want a more sophisticated flavor!
- Spice it Up: Add a teaspoon of cinnamon or nutmeg to the dry ingredients for a warm spice that screams holiday cheer! It’s a simple way to make your cookies feel even more festive.
- Frosted Fun: After baking, let your cookies cool and then drizzle them with a simple icing made from powdered sugar and milk or decorate them with your favorite frosting. This will elevate their appearance and add a sweet finishing touch!
- Seasonal Sprinkles: Switch up the sprinkles based on the holiday theme! Use red and green for Christmas, pastel colors for Easter, or even spooky colors for Halloween—your cookie platter will always be in season!
Don’t be afraid to get creative with your cookie variations! Each twist adds a personal touch that makes your Christmas cookie platter even more special. Happy experimenting!
Storage & Reheating Instructions
Now that you’ve got your delightful Christmas cookie platter all set, let’s talk about how to keep those delicious cookies fresh and tasty! Proper storage is key to maintaining their flavor and texture, so here’s what I recommend.
- Storing Cookies: Make sure to let your cookies cool completely before storing them. This prevents any moisture build-up that can make them soggy. Once cooled, place them in an airtight container—this helps keep them soft and prevents them from drying out. You can also separate layers with parchment paper to avoid sticking.
- Keep at Room Temperature: Your cookies will stay fresh for about a week at room temperature. Just make sure they’re stored in a cool, dry place away from direct sunlight!
- Freezing for Later: If you want to save some for later (or if you just can’t resist making a double batch!), you can freeze them! Place the cookies in a single layer on a baking sheet until they’re firm, then transfer them to a freezer-safe bag or container. They’ll keep well for up to three months. Just remember to label the bag with the date—trust me, it helps!
- Reheating Cookies: When you’re ready to enjoy your frozen cookies, remove them from the freezer and let them thaw at room temperature. If you want that fresh-out-of-the-oven experience, pop them in a preheated oven at 350°F (175°C) for about 5 minutes. This will warm them up nicely and bring back that delightful softness!
With these storage and reheating tips, you’ll be able to savor your delicious Christmas cookies well beyond the holiday celebrations! Enjoy every bite!
Nutritional Information
Let’s talk about the nutritional aspect of these delightful Christmas cookies! Each cookie is not just a treat for the taste buds but also comes with some nutritional values you might want to keep in mind. Here’s the breakdown per cookie:
- Calories: 150
- Sugar: 10g
- Fat: 7g
- Saturated Fat: 4g
- Unsaturated Fat: 2g
- Trans Fat: 0g
- Cholesterol: 20mg
- Sodium: 50mg
- Carbohydrates: 20g
- Fiber: 1g
- Protein: 2g
Remember, these values are estimates and can vary based on the specific ingredients you use. If you decide to mix in different types of chocolate or substitute for other ingredients, the nutritional content may change. But hey, the joy of indulging in these festive cookies is what really counts during the holiday season! Enjoy each bite guilt-free!
FAQ Section
Can I use different types of flour for these cookies?
Absolutely! You can experiment with different flours like whole wheat or gluten-free blends. Just keep in mind that it may alter the texture a bit, but it’s a fun way to make these cookies suit your dietary needs!
What if I don’t have sprinkles?
No worries! If you’re out of sprinkles, you can skip them or use chopped nuts, coconut flakes, or even mini marshmallows for a fun twist. It’s all about getting creative!
Can I make the dough ahead of time?
Yes! You can prepare the cookie dough ahead of time and store it in the fridge for up to 3 days or freeze it for up to 3 months. Just make sure to let it come to room temperature before baking!
How can I make my cookies chewier?
For chewier cookies, try adding an extra egg yolk or reducing the baking time slightly. This keeps the centers soft and gooey, which is just divine! Plus, remember not to overmix the dough.
What’s the best way to decorate my Christmas cookie platter?
Get creative! Use a variety of cookie shapes, colors, and textures. Arrange them in a fun pattern, sprinkle some extra festive decorations on top, and don’t be afraid to add a few holiday-themed accents like candy canes or holiday lights for that extra flair!