
Oh, chocolate truffles! Just saying the name makes my heart skip a beat! These little bites of heaven are the ultimate indulgence, aren’t they? I remember the very first time I made chocolate truffles; it was a rainy afternoon, and I was in a chocolate mood. The kitchen filled with the rich scent of melting chocolate, and I couldn’t wait to roll them in cocoa powder! The best part? They’re surprisingly easy to whip up at home, and trust me, once you try them, you’ll be hooked. There’s just something so satisfying about crafting these rich, creamy treats that melt in your mouth. So, let’s dive into making the best chocolate truffles you’ll ever taste!
Ingredients for Chocolate Truffles
Gathering the right ingredients is key to making delicious chocolate truffles, and I promise it’s worth every bite! Here’s what you’ll need:
- 8 oz dark chocolate: Make sure it’s chopped into small pieces for easy melting. I love using high-quality chocolate—trust me, it makes a world of difference in flavor!
- 1/2 cup heavy cream: This is what gives the truffles that luscious, creamy texture. Don’t skimp here!
- 1 tsp vanilla extract: A splash of vanilla elevates the chocolate flavor. It’s like a secret ingredient that makes everything better.
- Cocoa powder for dusting: This is for rolling your truffles after they’ve set. It adds a nice, rich finish and a touch of bitterness to balance the sweetness.
How to Prepare Chocolate Truffles
Making chocolate truffles is a delightful process, and I can’t wait to share my step-by-step guide with you! Just follow these simple instructions, and you’ll have the most scrumptious truffles in no time.
Step 1: Heat the Cream
Start by pouring the heavy cream into a small saucepan. Heat it over medium heat, stirring occasionally, until it just begins to simmer. You’ll see tiny bubbles forming around the edges—that’s your cue! It should take about 3 to 5 minutes, so keep an eye on it to prevent boiling over.
Step 2: Combine Chocolate
Once the cream has simmered, remove the saucepan from the heat and add the chopped dark chocolate. Stir gently until the chocolate melts completely and the mixture becomes smooth and glossy. This step is crucial, so take your time to get it just right!
Step 3: Add Vanilla
Now, let’s enhance that chocolate goodness! Stir in the vanilla extract, mixing well to ensure it’s evenly incorporated. This little addition makes such a difference in flavor—trust me, you’ll love it!
Step 4: Chill the Mixture
Transfer the chocolate mixture to a bowl and cover it with plastic wrap. Pop it in the fridge for about 2 hours. This chilling time is essential for firming it up, making it easier to shape into delightful little balls.
Step 5: Form and Dust Truffles
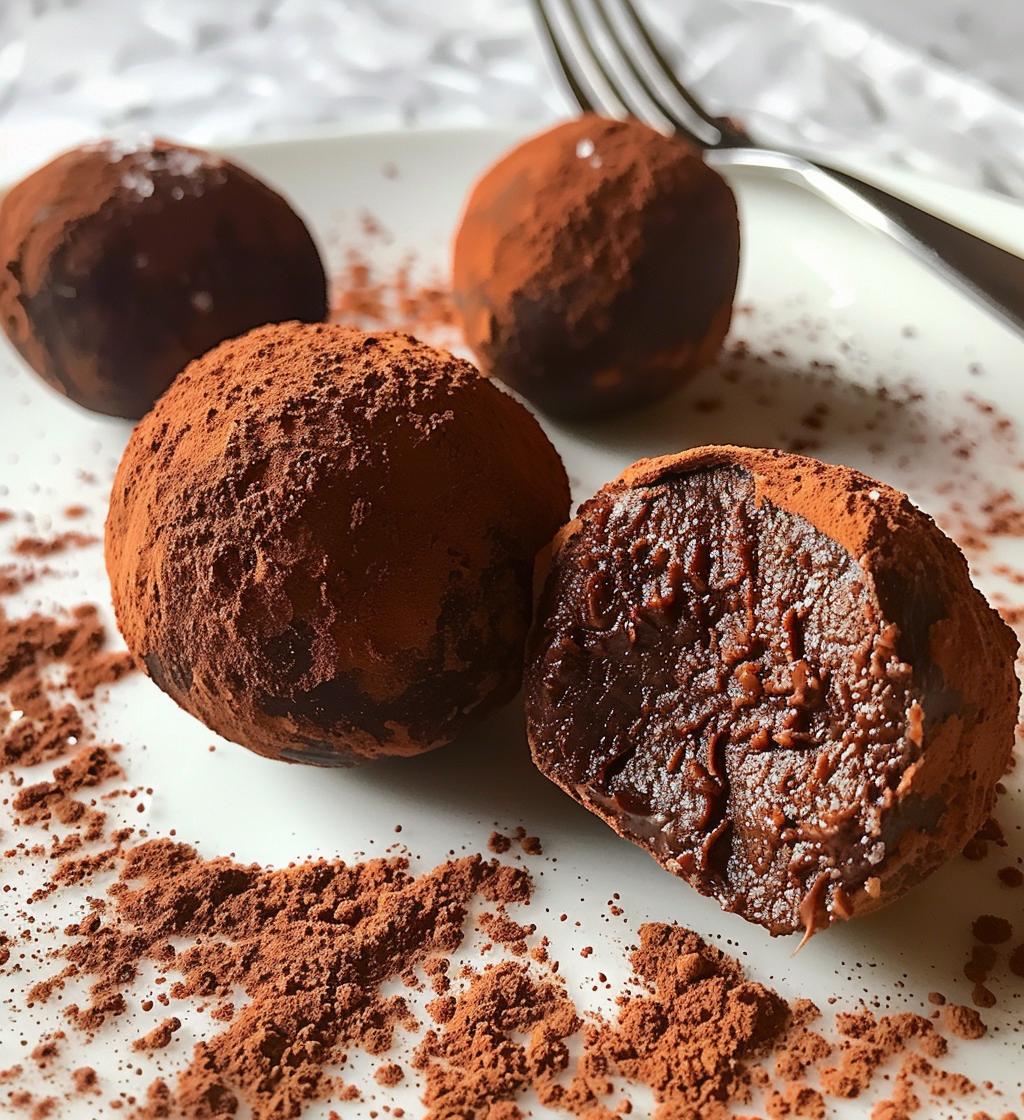
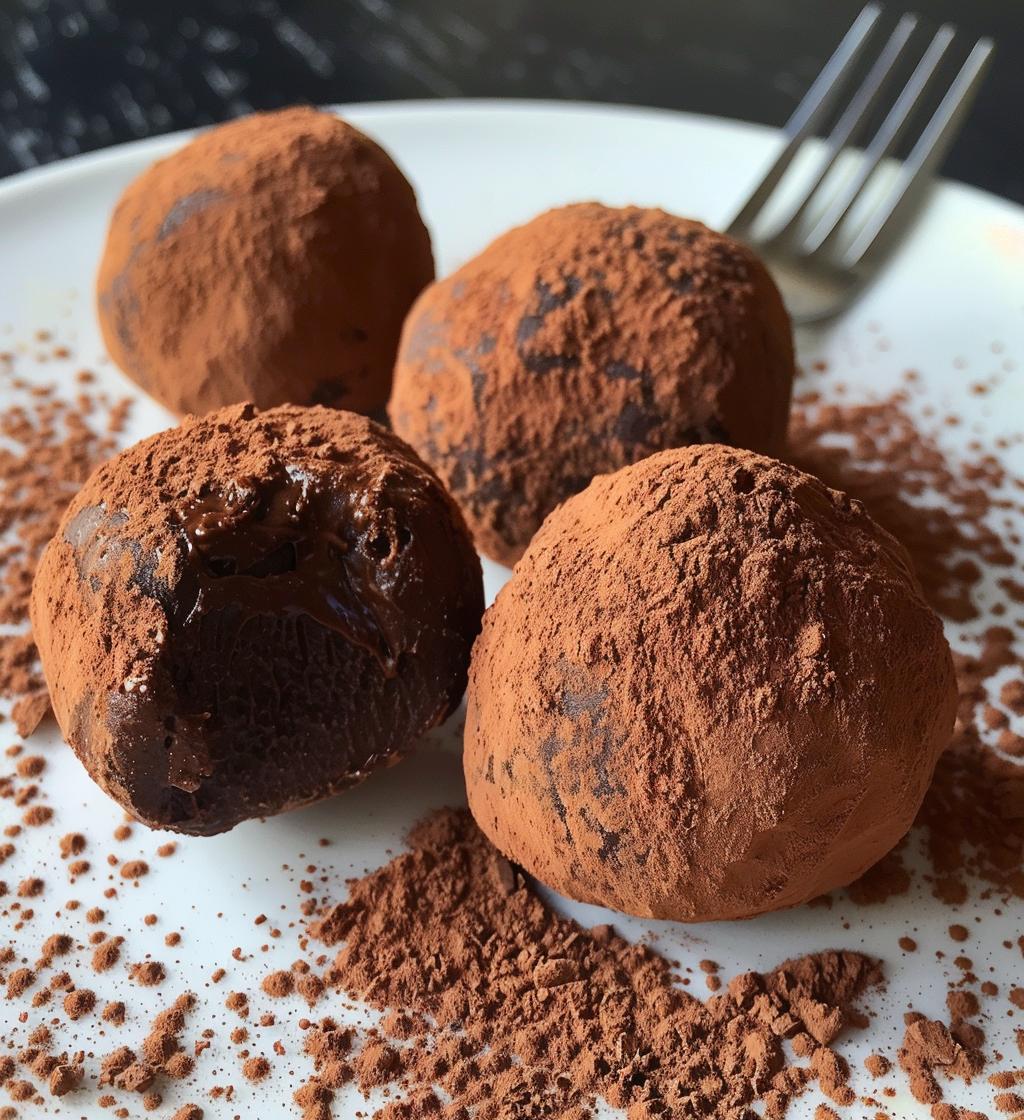
Once the mixture is chilled, it’s time to roll! Use a small cookie scoop or your hands to form small balls of the chocolate mixture. Roll them gently between your palms for a smooth finish, then coat each ball in cocoa powder for that classic look. Make sure to get an even dusting—it adds a wonderful touch!
Step 6: Store the Truffles
Finally, place your beautifully coated truffles in an airtight container and store them in the fridge until they’re fully firm. They should be kept chilled until you’re ready to enjoy them. Believe me, once you take a bite, you’ll be so glad you made these!
Why You’ll Love This Recipe
There are so many reasons to fall in love with these chocolate truffles! Here’s why I think they’re simply the best:
- Quick Prep Time: You can whip these up in just 15 minutes, plus chilling time!
- No Baking Required: That’s right! Just melt, mix, and chill for a no-fuss dessert experience.
- Customizable Flavors: Feel free to get creative! Add your favorite liqueurs or spices to make them your own.
- Rich Taste: The combination of dark chocolate and cream creates a decadent flavor that’s hard to resist.
Tips for Success
To truly master the art of chocolate truffles, here are some of my favorite tips that will make a world of difference! First and foremost, always use high-quality chocolate; it’s the star of the show, and you want that rich, decadent flavor to shine through. I love dark chocolate with at least 60% cocoa for a perfect balance of sweetness and bitterness.
Don’t be afraid to experiment with flavors! A splash of orange liqueur or a hint of peppermint extract can elevate your truffles to the next level. Also, remember that chilling time is essential; it helps the mixture firm up nicely for easy shaping. Lastly, have fun with your coatings! Try crushed nuts, shredded coconut, or even colored sprinkles for a festive touch. Happy truffle making!
Variations on Chocolate Truffles
One of the best things about chocolate truffles is how versatile they can be! You can easily switch things up to keep your taste buds excited. For a fun twist, try rolling your truffles in crushed nuts like hazelnuts or almonds instead of cocoa powder. If you’re feeling adventurous, add a splash of your favorite liqueur, like raspberry or coffee, to the chocolate mixture for a delightful flavor boost!
Want a little spice? A pinch of cinnamon or a dash of chili powder can add an unexpected kick. You can even make them festive by rolling in colored sprinkles for special occasions. The possibilities are endless—get creative and enjoy!
Nutritional Information
These chocolate truffles are not only delicious but also surprisingly manageable in terms of nutrition. Here’s what you can expect per serving, which is just one truffle:
- Calories: 100
- Fat: 7g
- Saturated Fat: 4g
- Trans Fat: 0g
- Cholesterol: 15mg
- Sodium: 5mg
- Carbohydrates: 9g
- Fiber: 1g
- Sugar: 5g
- Protein: 1g
Keep in mind that these values are estimates and can vary based on the specific ingredients you use. Enjoy these indulgent treats without too much guilt!
FAQ About Chocolate Truffles
Got questions about making chocolate truffles? I’ve got you covered! One common question is, How should I store them? Keep your truffles in an airtight container in the fridge to maintain their firmness and flavor. They’ll stay fresh for about a week!
Another popular inquiry is, Can I use milk chocolate instead of dark? Absolutely! Just remember that milk chocolate will give you a sweeter truffle, so adjust the sugar if you like it less sweet.
And if you’re wondering about adding flavors, go for it! A splash of espresso or a hint of sea salt can elevate your truffles. Don’t be shy—experiment and find your favorite combination!