

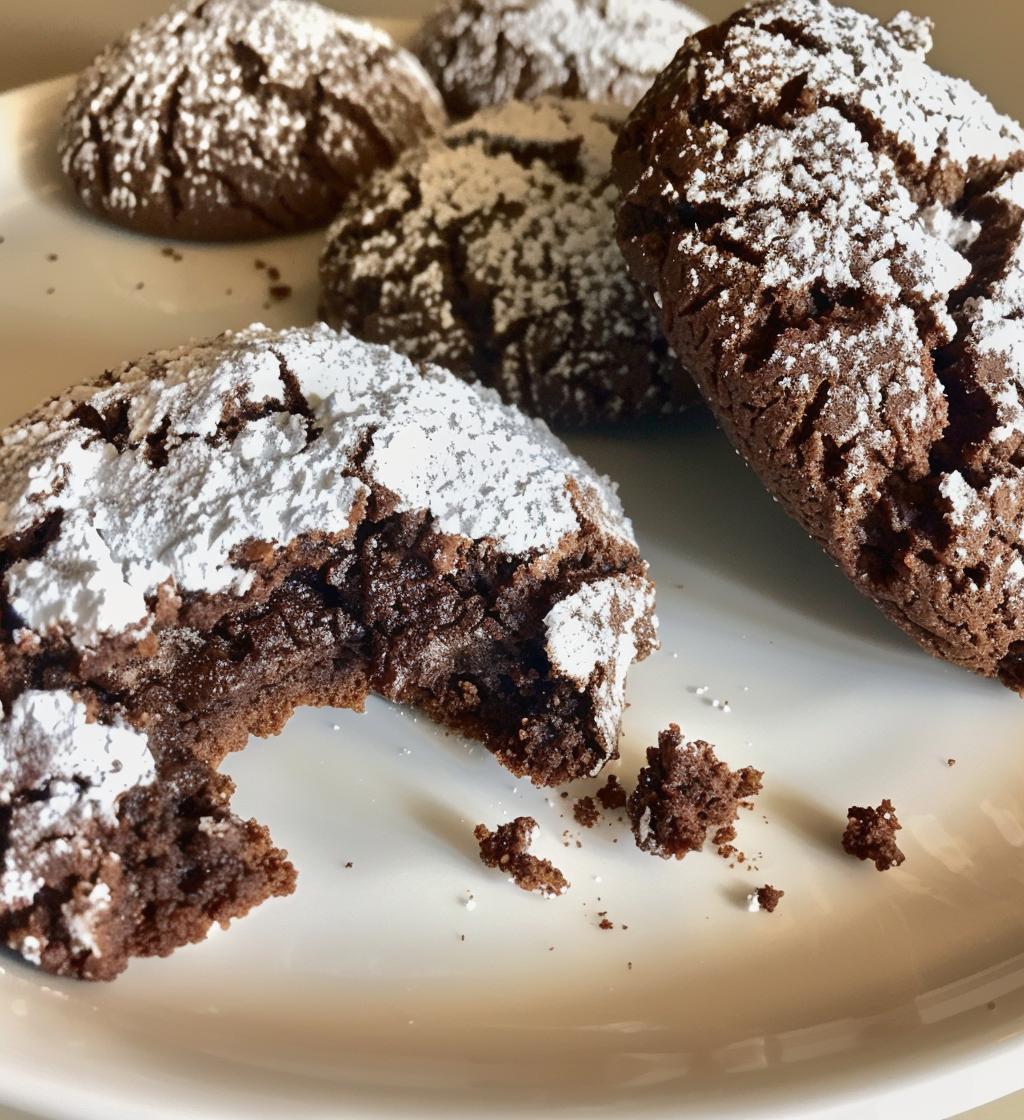
Oh my goodness, let me tell you about Chocolate crinkle cookies! These little beauties are not just cookies; they’re a delightful experience that brings pure joy with every bite. Imagine sinking your teeth into a fudgy, rich chocolate cookie that melts in your mouth, with a beautiful crinkled surface dusted in powdered sugar—it’s like a little cloud of cocoa bliss! I love making these cookies because they remind me of cozy afternoons spent in the kitchen with my family. The scent of chocolate wafting through the air is simply irresistible. Trust me, whether it’s for a special occasion or just because you deserve a treat, these cookies will have everyone coming back for seconds (or thirds!). So, roll up your sleeves and get ready to whip up a batch of happiness!
Ingredients for Chocolate Crinkle Cookies
- 1 cup all-purpose flour
- 1/2 cup unsweetened cocoa powder
- 1 cup granulated sugar
- 1/4 cup vegetable oil
- 2 large eggs
- 1 teaspoon vanilla extract
- 1/2 teaspoon baking powder
- 1/4 teaspoon salt
- Powdered sugar for rolling
These ingredients are simple yet come together to create pure magic! Make sure to measure accurately for the best results. And don’t skimp on the cocoa powder—using a good quality one really elevates the chocolate flavor. Trust me, it makes all the difference!
How to Prepare Chocolate Crinkle Cookies
Step 1: Preheat the Oven
First things first, you’ll want to preheat your oven to 350°F (175°C). Preheating is super important because it ensures that your cookies bake evenly from the moment they hit the oven. Nobody wants flat, sad cookies, right? So, let that oven warm up while you get the rest of your ingredients ready!
Step 2: Mix Dry Ingredients
In a mixing bowl, combine 1 cup of all-purpose flour, 1/2 cup of unsweetened cocoa powder, 1/2 teaspoon of baking powder, and 1/4 teaspoon of salt. I like to sift these together to break up any lumps and get everything well combined. This little step helps create that light, fudgy texture we’re after. Just whisk it all together until it’s nice and uniform—easy peasy!
Step 3: Combine Wet Ingredients
In a separate bowl, whisk together 1 cup of granulated sugar and 1/4 cup of vegetable oil until it’s smooth and glossy. Then, add in those 2 large eggs and 1 teaspoon of vanilla extract. Keep mixing until everything is well blended and you can’t see any oil separation. It should look creamy and inviting—just like a big hug in a bowl!
Step 4: Combine Mixtures
Now comes the fun part! Gradually add your dry mixture into the wet ingredients. I like to do this in three parts—so it doesn’t get too messy. Gently fold everything together until it’s just combined. Be careful not to overmix; we want to keep that fudgy texture! You’ll have a thick, luscious dough by the end of this step.
Step 5: Chill the Dough
Once your dough is mixed, cover the bowl with plastic wrap and pop it into the fridge for about 30 minutes. Chilling the dough is key here; it helps the cookies hold their shape while baking and enhances that delightful texture. Plus, it makes the dough easier to handle when shaping!
Step 6: Shape and Coat the Cookies
After the dough has chilled, it’s time to roll. Scoop out tablespoons of dough and roll them into balls—about 1 inch in diameter works great. Now, here’s the best part: roll each ball in powdered sugar until they’re generously coated. This gives that signature crinkly look and a sweet touch when they bake. You’ll want them to look like little snowballs!
Step 7: Bake the Cookies
Place your powdered sugar-coated dough balls on a baking sheet lined with parchment paper, spacing them about 2 inches apart. Pop them into your preheated oven and bake for 10-12 minutes. Keep an eye on them! They’re done when they’ve puffed up and the tops are crinkled. Let them cool on the baking sheet for a few minutes before transferring them to a wire rack. This cooling step is crucial, as the cookies will continue to set up, giving you that perfect fudgy texture. And believe me, the smell wafting through your kitchen? Absolutely divine!
Tips for Success with Chocolate Crinkle Cookies
Alright, my fellow cookie lovers, here are some of my top tips to ensure your Chocolate crinkle cookies come out as deliciously perfect as you’d hope!
- Use High-Quality Cocoa: Seriously, don’t skimp on the cocoa powder! A good quality cocoa will elevate the chocolate flavor and make your cookies taste absolutely divine. I always reach for Dutch-processed cocoa; it gives a deeper, more complex flavor.
- Chill the Dough: Remember how we chilled the dough? This step is non-negotiable! It not only helps with shaping but also prevents the cookies from spreading too much while baking, keeping that perfect crinkly appearance.
- Adjust Baking Time: If you like a chewier cookie, pull them out of the oven at the 10-minute mark. They might look a little underbaked, but that’s exactly what you want for that gooey texture. They’ll firm up as they cool!
- Use Parchment Paper: Line your baking sheet with parchment paper to prevent sticking and ensure even baking. It also makes cleanup a breeze!
- Don’t Overmix: When combining the wet and dry ingredients, mix just until combined. Overmixing can lead to tough cookies, and we definitely want them to be soft and fudgy!
- Let Them Cool: Be patient! Allow your cookies to cool on the baking sheet for a few minutes before transferring them to a wire rack. This helps them set properly and keeps that delightful fudgy texture intact.
With these handy tips in your back pocket, you’re all set to bake up a storm! Enjoy every bite of your delicious creations!
Nutritional Information
Here’s the estimated nutritional breakdown for each of your delightful Chocolate crinkle cookies. Keep in mind these values are approximations, but they give you a good idea of what you’re enjoying:
- Calories: 120
- Fat: 5g
- Saturated Fat: 1g
- Unsaturated Fat: 4g
- Trans Fat: 0g
- Cholesterol: 20mg
- Sodium: 50mg
- Carbohydrates: 17g
- Fiber: 1g
- Sugar: 10g
- Protein: 2g
These cookies are a sweet indulgence, and knowing their nutritional values can help you enjoy them even more! Whether you’re treating yourself or sharing with friends, you can savor each fudgy bite without too much guilt. Just remember, moderation is key—it’s easy to go back for another delicious cookie (or two) when they taste this good!
FAQ about Chocolate Crinkle Cookies
Got questions about these scrumptious Chocolate crinkle cookies? Don’t worry, I’ve got you covered! Here are some common queries and my answers to help you along the way.
Can I use a different type of sugar?
Absolutely! While granulated sugar is my go-to for this recipe, you can experiment with brown sugar for a deeper, molasses-like flavor. Just keep in mind that brown sugar may make the cookies a bit chewier.
How do I store leftovers?
Store your cookies in an airtight container at room temperature for up to a week. If you want them to last longer, you can freeze them! Just wrap each cookie tightly in plastic wrap and pop them in a freezer bag. They’ll be good for up to two months.
Can I make the dough ahead of time?
Definitely! You can prepare the dough and refrigerate it for up to 2 days before baking. Just remember to let it sit at room temperature for a few minutes before rolling and baking, so it’s easier to handle.
What if I don’t have cocoa powder?
Oh no! If you find yourself out of cocoa powder, you could try using unsweetened carob powder as a substitute, but keep in mind it will change the flavor a bit. Or you can simply wait until you have cocoa—it’s worth it!
Can I add mix-ins to the dough?
For sure! Feel free to get creative and add chocolate chips, nuts, or even dried fruit to the dough. Just remember to adjust the baking time slightly if you add a lot of extras, as it can affect how the cookies bake.
Why didn’t my cookies crinkle?
If your cookies didn’t develop that lovely crinkled top, it could be due to not chilling the dough long enough or overmixing the batter. Remember, we want a thick dough that can hold its shape while still baking beautifully!
Can I use a different oil?
Yes! While vegetable oil is perfect for this recipe, you can also use canola oil or melted coconut oil. Just ensure that whatever oil you pick has a neutral flavor so it doesn’t interfere with that rich chocolate taste!
I hope this helps clear up any questions you had! Happy baking, and enjoy every fudgy moment with your Chocolate crinkle cookies!
Why You’ll Love This Recipe
- Easy Preparation: These cookies come together in no time! With simple steps and just a handful of ingredients, you’ll be whipping up a batch in no time.
- Delicious Flavor: The fudgy chocolate flavor is out of this world! Each bite is rich and satisfying, making them a chocolate lover’s dream.
- Perfect for Any Occasion: Whether it’s a casual get-together or a fancy gathering, these cookies are sure to impress and bring smiles to everyone’s faces.
- Fun to Make: Rolling the dough in powdered sugar is not just fun; it’s also a great way to get the kids involved in the kitchen!
- Customizable: Feel free to add your favorite mix-ins like chocolate chips or nuts for an extra twist on this classic treat.
- Great for Sharing: These cookies are perfect for gifting! Pack them up in a pretty box, and you’ve got a heartfelt gift that anyone would love.
- Leftover Friendly: If you somehow have any left, they store well, so you can enjoy the deliciousness for days!