
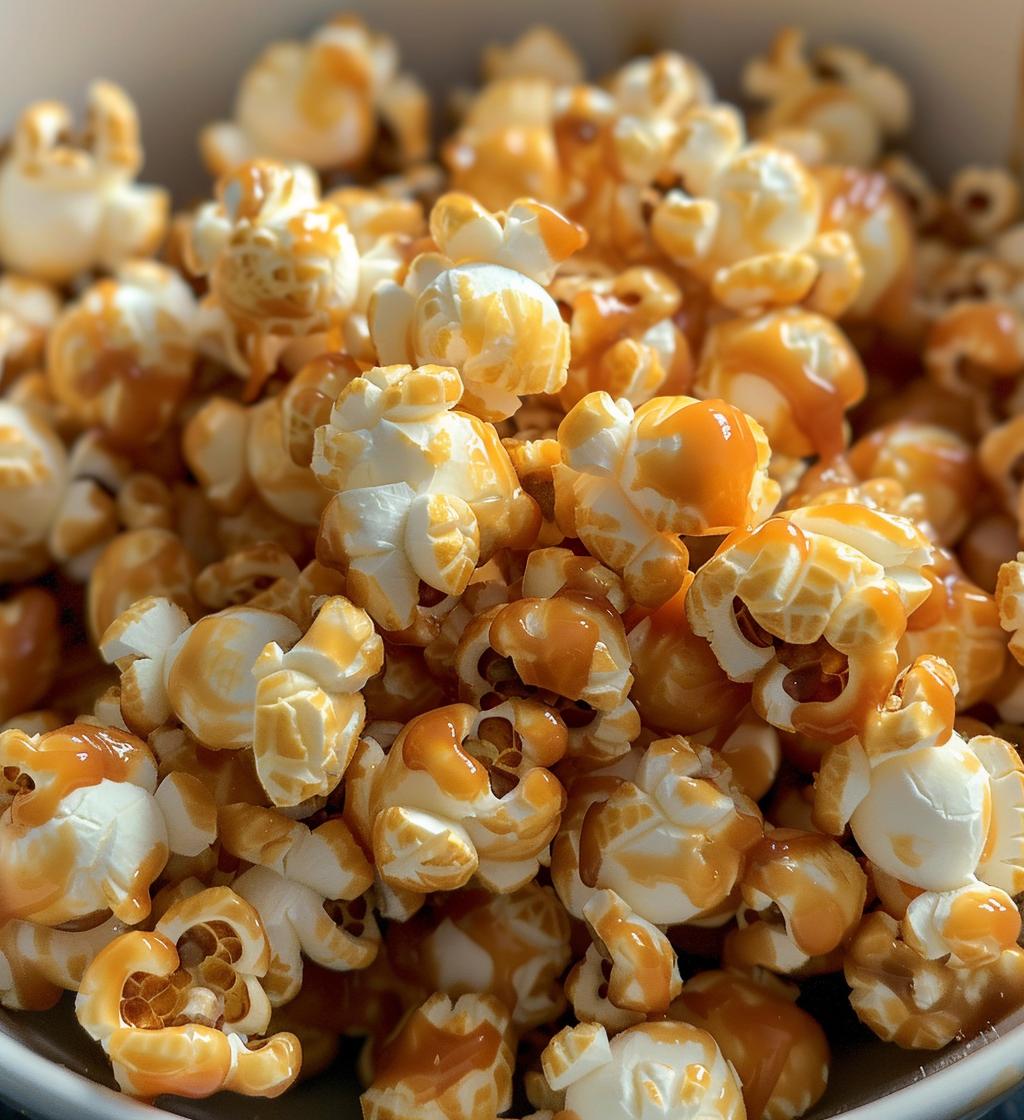
There’s just something magical about homemade snacks, isn’t there? The aroma that fills the kitchen, the sound of crunching, and that satisfying sweetness—all of it brings back such warm memories! Caramel corn has always been a favorite at our family gatherings. I remember one rainy afternoon, my siblings and I decided to whip up a batch together. We had popcorn flying everywhere, and laughter echoing as we tried to mix the caramel while sneaking bites when no one was looking! The joy of sharing that sticky, sweet treat while snuggled up on the couch made it one of those perfect moments. Trust me, once you try making this caramel corn at home, you’ll understand why it’s loved by so many. It’s easy, delicious, and perfect for sharing with friends and family!
Ingredients List
- 1 cup popcorn kernels (unpopped)
- 1 cup granulated sugar
- 1/2 cup unsalted butter (cut into pieces)
- 1/4 cup light corn syrup
- 1/2 teaspoon salt
- 1/2 teaspoon baking soda
- 1 teaspoon vanilla extract
How to Prepare Caramel Corn Instructions
Making caramel corn is a delightful adventure that’s easier than you might think! Follow these simple steps, and you’ll have a crunchy, sweet snack that will make everyone smile.
Step 1: Pop the Popcorn
First things first, you need to pop those kernels! You can use an air popper for a hassle-free experience or do it on the stovetop if you prefer. If you’re popping on the stove, heat a couple of tablespoons of oil in a large pot over medium heat, then add the popcorn kernels. Cover the pot and shake it occasionally until the popping slows down. Make sure to keep an eye on it—burnt popcorn is a sad fate! Once done, transfer the popcorn to a large bowl and set it aside to cool.
Step 2: Prepare the Caramel Sauce
Now, let’s get to that beautiful caramel! In a medium saucepan, combine the sugar, butter, corn syrup, and salt. Heat it over medium heat, stirring constantly until it comes to a boil. Once it’s bubbling, stop stirring and let it cook for about 4-5 minutes without touching it. You’ll want it to reach that golden amber color. Remove it from the heat, and carefully stir in the baking soda and vanilla extract—watch out, it might bubble up a bit!
Step 3: Coat the Popcorn
Time to bring it all together! Pour the caramel sauce over the popped popcorn. Use a spatula or wooden spoon to mix everything together thoroughly. You want every piece of popcorn to get that luscious caramel coating, so take your time here! It’s okay if some pieces stick together; they’ll bake up just fine.
Step 4: Bake the Caramel Corn
Preheat your oven to 250°F (120°C). Spread the coated popcorn evenly onto a baking sheet lined with parchment paper. Bake it for 1 hour, stirring every 15 minutes. This step is key to ensuring your caramel corn gets that perfect crunch! Once it’s done baking, let it cool completely on the baking sheet before breaking it into pieces. And there you have it—your homemade caramel corn is ready to be devoured!
Why You’ll Love This Recipe
- It’s super quick to prepare—just pop, mix, and bake!
- A total crowd-pleaser; everyone loves that sweet and crunchy combo.
- Totally customizable! You can add nuts, chocolate drizzle, or even a sprinkle of sea salt for an extra twist.
- Perfect for parties, movie nights, or just because—you’ll always want to have some on hand!
- The aroma of caramel wafting through your home is irresistible and will have everyone asking for the recipe.
- It’s a fun project to do with friends or family—trust me, the memories are just as sweet as the treat!
Tips for Success
Now that you’re all set to make your own caramel corn, here are some tips to ensure it turns out absolutely perfect every time!
- Use Fresh Popcorn Kernels: Trust me, fresh kernels make a world of difference in flavor and texture. Stale popcorn will simply not pop as well, and we want that fluffy goodness!
- Watch the Caramel: When cooking the caramel, keep a close eye on it. You want it to reach that beautiful golden color, but don’t let it go too far—burnt caramel can ruin the whole batch!
- Mix Thoroughly: Make sure to coat the popcorn evenly with the caramel sauce. If you find some pieces are sticking together, don’t worry! They’ll separate beautifully during baking.
- Use Parchment Paper: Line your baking sheet with parchment paper. This will make cleanup a breeze and prevent the caramel corn from sticking to the pan.
- Store Properly: Once your caramel corn has cooled, store it in an airtight container to keep it fresh and crunchy. It’s best enjoyed within a week, but I doubt it’ll last that long!
- Add a Twist: Feel free to experiment by adding nuts, pretzels, or even a sprinkle of sea salt right before baking. It adds an amazing contrast to the sweetness!
With these pro tips, you’ll be well on your way to mastering the art of caramel corn. Happy snacking!
Storage & Reheating Instructions
Once you’ve made your delicious caramel corn, you’ll want to store it properly to keep that crunch and flavor intact! The best way to do this is to let the caramel corn cool completely on the baking sheet. Once cooled, transfer it to an airtight container. This will keep it fresh and prevent it from getting stale. Trust me, airtight containers are your best friends here!
If you have any leftovers (which is rare, but it can happen!), you can store them at room temperature for up to a week. Just make sure to keep them away from heat and moisture to maintain that delightful crunch.
Now, if you find yourself wanting to enjoy it warm again, you can easily reheat it! Just spread the caramel corn out on a baking sheet and pop it in a preheated oven at 250°F (120°C) for about 10 minutes. This will help restore some of that fresh-from-the-oven warmth and make it extra delightful. Just keep an eye on it so it doesn’t overheat! Enjoy your snacking, my friend!
Nutritional Information Section
Now, if you’re like me, you might be curious about the nutritional aspects of this delightful caramel corn! Here’s a rough estimate of what you can expect per serving (about 1 cup):
- Calories: 150
- Fat: 7g
- Saturated Fat: 4g
- Unsaturated Fat: 2g
- Trans Fat: 0g
- Cholesterol: 15mg
- Sodium: 50mg
- Carbohydrates: 20g
- Fiber: 1g
- Sugar: 10g
- Protein: 1g
Keep in mind, these values can vary based on how you prepare it and any additional ingredients you choose to add. But it’s always good to be aware of what you’re munching on while enjoying this sweet treat!
FAQ Section
Got questions about making the perfect caramel corn? Don’t worry, I’ve got you covered! Here are some common queries and my trusty answers to help you out.
How can I make my caramel corn less sticky?
If you find your caramel corn is a bit too sticky for your liking, try adding a touch more baking soda when you make the caramel. This helps to lighten the syrup and create a less gooey texture. Also, ensure your popcorn is fully coated and spread evenly during baking; this will help keep it from clumping together.
What should I do if the caramel hardens?
Oops! If your caramel has hardened before you can coat the popcorn, don’t fret. Simply place the hardened caramel in a saucepan with a splash of water and gently heat it on low. Stir until it melts back into that luscious liquid form, and then pour it over your popcorn. You’ll be back on track in no time!
Can I add extra ingredients or variations?
Absolutely! One of the best things about caramel corn is how versatile it is. You can mix in nuts like pecans or almonds for added crunch, or even toss in some chocolate chips after baking for a sweet surprise. Want a savory twist? How about adding a sprinkle of sea salt or some crushed pretzels? The sky’s the limit, so feel free to get creative!
Can I make caramel corn in advance?
You sure can! Caramel corn stores beautifully. Just make sure it’s completely cooled before you transfer it to an airtight container. This way, you can whip it up a day or two ahead of your gathering and still have a fresh, crunchy snack ready to go. Just remember, it’s best enjoyed within a week!
Is caramel corn gluten-free?
Yes, traditional caramel corn is gluten-free! Just ensure that any additional ingredients like nuts or mix-ins are also certified gluten-free if you need to avoid gluten. You can enjoy this sweet treat without worries!
Now that you’ve got the answers, go ahead and make your caramel corn even more delightful. Happy cooking!