
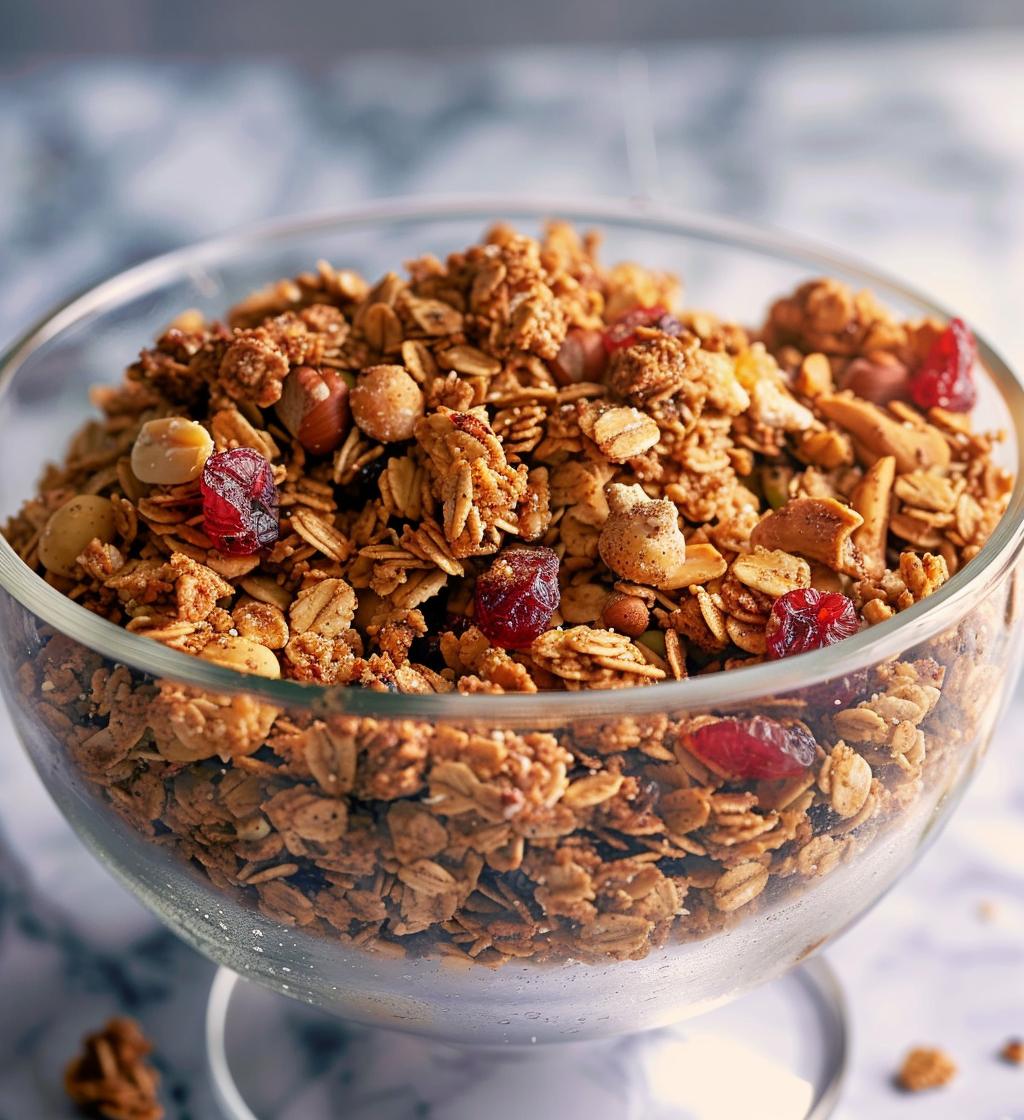
There’s something utterly delightful about homemade granola that just can’t be matched! The way it fills your kitchen with warm, inviting aromas is just magical. I can’t help but feel a little giddy every time I make my gingerbread granola. It’s packed with cozy spices that remind me of the holidays, yet it’s perfect for breakfast or a quick snack any time of year. I love how crunchy and satisfying it is, especially when paired with yogurt or milk. This recipe is a cherished favorite in my home, and every bite feels like a warm hug. Trust me, once you make it, you’ll wonder how you ever lived without it!
Ingredients for Gingerbread Granola
Gathering the right ingredients is the first step to achieving that perfect crunch in your gingerbread granola. Here’s what you’ll need:
- 3 cups rolled oats – These are the base, providing that hearty texture.
- 1 cup nuts (almonds or walnuts) – Choose your favorite for added crunch and flavor.
- 1/2 cup honey or maple syrup – This adds natural sweetness and binds everything together.
- 1/4 cup vegetable oil – Helps with that golden, crispy finish.
- 1 tablespoon ground ginger – The star of the show, giving it that warm, spiced kick.
- 1 tablespoon cinnamon – Adds warmth and depth to the flavor.
- 1/2 teaspoon nutmeg – A hint of this spice elevates the gingerbread essence.
- 1/2 teaspoon salt – Balances the sweetness perfectly.
- 1 cup dried cranberries or raisins – For a chewy, fruity contrast in every bite.
How to Prepare Gingerbread Granola
Making gingerbread granola is a breeze, and I promise it’s worth every step! Follow these simple instructions, and you’ll have a delicious batch ready in no time.
Preheat the Oven
First things first—preheat your oven to 350°F (175°C). Preheating is super important because it ensures that your granola bakes evenly and gets that lovely crunch we all crave. Trust me, you don’t want to skip this step!
Combine Dry Ingredients
In a large mixing bowl, combine the rolled oats, nuts, ginger, cinnamon, nutmeg, and salt. It’s vital to mix these ingredients well—this way, every bite will be bursting with flavor! I usually use my hands to get in there and ensure everything is evenly distributed. It’s more fun that way!
Mix Wet Ingredients
Now, in a separate bowl, whisk together the honey (or maple syrup) and vegetable oil. You want a smooth, cohesive mixture that’s easy to pour. If your honey is a bit thick, warming it slightly in the microwave can help achieve that perfect consistency.
Combine Wet and Dry
Pour the wet mixture over your dry ingredients and stir well until everything is nicely coated. This step is crucial because it helps the granola clump together and develop those irresistible crunchy bits. Make sure you get every last bit of goodness mixed in!
Bake the Mixture
Spread the mixture evenly onto a baking sheet lined with parchment paper. Bake in your preheated oven for 25-30 minutes, stirring halfway through. This ensures even browning. Just keep an eye on it in those final minutes—the aroma will be heavenly, and you don’t want to burn it!
Cool and Store
Once baked, remove the granola from the oven and let it cool completely on the baking sheet. This is when it firms up and gets that perfect crunchy texture. Once cool, mix in your dried cranberries or raisins. Store your gingerbread granola in an airtight container, and it will stay fresh for up to two weeks (if it lasts that long!). Enjoy it with yogurt, as a snack, or simply by the handful!
Why You’ll Love This Recipe
- It’s super easy to make and requires just a few simple steps!
- Healthy and packed with wholesome ingredients, making it perfect for breakfast.
- Versatile enough to enjoy as a snack or sprinkled over yogurt for an extra treat.
- The cozy gingerbread flavors will warm your heart any time of year.
- It’s customizable—swap in your favorite nuts or dried fruits as you like!
- Great for meal prepping; you’ll have delicious snacks ready for days!
Nutritional Information
Here’s a rough estimate of the nutritional values for a serving of my gingerbread granola (about 1/2 cup). Each serving contains approximately:
- Calories: 250
- Fat: 10g
- Protein: 5g
- Carbohydrates: 35g
- Sugar: 10g
- Fiber: 5g
- Sodium: 50mg
Keep in mind that these values can vary based on the specific ingredients you use, but this gives you a good idea of the wholesome goodness packed into this delicious granola!
Tips for Success
Getting that perfect batch of gingerbread granola is all about a few key details! First, be sure to watch the baking time closely. Ovens can vary, and you want to pull it out when it’s golden, not burnt. If you notice it browning too quickly, you can lower the temperature slightly. Also, don’t be afraid to customize! Experimenting with different nuts or adding seeds can change the flavor and texture wonderfully. Just remember to keep the ratios similar to maintain that crunchy goodness.
Another tip is to let the granola cool completely on the baking sheet before storing it. This step is crucial for achieving that delightful crunch! If you mix in your dried fruits while the granola is still warm, they might get a bit too soft, so wait until it cools down. Lastly, if you like things a bit sweeter, feel free to add a touch more honey or maple syrup, but be mindful not to overdo it—balance is key!
Variations of Gingerbread Granola
One of the best things about my gingerbread granola is how adaptable it is! If you want to change things up, try swapping out the nuts—pecans or hazelnuts bring a delightful twist. For a chocolatey kick, toss in some dark chocolate chips or cocoa nibs after baking. You could also play with the spices—add a pinch of allspice or clove for an even richer flavor. Feeling adventurous? Mix in some pumpkin seeds or sunflower seeds for extra crunch and nutrition. The possibilities are endless, and I love experimenting to find my new favorite combo!
Storage & Reheating Instructions
Storing your gingerbread granola is super easy! Just place it in an airtight container once it’s completely cooled. This will keep it fresh and crunchy for up to two weeks—if it lasts that long, of course! If you find yourself with leftovers, you can also freeze it in a freezer-safe bag for up to three months. Just make sure to label it with the date! When you’re ready to enjoy, there’s no need to reheat; just grab a handful or sprinkle it over your favorite yogurt. It’s delicious cold, and it’s ready in an instant!