
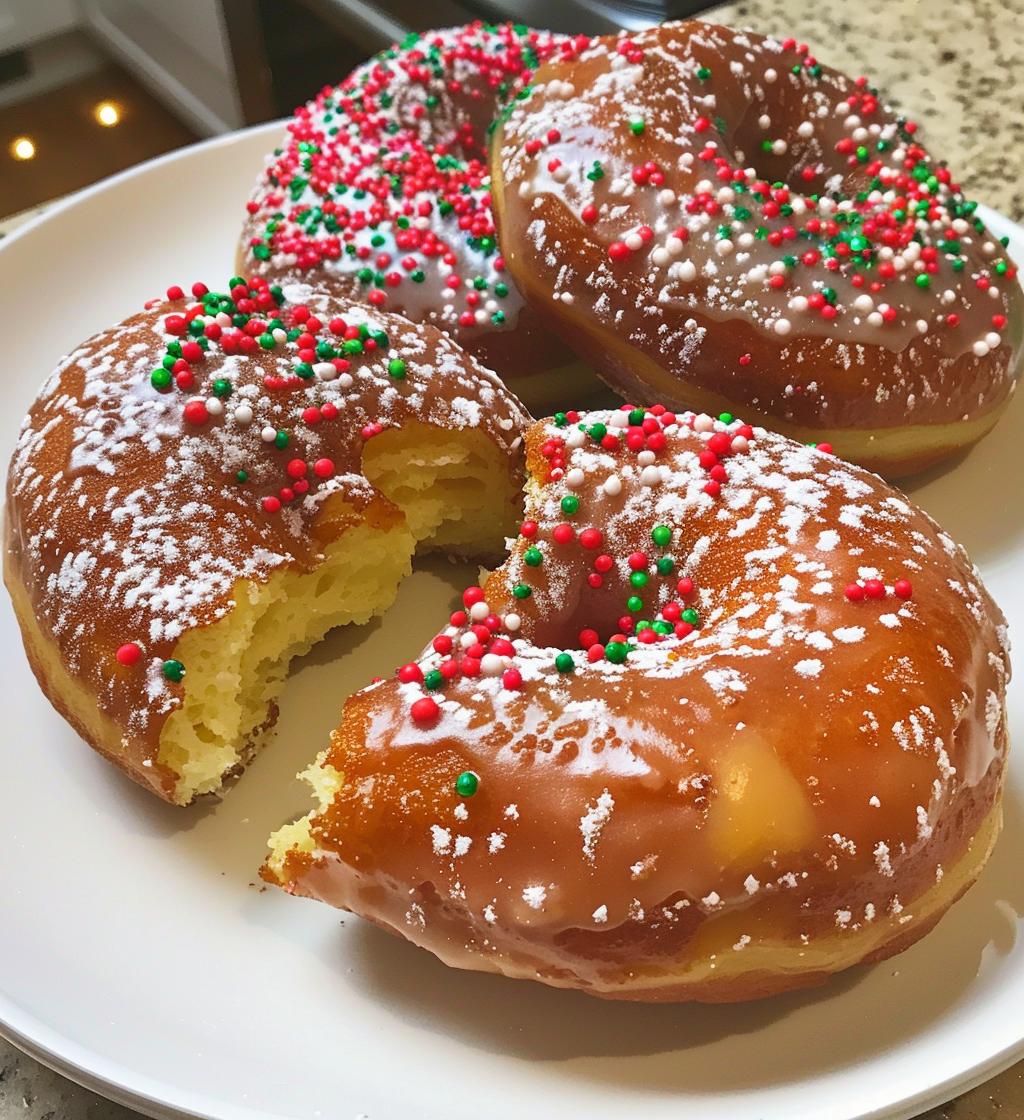
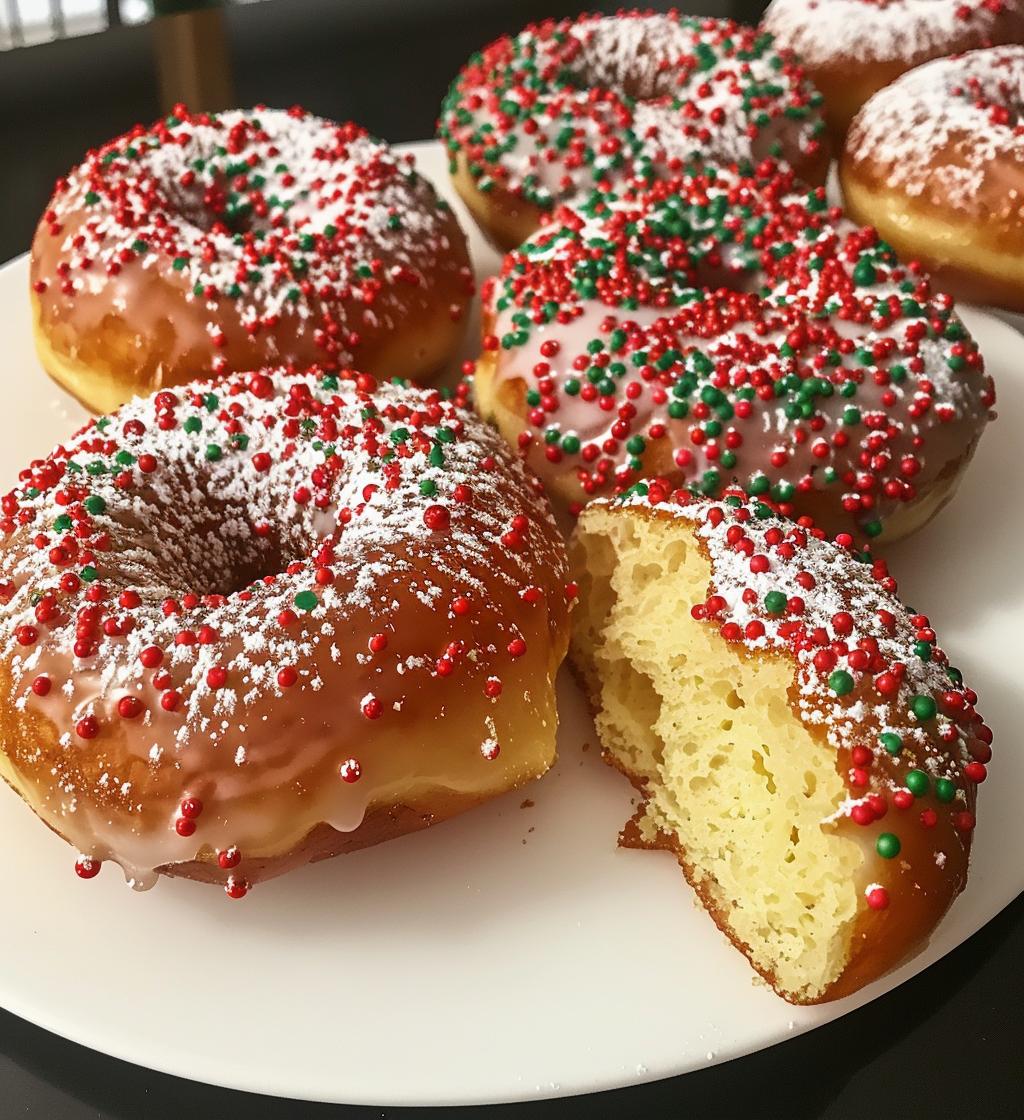
Ah, Christmas donuts! There’s just something magical about whipping up a batch of these festive treats that makes my heart sing. The smell of warm spices wafting through the kitchen instantly brings back memories of holiday cheer and family gatherings. Trust me, there’s nothing quite like biting into a soft, fluffy donut, glazed to perfection and sprinkled with cheerful red and green toppings. They’re not just a dessert; they’re a delightful way to bring the holiday spirit to life! Whether you’re hosting a festive brunch or just want to treat yourself while wrapping presents, these Christmas donuts are sure to spread joy and sweetness all around. So, let’s get baking and fill the air with that irresistible holiday aroma!
Ingredients for Christmas Donuts
Gathering the right ingredients is the first step in creating these delightful Christmas donuts! Here’s what you need:
- 2 cups all-purpose flour: This is the base of your donuts, giving them that soft, fluffy texture we love. Make sure to spoon the flour into your measuring cup and level it off for accuracy.
- 1 cup granulated sugar: This sweetens the donuts perfectly. It helps create that lovely golden color as they bake.
- 1 tablespoon baking powder: This is the magic ingredient that makes your donuts rise and become light and airy. Ensure it’s fresh for the best results!
- 1/2 teaspoon salt: A pinch of salt balances the sweetness and enhances the flavors in your donuts.
- 1/2 cup milk: Whole milk works best for moisture and richness, but feel free to use whatever milk you have on hand.
- 2 large eggs: These add structure and moisture. Make sure they’re at room temperature for easier mixing.
- 1/4 cup unsalted butter, melted: This adds richness to the donuts. Just melt it gently and let it cool slightly before adding.
- 1 teaspoon vanilla extract: Pure vanilla extract is my go-to for that warm, inviting flavor that makes everything better!
- 1 teaspoon ground nutmeg: This spice adds that classic holiday flavor. Trust me, it’s a must!
- 1 teaspoon cinnamon: Another essential spice that fills your kitchen with a cozy aroma.
- 1 cup powdered sugar (for glaze): This will make your donuts beautifully sweet and glossy. You can adjust the amount based on how sweet you like it!
- 2 tablespoons milk (for glaze): This helps thin the powdered sugar for a perfect dipping consistency.
- Red and green sprinkles (for decoration): These are the finishing touch that brings a festive flair to your donuts!
How to Prepare Christmas Donuts
Now that you have all your ingredients ready, let’s dive into making these festive Christmas donuts! It’s easier than you might think, and I promise the results are worth it. Just follow these simple steps, and you’ll have a delightful batch in no time!
Preheat the Oven
First things first, you’ll want to preheat your oven to 375°F (190°C). Preheating is super important because it ensures that your donuts bake evenly and rise properly. While you’re gathering your ingredients, just turn on the oven and let it warm up. You can prepare the batter while it heats, and by the time you’re ready to bake, the oven will be perfectly prepped!
Mix the Dry Ingredients
In a large mixing bowl, combine your 2 cups of all-purpose flour, 1 cup of granulated sugar, 1 tablespoon of baking powder, and 1/2 teaspoon of salt. Make sure to whisk these together well! This step is crucial because it helps to evenly distribute the baking powder and salt throughout the flour, which will give your donuts that light, fluffy texture we all love. Just a few good whisks should do the trick!
Combine Wet Ingredients
In a separate bowl, whisk together the 1/2 cup of milk, 2 large eggs, 1/4 cup of melted unsalted butter, 1 teaspoon of vanilla extract, 1 teaspoon of ground nutmeg, and 1 teaspoon of cinnamon. Make sure your melted butter has cooled slightly before adding it to avoid cooking the eggs. This mixture should look nice and creamy, and the scents from the spices will start to fill your kitchen!
Mix Together
Now, it’s time to combine the wet and dry ingredients. Pour the wet mixture into the bowl with the dry ingredients and gently mix them together until just combined. Be careful not to overmix—some lumps are perfectly fine! Overmixing can lead to dense donuts, and we want them to be light and airy.
Fill the Donut Pan
Grab your donut pan and lightly grease it to prevent sticking. Then, using a spoon or a piping bag, fill each cavity about 2/3 full with batter. If you overfill, they’ll puff up and lose that lovely donut shape, so keep an eye on it! I like to use a piping bag because it’s neater and gives you more control.
Bake the Donuts
Pop the filled donut pan into your preheated oven and bake for about 10-12 minutes. You’ll know they’re done when they’re golden brown and a toothpick inserted into the center comes out clean. Try not to open the oven door too early, as this can cause the donuts to sink!
Cool and Glaze
Once they’re baked to perfection, let your donuts cool in the pan for a few minutes before transferring them to a wire rack. This helps them firm up a bit. While they’re cooling, mix together 1 cup of powdered sugar and 2 tablespoons of milk to create a smooth glaze. Once the donuts are cool, dip the tops into the glaze and sprinkle with those festive red and green sprinkles. Oh, it’s just so joyful!
Tips for Success
To ensure your Christmas donuts turn out absolutely perfect, I’ve got some tried-and-true tips that I swear by! Follow these nuggets of wisdom, and you’ll be on your way to donut perfection!
- Measure Accurately: Baking is a science, so be sure to measure your ingredients properly! Spoon the flour into your measuring cup and level it off with a knife instead of scooping it directly. This little trick can make a big difference in texture.
- Don’t Overmix: When combining wet and dry ingredients, mix just until combined. Overmixing can lead to dense donuts, and nobody wants that! A few lumps are totally okay.
- Use Fresh Ingredients: Make sure your baking powder is fresh! Old baking powder can affect how well your donuts rise. If you’re not sure, you can test it by adding a little to vinegar—if it bubbles, it’s good to go!
- Cool Properly: Let the donuts cool in the pan for a few minutes before transferring them to a wire rack. This helps them firm up and maintain their shape. Cooling too quickly can cause them to crack.
- Glaze While Warm: For the best glaze coverage, dip your donuts in the glaze while they’re still slightly warm. This helps the glaze stick better and soak in that delicious sweetness.
- Experiment with Toppings: Feel free to get creative with your sprinkles! Try using crushed candy canes, nuts, or even drizzling chocolate on top for a little extra flair. The holidays are all about fun, after all!
With these tips in your back pocket, you’re all set to create the most delightful Christmas donuts that will have everyone coming back for seconds. Happy baking!
Variations on Christmas Donuts
If you’re anything like me, you love switching things up in the kitchen! These Christmas donuts are so versatile, and you can easily customize them to suit your taste or to surprise your family and friends. Here are some fun variations to get your creative juices flowing!
- Chocolate Christmas Donuts: Add 1/3 cup of cocoa powder to the dry ingredients for a rich, chocolatey twist! You can also mix in chocolate chips for extra indulgence.
- Maple Glaze: Instead of the standard glaze, mix powdered sugar with maple syrup instead of milk for a deliciously sweet and earthy flavor. It’s a perfect pairing with the spices!
- Spiced Applesauce: Swap out 1/4 cup of the milk for applesauce and add an extra teaspoon of cinnamon for a cozy, spiced flavor. It gives a lovely moist texture too!
- Orange Zest: For a bright twist, add the zest of one orange to the wet ingredients. This adds a lovely citrus note that pairs beautifully with the spices.
- Pumpkin Spice Donuts: Replace 1 cup of flour with 1 cup of pumpkin puree and increase the spices a bit. You’ll have delightful pumpkin donuts that scream fall and winter festivities!
- Candy Cane Crumble: Crush some candy canes and mix them into the glaze or sprinkle them on top for a festive crunch! It adds a lovely minty flavor that’s perfect for the holidays.
- Nutty Delight: Add 1/2 cup of chopped nuts, like pecans or walnuts, to the batter for a delightful crunch and added flavor. They’ll add a nice texture contrast to the soft donuts!
Feel free to mix and match these ideas to create your signature holiday donut. The possibilities are endless, and each variation brings its own festive charm to the table. Happy experimenting!
Storage & Reheating Instructions
Once you’ve whipped up a delightful batch of Christmas donuts, you might be wondering how to store any leftovers. Trust me, these donuts are best enjoyed fresh, but if you have some hanging around, here’s how to keep them tasty!
To store your donuts, place them in an airtight container at room temperature. They’ll stay fresh for about 2-3 days, but I recommend enjoying them as soon as possible for the best flavor and texture. If you live in a particularly humid area, a quick tip is to place a piece of parchment paper between layers to help absorb moisture!
If you find yourself with more donuts than you can devour, you can freeze them for later indulgence. Just wrap each donut individually in plastic wrap and then place them in a freezer-safe bag or container. They’ll be good for up to 2 months. When you’re ready to enjoy, simply thaw them at room temperature for a few hours or pop them in the microwave for about 10-15 seconds. Just be careful not to overheat them, or they might get a bit chewy!
For a little extra love, you can re-glaze your thawed donuts or sprinkle some fresh toppings before serving. They’ll taste almost as good as fresh-baked! So, whether you’re enjoying them right away or saving some for later, these tips will help keep your Christmas donuts delightful and delicious!
Nutritional Information
Let’s talk about the numbers behind these delicious Christmas donuts! While they’re a treat that’s meant to be enjoyed, it’s always good to know what you’re indulging in. Below are the estimated nutritional values per donut:
- Calories: 180
- Fat: 5g
- Saturated Fat: 3g
- Unsaturated Fat: 2g
- Trans Fat: 0g
- Cholesterol: 30mg
- Sodium: 150mg
- Carbohydrates: 30g
- Fiber: 1g
- Sugar: 12g
- Protein: 3g
Keep in mind that these values are estimates and can vary based on specific ingredients and portion sizes. While these donuts are a delightful treat, moderation is key—especially during the festive season when we’re all indulging a bit more! Enjoy every bite of your homemade Christmas donuts, knowing they’re made with love and joy!
Why You’ll Love This Recipe
There are so many reasons to fall in love with these Christmas donuts, and I can’t wait to share them with you! First off, they’re incredibly quick and easy to whip up, making them perfect for those busy holiday mornings when you want to impress your loved ones without spending hours in the kitchen. In just about 30 minutes, you can have a batch of warm, fluffy donuts that will fill your home with the most delightful festive aroma!
Another reason to adore this recipe is its versatility. You can easily customize the flavors and glazes to suit your family’s tastes or to match the holiday spirit. Whether you stick to the classic spices or toss in some chocolate or peppermint, each bite is sure to put a smile on your face.
Plus, these donuts are not just a treat; they’re a wonderful way to create memories with friends and family. Imagine gathering around the table, enjoying these sweet delights, and sharing stories of holiday traditions. They truly embody the joy of the season! So, grab your apron and get ready to create something special that everyone will love—these Christmas donuts are sure to become a cherished part of your holiday celebrations!
FAQ Section
Got questions about these delightful Christmas donuts? Don’t worry! I’ve got you covered with some of the most common inquiries I get. Let’s dive in!
How long can I store these donuts?
You can store your Christmas donuts in an airtight container at room temperature for about 2-3 days. But honestly, they’re best enjoyed fresh! If you can, try to eat them as soon as they’re made for that perfect soft texture.
Can I make these donuts ahead of time?
Absolutely! You can prepare the batter a day in advance and store it in the refrigerator. Just remember to bring it back to room temperature before you fill the donut pan and bake. If you’ve baked them ahead of time, just store them properly, and they’ll still taste great!
What if I don’t have a donut pan?
No problem at all! You can use a muffin tin instead. Just fill the cups about halfway and adjust the baking time slightly. They might not have that classic donut shape, but they’ll still be delicious little treats!
Can I substitute any ingredients?
Definitely! If you’re out of something or want to make it a bit healthier, here are some swaps: you can use almond milk instead of regular milk, or swap out half of the flour for whole wheat flour. If you prefer, you can also try coconut oil instead of butter for a different flavor.
Can I freeze the donuts?
Yes! Just wrap each donut tightly in plastic wrap and place them in a freezer-safe container. They’ll keep well for up to 2 months. When you’re ready to enjoy, thaw them at room temperature or pop them in the microwave for a quick warm-up. Just don’t overdo it, or they might get too chewy!
What’s the best way to reheat them?
The best way to reheat is to use the microwave for about 10-15 seconds. If you want them extra cozy, you can also pop them in the oven at 350°F (175°C) for a few minutes. They’ll taste like they just came out of the oven!
Can I make these donuts gluten-free?
Sure thing! You can substitute the all-purpose flour with a gluten-free flour blend. Just make sure the blend contains xanthan gum or add it separately, as it helps with the texture. Your donuts will still be festive and delicious!
With these answers in hand, I hope you feel ready to tackle making your own Christmas donuts! If you have more questions, don’t hesitate to reach out. Happy baking!