
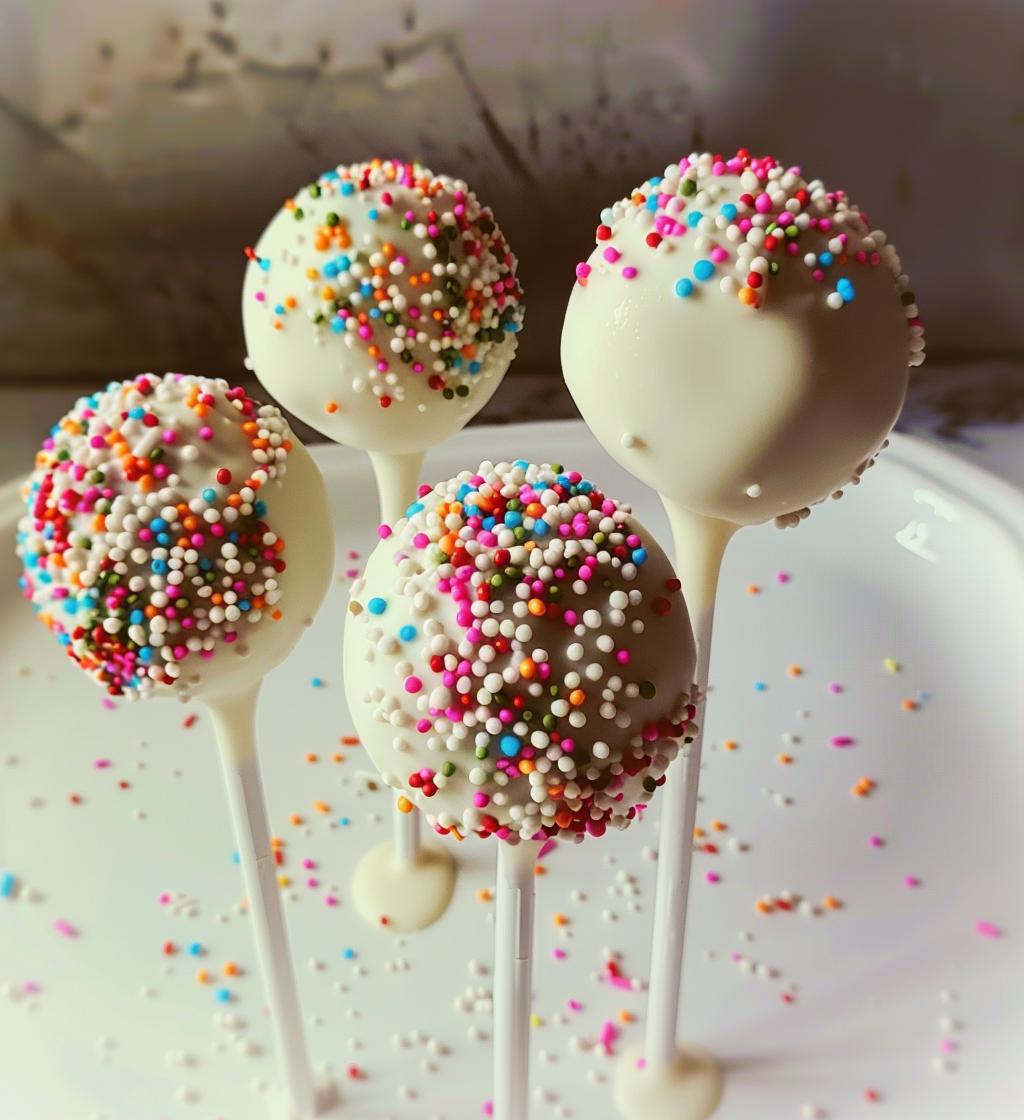
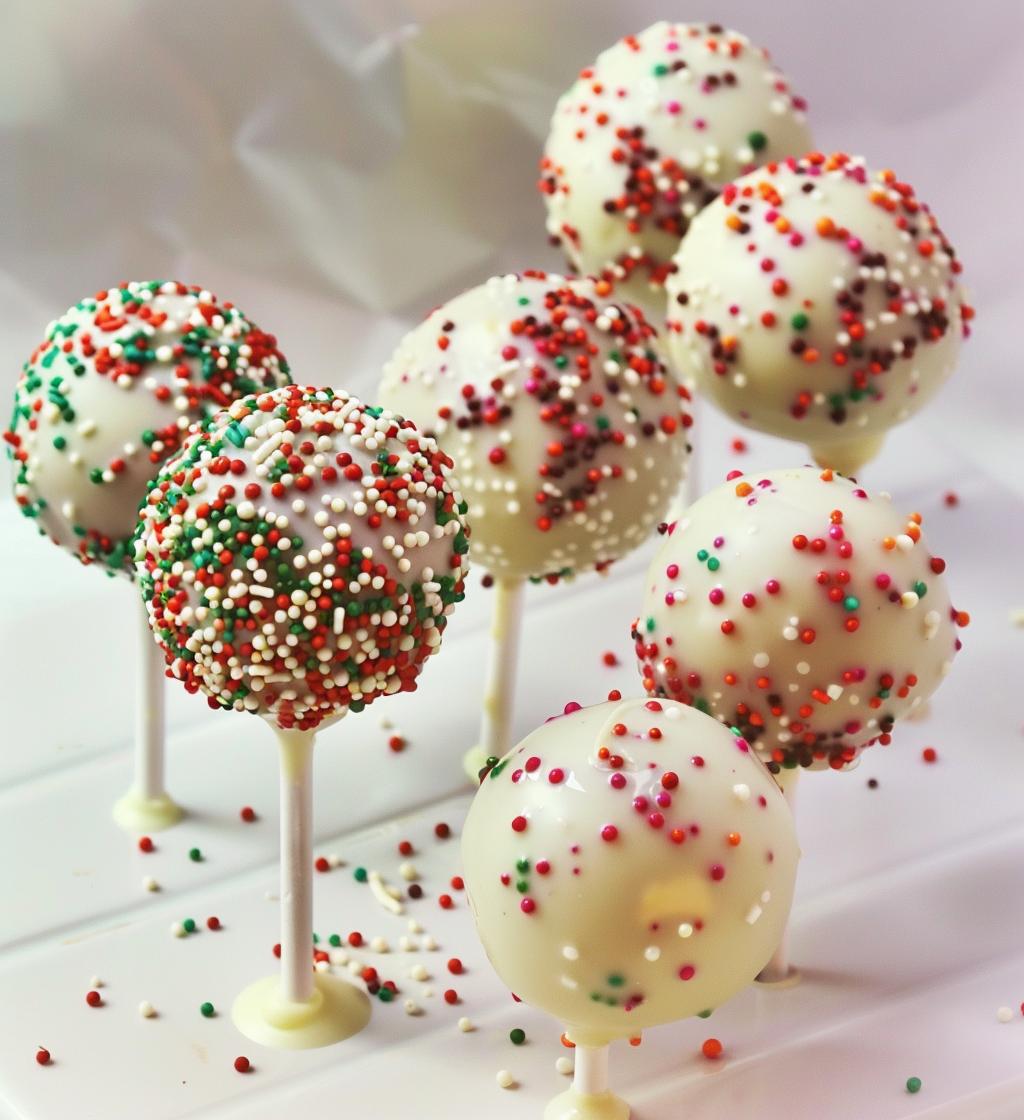
Oh, let me tell you about Christmas cake pops! These little bites of joy are not just treats; they’re like tiny festive surprises that bring a smile to everyone’s face. I remember the first time I made them with my kids—we had chocolate crumbs everywhere! It turned into a fun, chaotic memory of laughter and sprinkles flying around the kitchen. The best part? They’re super easy to make and perfect for holiday gatherings or cozy nights in. Each pop is coated in smooth white chocolate and decorated with the most delightful sprinkles, which just screams “holiday cheer!” Trust me, once you take a bite, you’ll be hooked on their rich chocolate flavor and creamy frosting center. They’ve become a family tradition, and I can’t wait for you to make them too!
Ingredients List
- 1 box of chocolate cake mix
- 1 cup of frosting (any flavor you love, but I recommend chocolate to keep it rich)
- 1 cup of white chocolate chips (for that smooth, creamy coating)
- Sprinkles for decoration (go wild! Use festive colors or even themed shapes)
- Wooden sticks (to turn these delightful bites into pop form)
How to Prepare Christmas Cake Pops
Step 1: Preparing the Cake
First things first, let’s get that chocolate cake mix ready! Just follow the package instructions, which usually means mixing the cake mix with water, eggs, and oil. Make sure to whisk it all together until it’s smooth—no lumps allowed! Pour it into a greased cake pan and pop it in the oven. The smell wafting through your kitchen will be heavenly!
Step 2: Crumbling the Cake
Once your cake is baked and cooled completely (no one wants melted frosting, trust me!), it’s time for the fun part: crumbling! Grab a large bowl and break that cake into pieces. I like to use my hands to crumble it into small, fine crumbs—aim for about the size of a dime. This helps everything stick together later on!
Step 3: Mixing with Frosting
Now, add that delicious frosting to your cake crumbs. I recommend starting with half a cup and mixing it in well. You want a dough-like consistency that holds together but isn’t overly sticky. If it’s too crumbly, add a bit more frosting until it feels just right. This is where the magic happens!
Step 4: Forming Cake Balls
Next, it’s time to roll those crumbs into small balls. I usually go for about one inch in diameter—just the right size for popping into your mouth! Make sure to handle them gently to keep them from falling apart. Place them on a baking sheet lined with parchment paper as you go.
Step 5: Chilling the Cake Balls
Chilling is crucial! Pop those cake balls in the fridge for at least 30 minutes. This helps them firm up so they won’t fall apart when you dip them later. Plus, you can steal a little taste while you wait!
Step 6: Melting the Chocolate
While you’re waiting, let’s melt those white chocolate chips. Use a microwave-safe bowl and heat them in 30-second intervals, stirring in between. Be careful—chocolate can burn quickly! You want it to be smooth and drizzle-able for the ultimate cake pop coating.
Step 7: Dipping and Decorating
Now comes the fun part! Dip the end of each wooden stick into the melted chocolate, then insert it into a cake ball about halfway through. This helps keep the stick in place. Next, dip each ball into the melted chocolate, making sure to coat it evenly. Don’t forget to sprinkle on your festive decorations while the chocolate is still wet!
Step 8: Setting the Cake Pops
Finally, let’s get those cake pops set! You can use a cake pop stand or a piece of foam to hold them upright while they dry. Leave them at room temperature until the chocolate is completely set. Patience is key here, but I promise it’ll be worth the wait!
Nutritional Information
Keep in mind that the nutritional values can vary based on the specific ingredients and brands you use, so they’re not provided precisely. However, for each delightful Christmas cake pop, you can expect around 150 calories, 7g of fat, 2g of protein, and 20g of carbohydrates. Enjoy these festive treats in moderation, and feel free to customize them to fit your dietary needs!
Tips for Success
Here are a few pro tips to elevate your Christmas cake pops to the next level! First, make sure your cake is completely cooled before crumbling; this prevents the frosting from melting and gives you a better texture. Second, when mixing with frosting, don’t be afraid to adjust the amount based on your preference—some like it a bit sweeter, while others prefer a more subtle flavor.
For decorating, use a variety of sprinkles or even crushed candy canes for a festive touch! And if you want to store your pops, keep them in an airtight container in a cool place; they’ll stay fresh for several days. Finally, if you’re feeling adventurous, try drizzling some melted chocolate on top after they’ve set for an extra delicious finish. Happy baking!
Variations on Christmas Cake Pops
Oh, let’s get creative with these Christmas cake pops! You can easily switch up the cake flavor to keep things exciting. How about a red velvet cake mix for a festive twist? Or, if you’re feeling adventurous, try a spice cake mix for that warm holiday flavor—yum! You could even go for funfetti cake mix for a pop of color inside!
When it comes to the chocolate coating, don’t limit yourself to just white chocolate. You can also use milk chocolate or dark chocolate for a more intense flavor. For a fun surprise, try adding a hint of peppermint extract to your melted chocolate for a refreshing kick! And hey, why not mix in some crushed nuts or coconut flakes into your sprinkles for extra texture? The possibilities are endless, so let your imagination run wild!
Serving Suggestions for Christmas Cake Pops
These festive Christmas cake pops are perfect for spreading holiday cheer, so why not serve them alongside some delightful beverages? I love pairing them with a warm cup of hot chocolate or spiced apple cider to really capture that cozy, winter vibe. You could also create a dessert platter with a mix of treats—think gingerbread cookies, peppermint bark, and your cake pops! This way, guests can indulge in a variety of flavors. And if you’re hosting a party, a beautiful cake pop display can serve as a stunning centerpiece that’s just as delicious as it is pretty!
FAQ Section
Can I use a different flavor of cake mix?
Absolutely! One of the best things about Christmas cake pops is their versatility. You can use any flavor you like, whether it’s vanilla, red velvet, or even a spice cake mix for that festive touch.
How do I keep my cake pops from falling off the sticks?
To ensure your cake pops hold onto the sticks, dip the end of each stick in the melted chocolate before inserting it into the cake ball. This creates a sort of glue that helps keep everything together.
What’s the best way to store leftover cake pops?
Keep your cake pops in an airtight container at room temperature for up to a week. If you live in a warm climate, you might want to refrigerate them to maintain their shape. Just remember to let them come to room temperature before serving!
Can I make these ahead of time?
Yes! You can make Christmas cake pops a day or two in advance. Just store them in an airtight container, and they’ll be as delicious as ever when it’s time to serve!
What can I use for decorating besides sprinkles?
Get creative! You can use crushed candy canes, edible glitter, or even drizzle some colored chocolate on top for that extra festive flair. The options are endless!