
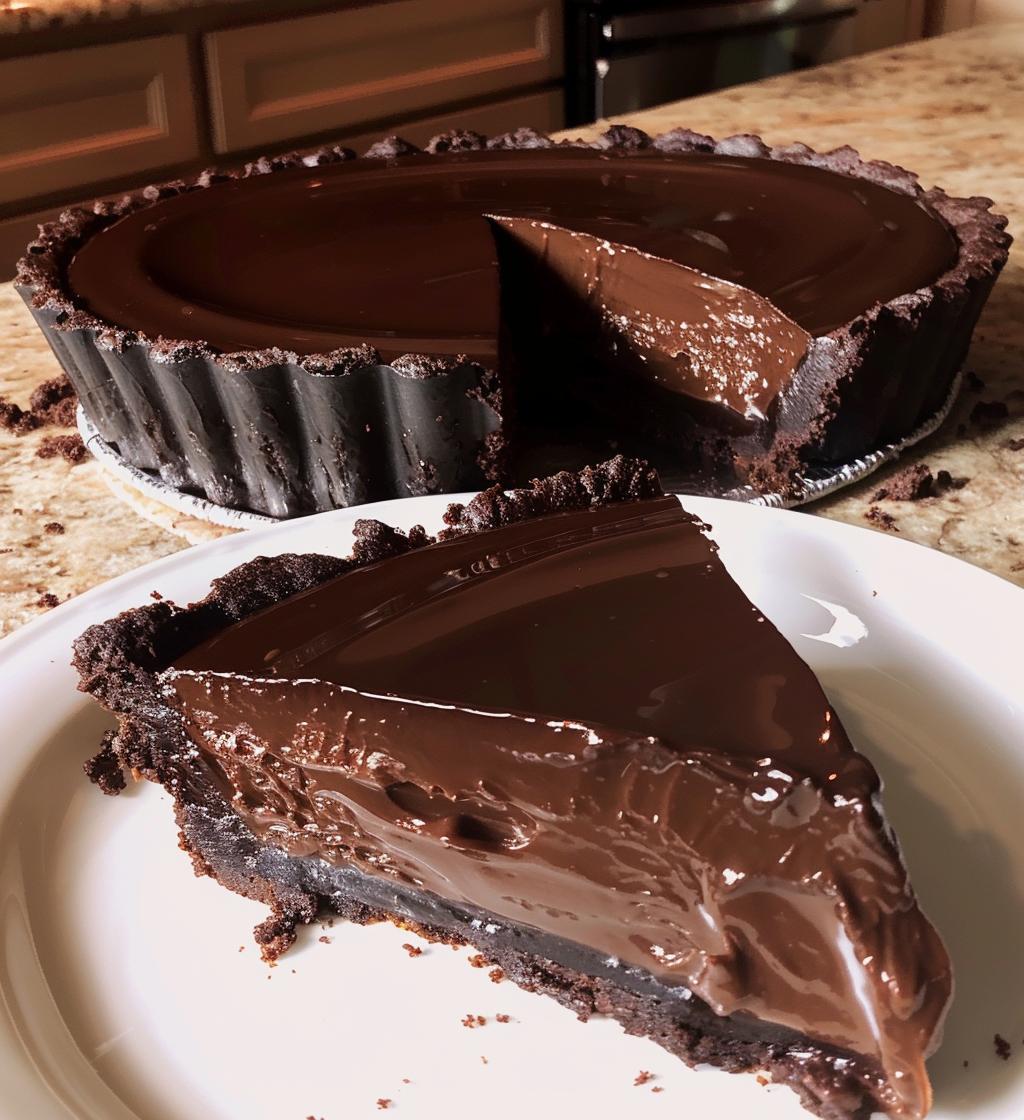
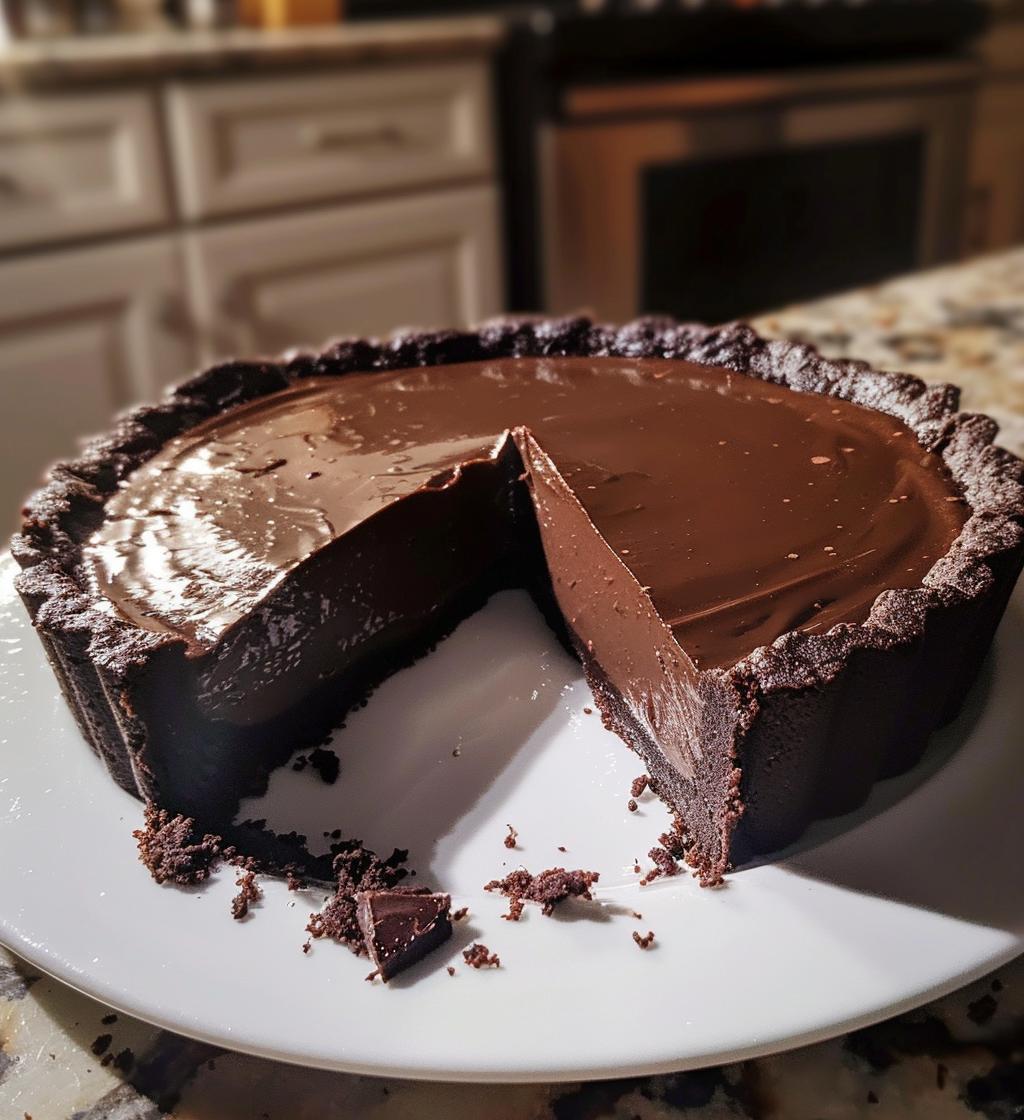
Oh my goodness, let me tell you about the magic of a chocolate tart! There’s something so indulgent about biting into that creamy, rich filling, all nestled in a perfectly crisp crust. It’s like a little slice of heaven! I remember the first time I made this chocolate tart for a dinner party; I was a bundle of nerves, but the moment it came out of the fridge, I knew I had nailed it. Everyone went wild over it, and I felt like a total rockstar! Trust me, this chocolate tart will become your go-to dessert when you want to impress—it’s simply divine!
Ingredients List
Here’s what you’ll need to whip up this luscious chocolate tart. Each ingredient plays a crucial role in creating that dreamy texture and rich flavor. Let’s dive in!
- 1 1/4 cups all-purpose flour – This is the base of our tart crust, giving it that delightful structure.
- 1/2 cup unsweetened cocoa powder – Adds a deep chocolate flavor to the crust, making it irresistible!
- 1/2 cup powdered sugar – This sweetens the crust and helps it stay nice and tender.
- 1/2 cup unsalted butter, softened – Trust me, this is key for a rich, flaky crust. Make sure it’s soft for easy mixing!
- 1/4 teaspoon salt – Just a pinch to balance the sweetness and enhance all those flavors.
- 1 large egg yolk – This helps bind the crust together and adds richness.
- 1 cup heavy cream – We’ll use this to create that silky, smooth filling that’s oh-so-decadent.
- 8 oz dark chocolate, chopped – Go for high-quality chocolate here; it makes all the difference in taste!
- 2 tablespoons sugar – Just a bit to sweeten the filling up perfectly.
- 1 teaspoon vanilla extract – A splash of vanilla brings everything together beautifully.
How to Prepare Instructions
Now, let’s get into the fun part—making this chocolate tart! I promise, it’s easier than it sounds, and I’m here to guide you through each step. Just follow along, and you’ll be enjoying a delicious slice in no time!
Step-by-Step Process
- First, preheat your oven to 350°F (175°C). This is really important because a properly heated oven ensures the crust bakes evenly and gets that perfect crisp!
- In a mixing bowl, combine 1 1/4 cups all-purpose flour, 1/2 cup unsweetened cocoa powder, 1/2 cup powdered sugar, and 1/4 teaspoon salt. Whisk them together until well mixed. It’s like a chocolatey cloud!
- Add in 1/2 cup of softened unsalted butter and 1 large egg yolk. Mix it all until it forms a dough. It might seem a bit crumbly at first, but just keep working it until it comes together.
- Next, press the dough evenly into your tart pan. Don’t worry about being perfect; just get it nice and even! Bake for 15 minutes, then let it cool completely on a wire rack.
- While the crust cools, grab a saucepan and heat 1 cup of heavy cream and 2 tablespoons of sugar over medium heat until it simmers. Keep an eye on it, as it can bubble over! Remove it from the heat and stir in 8 oz of chopped dark chocolate and 1 teaspoon of vanilla extract until it’s smooth and glossy.
- Pour this luscious filling into your cooled crust and spread it gently. Now comes the hard part—refrigerate for at least 2 hours to let it set. Trust me, it’ll be worth the wait!
Why You’ll Love This Recipe
- Rich, creamy filling that melts in your mouth—it’s pure indulgence!
- Simple, easy-to-find ingredients make it a breeze to whip up.
- Quick preparation time; you’ll have this tart ready to chill in under 30 minutes!
- The crust is perfectly crisp and complements the smooth chocolate filling wonderfully.
- Impressive presentation that will wow your friends and family—perfect for any occasion!
- Versatile dessert that pairs beautifully with a dollop of whipped cream or fresh berries.
- It’s a fantastic make-ahead dessert, allowing you to enjoy stress-free entertaining.
- Every slice is a slice of happiness—trust me, no one can resist!
Tips for Success
Alright, I want you to nail this chocolate tart, so here are some of my top tips for success! These little nuggets of wisdom will help you avoid common pitfalls and ensure your tart turns out perfectly every time.
- Use Cold Ingredients: For the crust, make sure your butter is softened but not melted. If it’s too warm, your crust might become tough instead of flaky. Keep your egg yolk cool, too!
- Don’t Overwork the Dough: When mixing your crust ingredients, just blend until combined. Overworking can lead to a dense crust, and we want that light, crispy texture!
- Chill the Crust: After pressing the dough into the tart pan, pop it in the freezer for about 10 minutes before baking. This helps the crust hold its shape and prevents shrinkage while baking.
- Choose Quality Chocolate: Since chocolate is the star of this dessert, don’t skimp on quality! Look for dark chocolate with at least 70% cocoa for a rich flavor.
- Let It Set: Resist the temptation to cut into your tart right away! Allowing it to chill for at least 2 hours (or even overnight) will give it the perfect texture and help it slice beautifully.
- Garnish Thoughtfully: When serving, a sprinkle of sea salt or a few fresh berries can elevate your tart to the next level. It adds a pop of flavor and makes it look stunning!
- Taste as You Go: Don’t be shy! Taste the filling as you make it (before adding it to the crust, of course) to ensure it’s just how you like it. Adjust sweetness if needed!
With these tips, you’ll be well on your way to creating a chocolate tart that not only tastes fantastic but also impresses everyone lucky enough to get a slice. Happy baking!
Variations
If you’re feeling adventurous, there are so many fun ways to mix up this chocolate tart recipe! Each variation offers a unique twist that keeps things exciting. Here are some of my favorite ideas to inspire your creativity in the kitchen!
- Milk Chocolate Delight: Swap out the dark chocolate for milk chocolate for a sweeter, creamier filling. This makes for a wonderfully mellow flavor that’s perfect for those who prefer a lighter chocolate experience.
- Mint Chocolate: Add a few drops of peppermint extract to the filling for a refreshing mint chocolate tart. It’s like a dessert version of your favorite mint chocolate chip ice cream!
- Orange Zest: Incorporate some fresh orange zest into the filling for a bright citrus twist. The combination of chocolate and orange is simply divine, bringing a pop of flavor that’s oh-so-refreshing!
- Nutty Crust: For a delicious crunch, try adding finely chopped nuts, like almonds or hazelnuts, to the tart crust. This adds texture and a lovely nutty flavor that pairs beautifully with chocolate.
- Espresso Infusion: Mix in a teaspoon or two of espresso powder into the filling to enhance the chocolate flavor. It’s a fantastic way to add depth and richness that coffee lovers will adore!
- Spicy Kick: Add a pinch of cayenne pepper or ground cinnamon to the filling for a surprising kick. The heat contrasts wonderfully with the sweetness of the chocolate.
- Fruit Topping: Top your chocolate tart with fresh berries, sliced bananas, or even a layer of caramelized apples for a fruity finish that adds both color and flavor.
Feel free to mix and match these ideas or come up with your own! The beauty of this chocolate tart is its versatility, allowing you to express your creativity while still enjoying that rich, creamy goodness. Happy experimenting!
Storage & Reheating Instructions
Now that you’ve got this gorgeous chocolate tart ready to impress, let’s talk about how to properly store it so it stays fresh and delicious! Trust me, you’ll want to savor every last bite.
First off, if you have any leftovers (which is a big if, because it’s so good!), you’ll want to store them in the refrigerator. Just cover the tart with plastic wrap or transfer individual slices to an airtight container. This will keep it nice and chilled while preventing any unwanted odors from sneaking in. It should stay fresh for about 3-4 days, but I doubt it’ll last that long!
If you’re thinking about reheating the chocolate tart, I recommend doing so gently. You can either take a slice and pop it in the microwave for just a few seconds—maybe 10-15 seconds—until it’s slightly warmed but not hot. This will give it a delightful, gooey texture. Just be careful not to overheat it, or you might lose that velvety goodness we all love.
Alternatively, if you prefer the oven method, preheat it to a low temperature, around 300°F (150°C), and warm the tart for about 10 minutes. This way, it’ll warm through evenly without losing its creamy filling. Serve it with a dollop of whipped cream or a scoop of ice cream for an extra special treat!
Whatever you do, don’t skip the chilling and reheating steps—keeping that perfect texture is key to enjoying the full chocolate tart experience!
Nutritional Information
Let’s talk about the numbers behind this delectable chocolate tart! While it’s a treat that’s rich and creamy, it’s always good to know what you’re indulging in. Here’s the estimated nutritional information for a single slice of this delightful dessert:
- Calories: 350
- Fat: 25g
- Saturated Fat: 15g
- Unsaturated Fat: 8g
- Trans Fat: 0g
- Cholesterol: 50mg
- Sodium: 50mg
- Carbohydrates: 30g
- Fiber: 3g
- Sugar: 25g
- Protein: 4g
Keep in mind that these values can vary based on the specific ingredients you choose and how generous you are with your slice! But hey, life is all about balance, right? Enjoy this rich chocolate tart as a special treat and savor every delicious bite!
FAQ Section
Can I use milk chocolate instead of dark chocolate?
Absolutely! You can use milk chocolate for a sweeter and creamier filling. Just keep in mind that it will change the flavor profile a bit, but it’s still delicious!
What if my tart crust cracks while baking?
No worries! If your crust cracks, just press it back together gently once it’s cooled. A little chocolate filling will cover any imperfections when you pour it in!
Can I make this chocolate tart ahead of time?
Yes! This tart actually tastes even better when made a day in advance. Just let it chill in the fridge overnight, and you’ll have a gorgeous dessert ready to impress!
How do I know when the filling is set?
After chilling for at least 2 hours, the filling should be firm to the touch but still slightly soft in the center. It will continue to set as it cools, so don’t worry if it’s a bit wobbly right after you pour it in!
Can I freeze the chocolate tart?
Yes, you can freeze it! Just wrap it well in plastic wrap and then in aluminum foil to prevent freezer burn. To enjoy, just thaw it in the fridge overnight before serving. It’s a great way to save some for later!