
Ah, *Christmas baking*! It’s like a warm hug from the oven, isn’t it? Every year, I look forward to this magical time when the kitchen fills with the sweet aroma of cookies, cakes, and all things festive. I remember my grandmother’s kitchen bustling with laughter and flour; she’d let me decorate cookies with sprinkles that sparkled like holiday lights. Those moments ignited my love for baking! There’s something so special about whipping up treats that bring joy to family and friends. Whether you’re sharing cookies with neighbors or indulging in a cozy night in, *Christmas baking* is all about creating memories and filling your home with cheer. Trust me, no holiday season is complete without a little flour on your cheek and the sound of a whisk mixing up something delicious!
Ingredients List
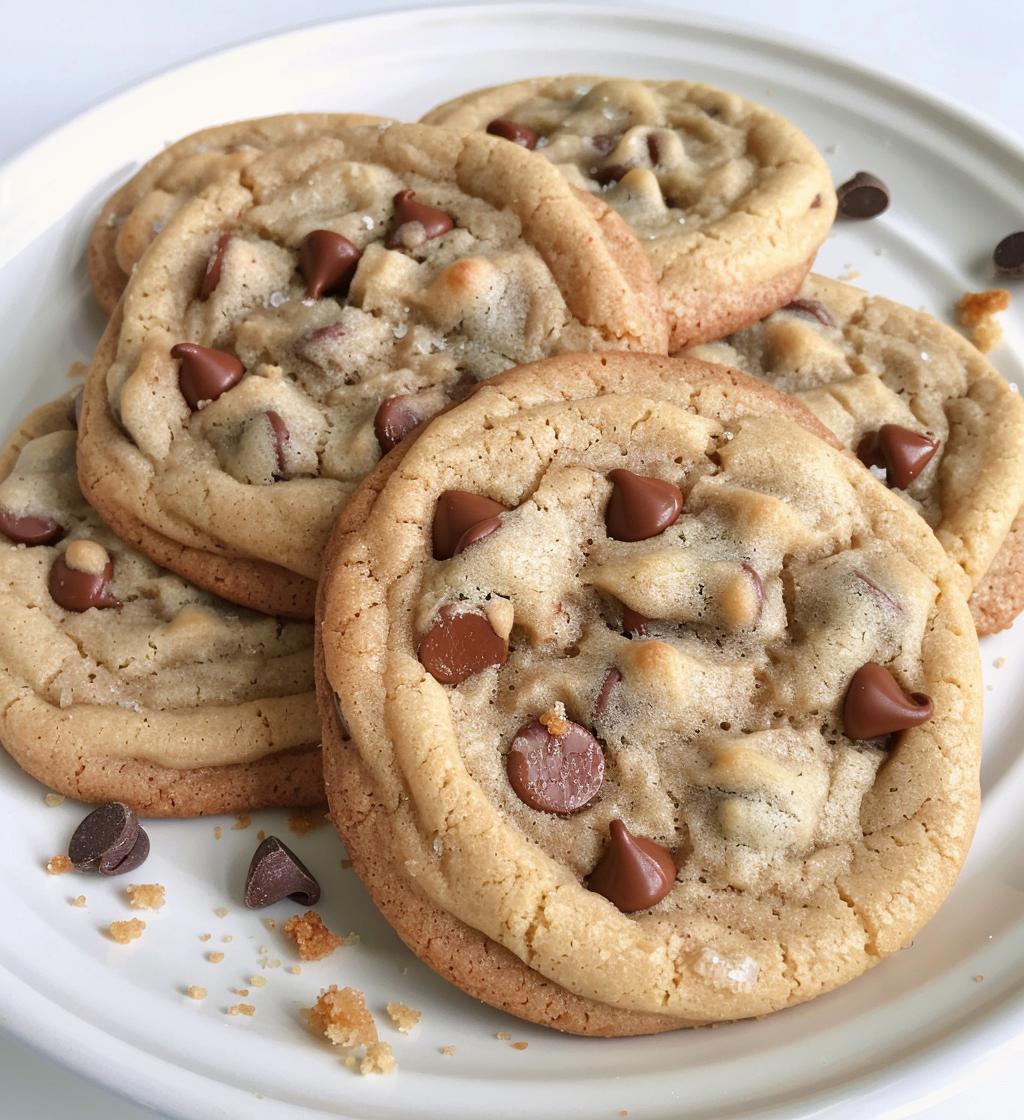
Here’s what you’ll need to create these delightful holiday cookies. I promise, you’ll find these ingredients easy to gather, and they come together beautifully!
- 2 cups all-purpose flour
- 1 cup granulated sugar
- 1/2 cup unsalted butter, softened
- 1 large egg
- 1 teaspoon vanilla extract
- 1 teaspoon baking powder
- 1/2 teaspoon salt
- 1 cup chocolate chips
Make sure to measure everything accurately for the best results! Each ingredient plays a special role in making these cookies soft and chewy. Now, let’s get baking!
How to Prepare Instructions
Now that we’ve gathered our ingredients, let’s dive into the fun part—baking! Don’t worry, I’ll guide you every step of the way. Just follow these simple directions, and you’ll have a batch of warm, scrumptious cookies in no time!
Step-by-Step Instructions
- First things first, preheat your oven to 350°F (175°C). This step is crucial because it ensures your cookies bake evenly and get that lovely golden color.
- In a mixing bowl, cream together the softened butter and granulated sugar until it’s smooth and fluffy. You’ll want to beat it for about 2-3 minutes—trust me, this makes all the difference in texture!
- Next, add in the egg and vanilla extract, mixing well until everything is combined. You’ll see it start to come together beautifully!
- In a separate bowl, whisk together the flour, baking powder, and salt. This helps to evenly distribute the baking powder, so your cookies rise perfectly.
- Gradually add the dry mixture to the wet ingredients. I like to do this in thirds, mixing gently after each addition. This prevents any flour dust clouds and keeps everything nice and creamy.
- Now for the best part—fold in those chocolate chips! Use a spatula to gently mix them in, ensuring they’re evenly distributed throughout the dough.
- Using a spoon or a cookie scoop, drop spoonfuls of dough onto a baking sheet lined with parchment paper. Make sure to leave some space between each cookie; they’ll spread out while baking!
- Pop the baking sheet into the oven and bake for 10-12 minutes or until they’re golden brown around the edges. The centers might look a bit soft, but they’ll firm up as they cool.
- Once they’re done, let the cookies cool on the baking sheet for a few minutes before transferring them to a wire rack. This helps them set perfectly without falling apart.
And there you have it! A simple yet delightful process that fills your kitchen with the most heavenly smells. Happy baking!
Why You’ll Love This Recipe
Let me tell you, there are so many reasons to fall in love with this *Christmas baking* recipe! It’s not just about the delicious cookies; it’s about the joy and warmth they bring to your home. From the first scoop of dough to the final bite, you’ll find that this recipe is as easy as it is rewarding. The best part? You don’t need to be a baking pro to impress your family and friends with these delightful treats!
Quick and Easy
With just 15 minutes of prep time and a mere 12 minutes in the oven, you’ll be enjoying these cookies in no time! Seriously, in less than half an hour, you can have a fresh batch of warm cookies that smell like the holidays. I love recipes that fit into my busy holiday schedule, and this one is the perfect solution for last-minute cookie cravings!
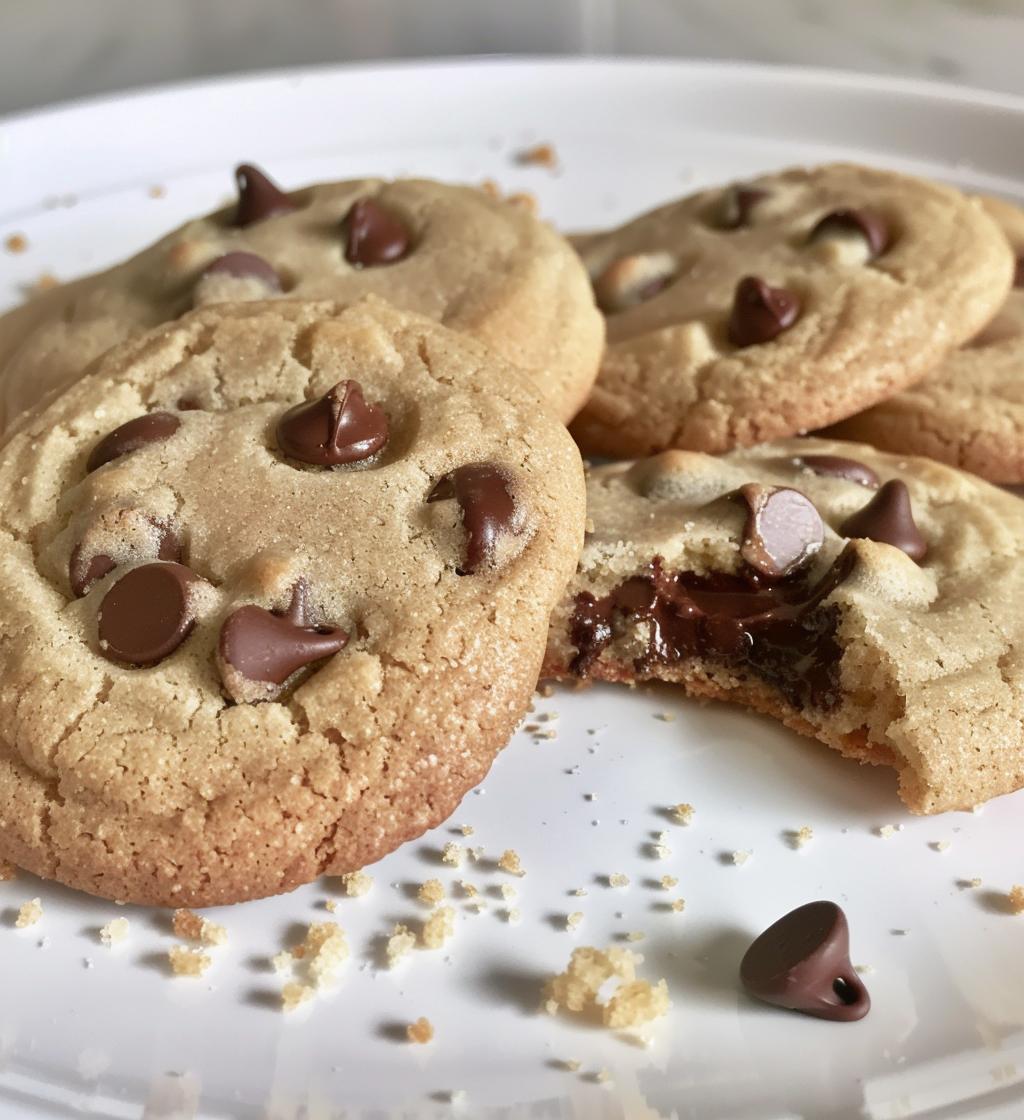
Flavorful and Festive
Oh, the flavors! The combination of rich chocolate chips and the comforting warmth of vanilla is simply divine. Each bite is a celebration of the season, bringing together that sweet nostalgia of holiday gatherings and cozy nights in. Plus, the smell wafting through your kitchen? It’s like a holiday hug! You’ll find yourself wanting to share these cookies with everyone, spreading cheer and joy with each delicious morsel. Trust me, they’ll become a festive favorite in no time!
Tips for Success
Alright, let’s make sure your *Christmas baking* adventure goes off without a hitch! Here are some of my favorite tips to help you achieve cookie perfection:
- Room Temperature Ingredients: Make sure your butter and egg are at room temperature before you start. This helps them blend more smoothly and creates a better texture in the cookies.
- Don’t Overmix: When you add the dry ingredients to the wet, mix just until combined. Overmixing can lead to tough cookies instead of the soft, chewy ones we all love!
- Chill the Dough: If you have the time, consider chilling the cookie dough for about 30 minutes before baking. This helps the cookies hold their shape and can enhance the flavor.
- Watch the Baking Time: Every oven is a little different, so keep an eye on your cookies as they bake. They’re done when the edges are golden, even if the centers look a bit soft. They’ll continue to cook as they cool!
- Experiment with Mix-Ins: Feel free to get creative! Add nuts, dried fruit, or even different kinds of chocolate chips to make these cookies your own. It’s all about bringing your unique twist to this classic recipe!
- Perfect Storage: Once they’re cooled, store your cookies in an airtight container to keep them fresh. If you want to maintain that soft texture, add a slice of bread to the container; it works like a charm!
With these tips in your back pocket, you’ll be well on your way to baking up a storm this holiday season! Happy baking, and may your kitchen be filled with joy and delicious aromas!
Variations
One of the best parts of *Christmas baking* is how versatile these cookies can be! I love experimenting with different flavors and ingredients to make each batch a little unique. Here are some fun ideas to customize your cookies and keep things exciting:
- Chocolate Chip Mix: Instead of using just one type of chocolate chip, try mixing semi-sweet, milk chocolate, and even white chocolate chips together! The combination adds a delightful twist that’s sure to impress.
- Nutty Goodness: If you’re a fan of nuts, toss in some chopped walnuts or pecans for extra crunch and flavor. They pair wonderfully with the chocolate and add a nice texture!
- Dried Fruit Delight: Consider adding some dried cranberries or cherries for a pop of tartness. It’s a festive touch that really brightens up the cookies and makes them feel even more special.
- Spiced Up: Add a pinch of cinnamon or nutmeg to the dough for that warm, cozy spice flavor that screams holiday spirit! It’ll make your kitchen smell amazing, too.
- Peanut Butter Swirl: For peanut butter lovers, you can swirl in some creamy peanut butter to the dough before baking. It creates a deliciously rich flavor that pairs beautifully with the chocolate.
- Minty Fresh: If you want a refreshing twist, add some peppermint extract and sprinkle crushed candy canes on top before baking. It’s perfect for that festive holiday vibe!
Feel free to mix and match these variations to suit your taste. The possibilities are endless, and that’s part of the fun! Each batch can reflect your personality and creativity, making your *Christmas baking* experience even more joyful. Happy experimenting!
Storage & Reheating Instructions
Now that you’ve baked up a storm and have a delicious batch of cookies, let’s talk about how to keep them fresh and ready for enjoyment! Trust me, you’ll want to savor these treats for as long as possible.
To store your cookies, make sure they’re completely cooled before putting them away. I like to place them in an airtight container to lock in that soft, chewy goodness. If you want to keep them extra fresh, add a slice of bread to the container. It sounds a bit quirky, but it really works wonders in keeping your cookies from drying out!
If you find yourself with leftover cookies (which is a miracle in my house!), you can store them at room temperature for up to a week. Just keep them in a cool, dry place away from direct sunlight. For longer storage, pop those cookies in the freezer! Just wrap them individually in plastic wrap and then put them in a freezer-safe bag. They can last up to 3 months this way.
When you’re ready to enjoy a frozen cookie, simply take it out and let it thaw at room temperature for about 30 minutes. If you prefer a warm cookie, you can pop it in the microwave for about 10-15 seconds. Just be careful not to overheat them—nobody likes a rubbery cookie! And voilà, you’ve got a warm, delightful treat ready to bring a smile to your face!
With these simple storage tips, you can ensure your *Christmas baking* stays fresh and delicious for days to come. Happy munching!
Nutritional Information
Alright, let’s chat about the nutritional info for these scrumptious cookies! Keep in mind that these values are estimates, but they give you a good idea of what to expect when indulging in your *Christmas baking* creations.
- Serving Size: 1 cookie
- Calories: 150
- Total Fat: 7g
- Saturated Fat: 4g
- Trans Fat: 0g
- Unsaturated Fat: 2g
- Cholesterol: 20mg
- Sodium: 50mg
- Total Carbohydrates: 20g
- Dietary Fiber: 1g
- Sugars: 10g
- Protein: 2g
These cookies are a delightful treat, and just remember, everything in moderation! Enjoy the holiday spirit and the joy these cookies bring without worrying too much about the numbers. Happy baking (and snacking)!
FAQ Section
I know you might have a few questions about *Christmas baking*, so let’s tackle some of the most common ones together! Baking can sometimes feel a bit daunting, but I’m here to help you every step of the way. So, let’s dive into these FAQs!
Can I use whole wheat flour instead of all-purpose flour?
Absolutely! You can substitute up to half of the all-purpose flour with whole wheat flour for a nuttier flavor and a bit more nutrition. Just keep in mind that it may alter the texture slightly, making the cookies denser.
What’s the best way to store leftover cookies?
Great question! Once they’re cooled, store your cookies in an airtight container at room temperature for up to a week. If you want to keep them even fresher, add a slice of bread in with them to help maintain that soft texture.
Can I freeze the cookie dough?
Yes, you can definitely freeze the cookie dough! Just scoop the dough into balls and place them on a baking sheet to freeze individually. Once frozen, transfer them to a freezer-safe bag. When you’re ready to bake, just pop them straight from the freezer into the oven; you may need to add a minute or two to the baking time.
What if I don’t have chocolate chips?
No problem! You can swap them out with other mix-ins like chopped nuts, dried fruits, or even toffee bits. Get creative! It’s all about making these cookies your own.
Can I make these cookies vegan?
Yes! To make these cookies vegan, substitute the butter with a plant-based butter and the egg with a flaxseed egg (1 tablespoon of ground flaxseed mixed with 2.5 tablespoons of water, let it sit until it thickens). They’ll still come out tasty!
How do I know when the cookies are done baking?
Look for the edges to be golden brown while the centers still look slightly soft. They’ll firm up as they cool, so don’t worry if they seem a bit underbaked when you first take them out!
Can I double the recipe?
Definitely! Just make sure you have enough space on your baking sheets, and you might need to bake in batches. Doubling the recipe is a great way to ensure you have plenty of cookies to share (or not share, no judgment here!).
I hope these answers help clear up any baking questions you had! Remember, the most important part of *Christmas baking* is to have fun and enjoy the process. Happy baking!