
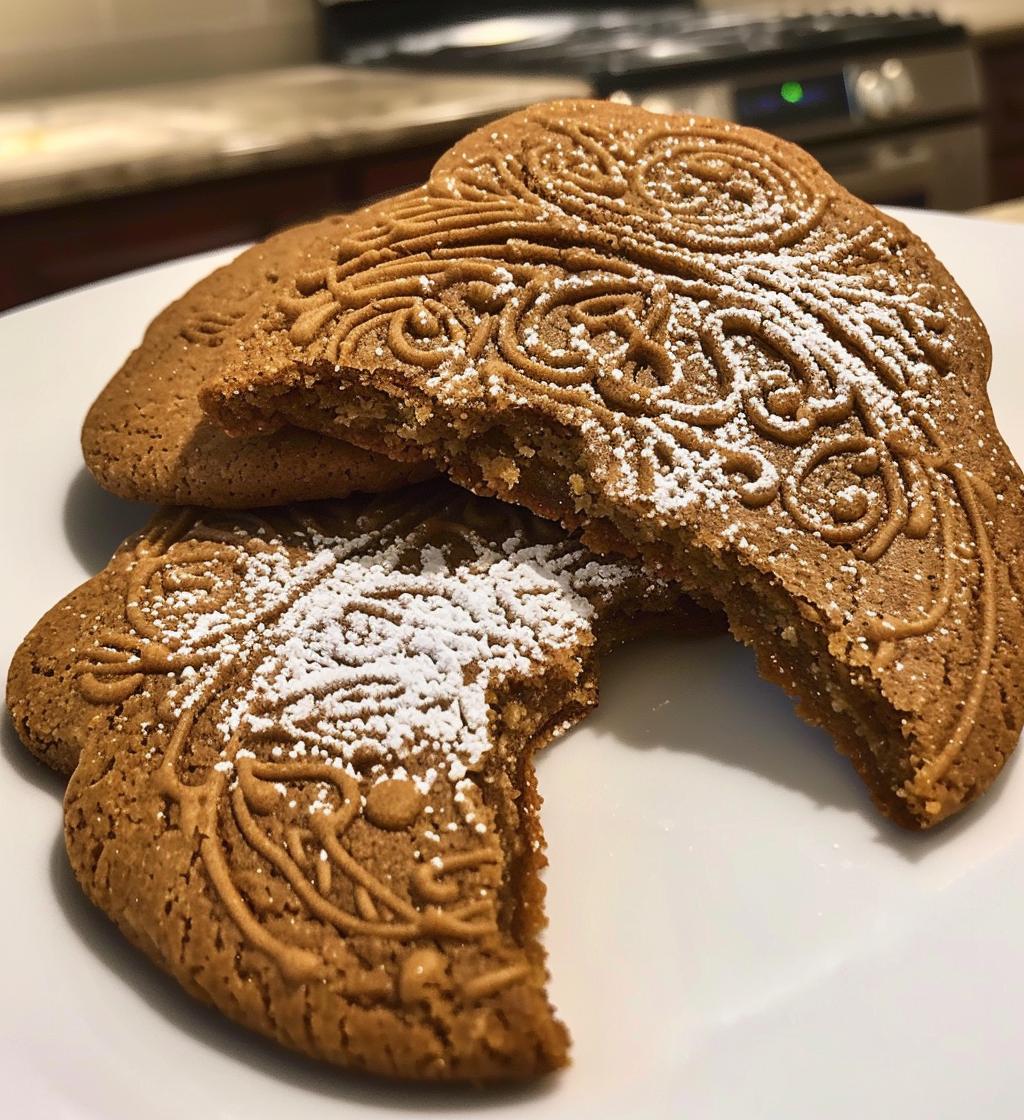
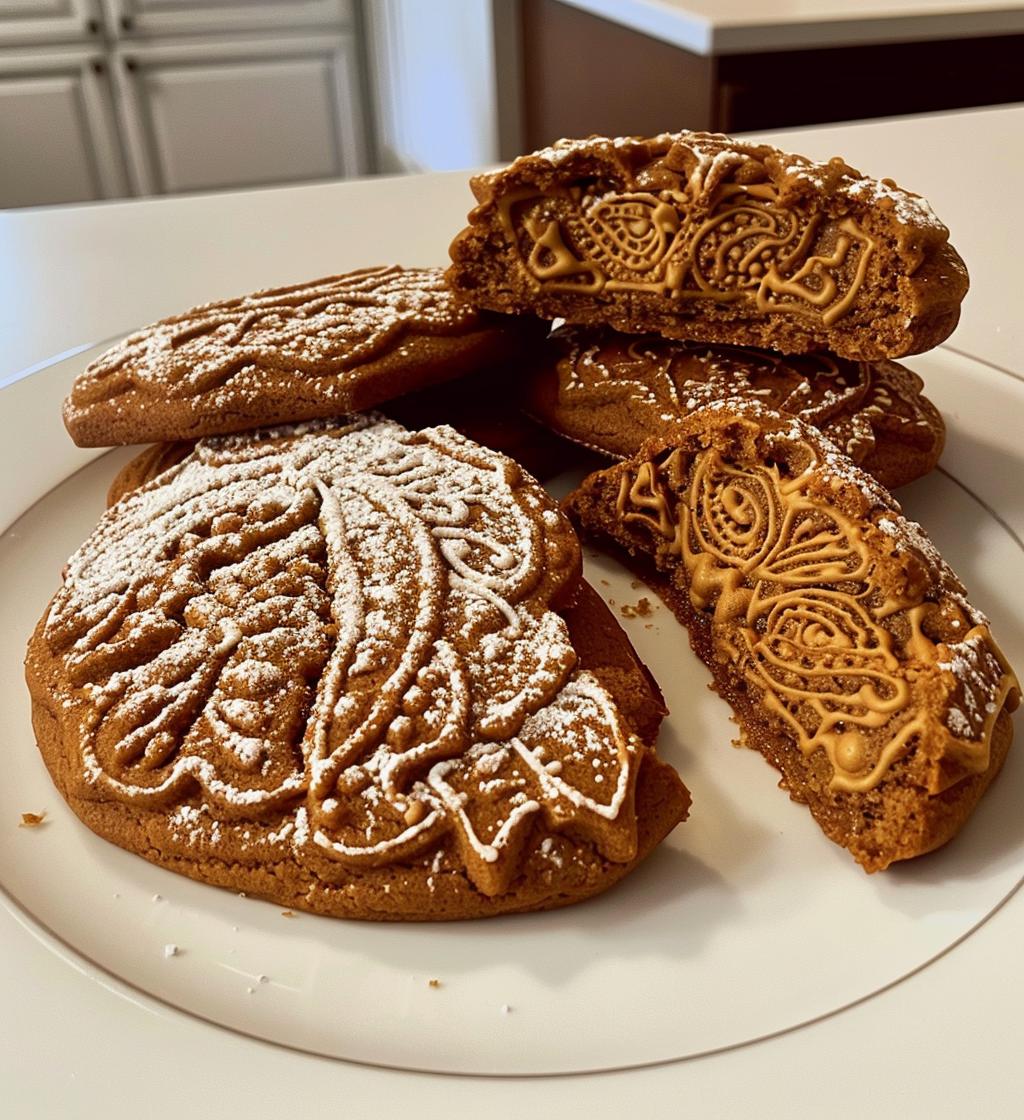
Oh my goodness, let me tell you about the absolute joy of baking gingerbread cookies! The moment you mix those warm spices—ginger, cinnamon, cloves—oh wow, the aroma fills your kitchen and just wraps you in a cozy hug. These cookies aren’t just treats; they’re like little pieces of holiday magic. Whether you’re making them for Christmas, a festive gathering, or just because you want something delicious, they always bring a smile. Plus, the dough is so easy to work with, and you can cut them into all sorts of fun shapes—think stars, trees, or even little gingerbread men! Trust me, once you whip up a batch, you’ll be hooked on that spicy-sweet goodness that’s perfect for sharing (or keeping all to yourself!).
Ingredients for Gingerbread Cookies
For these delightful gingerbread cookies, you’ll need 3 cups of all-purpose flour to give them that perfect structure. You’ll also want to grab 1 tablespoon of ground ginger for that warm, spicy flavor that’s just irresistible. Don’t forget 1 tablespoon of ground cinnamon, which adds a beautiful warmth and sweetness, along with 1 teaspoon of ground cloves for an extra punch of spice. To help your cookies rise, include 1 teaspoon of baking soda, and a pinch of 1/2 teaspoon salt to balance out the flavors. Now, for the buttery goodness, you’ll need 3/4 cup of unsalted butter, softened to create that perfect melt-in-your-mouth texture. To sweeten things up, pack in 3/4 cup of brown sugar, which will add a lovely richness. You’ll also need 1 large egg to bind everything together, and don’t skimp on the 1/2 cup of molasses; it brings that classic gingerbread flavor and moisture that makes these cookies so special. Get ready to mix these ingredients and create something magical!
How to Prepare Gingerbread Cookies
Preparing the Dough
Alright, let’s dive into making that delicious gingerbread dough! First, preheat your oven to 350°F (175°C) so it’s nice and toasty when you’re ready to bake. In a large mixing bowl, combine the 3 cups of all-purpose flour, 1 tablespoon of ground ginger, 1 tablespoon of ground cinnamon, 1 teaspoon of ground cloves, 1 teaspoon of baking soda, and 1/2 teaspoon of salt. Whisk those dry ingredients together until they’re well mixed—this step is super important for even flavor!
In a separate bowl, cream together the 3/4 cup of softened unsalted butter and 3/4 cup of brown sugar until it’s light and fluffy. This usually takes about 2-3 minutes with a hand mixer. Next, add in your large egg and 1/2 cup of molasses, mixing until it’s all beautifully combined. Now, gradually add the dry mixture to the wet ingredients, stirring until a soft dough forms. Don’t rush this part—give it a good mix, but don’t overdo it!
Shaping the Cookies
Once your dough is ready, it’s time to get a little hands-on! Lightly flour your countertop and roll out the dough to about 1/4 inch thick. This is where the fun begins—grab your favorite cookie cutters and start making shapes! If the dough feels too sticky, don’t hesitate to chill it in the fridge for about 30 minutes. It makes cutting out those adorable shapes so much easier. Place your cutouts on a baking sheet lined with parchment paper, spacing them about an inch apart to allow for spreading.
Baking Instructions
Now, pop those trays into your preheated oven and bake for 8-10 minutes. Keep an eye on them; the edges should look firm, but the centers might still be a little soft—that’s perfect! Once they’re done, remove the cookies from the oven and let them cool on the baking sheet for a few minutes before transferring them to a wire rack. This cooling step is crucial because it helps them firm up nicely, making them easier to decorate later on. Trust me, the smell wafting through your house will be absolutely heavenly!
Why You’ll Love This Recipe
- Deliciously spiced flavor that captures the essence of the holidays.
- Easy to prepare with simple ingredients you probably already have on hand.
- Perfect for baking with family or friends—it’s a fun activity!
- Versatile shapes allow for creativity—make them festive or whimsical!
- Your kitchen will smell incredible while they’re baking, creating a cozy atmosphere.
- Great for gifting or sharing during the holiday season.
- They stay fresh and tasty for days—if they last that long!
Tips for Success
To ensure your gingerbread cookies turn out perfectly, I’ve got a few tips that have saved me time and frustration! First off, when mixing your dough, don’t overwork it. Just mix until everything is combined, and then stop! This keeps your cookies tender and not tough. If your dough feels sticky, definitely chill it for at least 30 minutes. It makes rolling out so much easier and keeps those cute shapes intact.
Also, when you’re cutting out the shapes, flour your cookie cutters to prevent sticking. It’s a simple trick that makes a world of difference! And remember, every oven is a little different, so keep an eye on the cookies as they bake. If they start to brown too quickly, rotate your baking sheet halfway through to ensure even baking. Trust me, these little tweaks will lead to gingerbread perfection!
Nutritional Information
Here’s the estimated nutritional breakdown for each of these delightful gingerbread cookies. Keep in mind that these values can vary based on specific ingredients and portion sizes, but this should give you a good idea:
- Calories: 150
- Fat: 5g
- Saturated Fat: 3g
- Trans Fat: 0g
- Cholesterol: 15mg
- Sodium: 60mg
- Carbohydrates: 22g
- Fiber: 0g
- Sugar: 8g
- Protein: 2g
These cookies are not just delicious; they’re also a fun treat that can fit into your holiday indulgences without too much guilt. Enjoy every spicy-sweet bite!
FAQ about Gingerbread Cookies
Can I freeze gingerbread cookie dough?
Absolutely! Freezing gingerbread cookie dough is a fantastic way to prep ahead for the holidays or any special occasion. Just follow these simple steps: First, wrap the dough tightly in plastic wrap to prevent any freezer burn. You can also place it in an airtight container for extra protection. When you’re ready to bake, simply thaw the dough in the refrigerator overnight. Once it’s soft enough to handle, you can roll it out and cut your favorite shapes. It’s like having fresh cookies on demand!
What can I use to decorate gingerbread cookies?
Oh, decorating gingerbread cookies is where the fun really kicks in! You can use royal icing to create beautiful designs and add color. If you want something a bit simpler, a basic powdered sugar glaze works wonderfully too. For embellishments, consider using sprinkles, candy canes, or chocolate chips to give your cookies some extra flair. Dried fruits like raisins or cranberries also make delightful decorations, and of course, you can’t go wrong with a dusting of powdered sugar for that snowy effect. The possibilities are endless, so let your creativity shine!
How long do gingerbread cookies last?
Once baked, your gingerbread cookies can last quite a while when stored properly! Keep them in an airtight container at room temperature, and they should stay fresh for about a week. If you want to extend their life a bit longer, you can also freeze the baked cookies. Just layer them with parchment paper in an airtight container, and they’ll last for up to three months. When you’re ready to enjoy them again, simply thaw them at room temperature or pop them in the microwave for a few seconds for that fresh-baked taste!
Storage & Reheating Instructions
Storing your delicious gingerbread cookies properly is key to keeping them fresh and tasty! Once they’ve completely cooled, place them in an airtight container at room temperature. This will help them stay soft and flavorful for up to a week. If you find yourself with leftovers (which is always a great problem to have!), you can also freeze them. Just layer the cookies between sheets of parchment paper in a freezer-safe container or bag. They’ll keep well for about three months!
When you’re ready to enjoy those frozen cookies, simply take them out and let them thaw at room temperature. If you want to give them a little extra love, pop them in the microwave for about 10-15 seconds to warm them up. This will give you that fresh-baked taste again! Just be careful not to overheat them, or they might lose that perfect chewiness. Enjoy every last bite!