
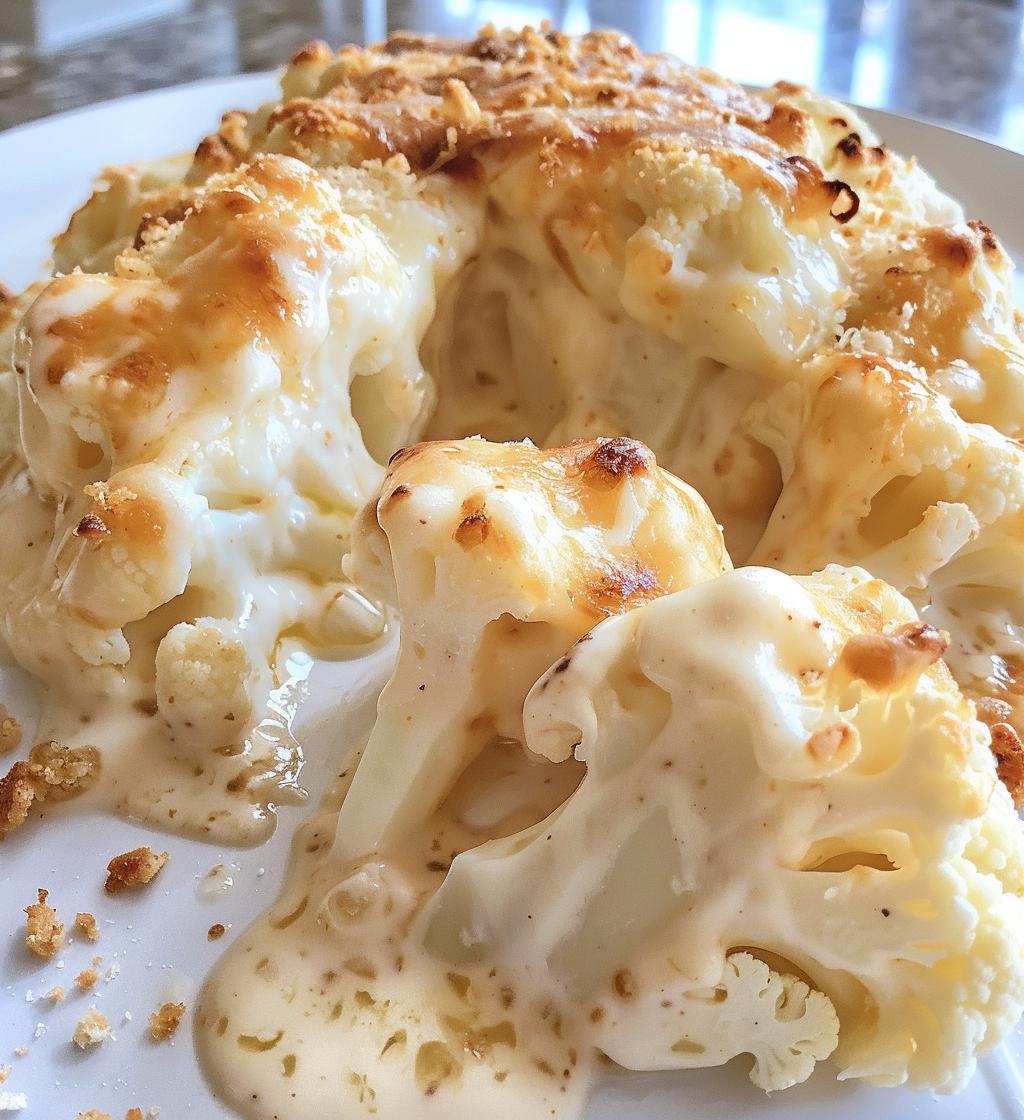
If you’re looking for a dish that’s both comforting and indulgent, let me introduce you to my Cheesy Cauliflower Gratin! This creamy and cheesy delight is a family favorite that always brings everyone to the table. I remember my mom making this when we had family gatherings; the rich aroma of melting cheese and sautéed garlic would fill the house, making it impossible to resist. The way the cauliflower gets tender and absorbs all that luscious cheese sauce is just magic! Trust me, once you take that first bite, you’ll understand why this dish has earned a permanent spot in my recipe rotation. It’s perfect as a side dish or even as a main course for a cozy night in. So, grab your apron and let’s make some cheesy goodness together!
Ingredients List
- 1 large head of cauliflower, cut into florets
- 2 cups cheddar cheese, shredded
- 1 cup heavy cream
- 1 cup milk
- 4 tablespoons butter
- 1/2 cup Parmesan cheese, grated
- 2 cloves garlic, minced
- Salt and pepper to taste
- 1/2 teaspoon paprika
How to Prepare Cheesy Cauliflower Gratin
Step 1: Preheat the Oven
First things first, you’ll want to preheat your oven to 375°F (190°C). Preheating is super important because it ensures that your Cheesy Cauliflower Gratin cooks evenly, giving you that perfect golden crust on top. Trust me, you don’t want to skip this step!
Step 2: Steam the Cauliflower
Now, let’s get that cauliflower ready! Take your large head of cauliflower and cut it into nice, bite-sized florets. Next, steam those florets until they’re tender, which should take about 5-7 minutes. You want them soft enough to soak up all that cheesy goodness, but not mushy—nobody likes mushy veggies! If you don’t have a steamer, just pop them in a microwave-safe bowl with a splash of water and cover it. Easy peasy!
Step 3: Make the Cheese Sauce
While your cauliflower is steaming, let’s whip up that irresistible cheese sauce. In a medium saucepan, melt 4 tablespoons of butter over medium heat. Once it’s nice and bubbly, toss in the minced garlic and sauté until it’s fragrant—oh, the smell is heavenly! Then, pour in the heavy cream and milk, stirring until it comes to a gentle simmer. Now, it’s cheese time! Gradually add in the shredded cheddar cheese, along with salt, pepper, and paprika. Keep stirring until everything is beautifully smooth and melted. This is the moment when your kitchen really starts to feel like home!
Step 4: Combine and Bake
Alright, we’re almost there! In a large baking dish, combine the steamed cauliflower with that luscious cheese sauce. Make sure every floret gets coated in that cheesy goodness. Then, sprinkle the grated Parmesan cheese generously on top—because who doesn’t love a cheesy crust? Pop it in the oven and bake for 25-30 minutes, or until it’s golden and bubbling. The anticipation will be real, but once you pull it out, you’ll know you’ve created something truly special!
Nutritional Information
Now, let’s talk about the nutritional side of my Cheesy Cauliflower Gratin! Each serving is packed with deliciousness while still being a great way to enjoy your veggies. Here’s a breakdown of the typical nutritional values per serving (about 1 cup):
- Calories: 300
- Fat: 25g
- Saturated Fat: 15g
- Unsaturated Fat: 8g
- Trans Fat: 0g
- Cholesterol: 80mg
- Sodium: 600mg
- Carbohydrates: 10g
- Fiber: 3g
- Sugar: 2g
- Protein: 12g
Keep in mind, these values are estimates and can vary based on your specific ingredients. But don’t worry, with all that cheesy goodness, you’re still getting some fiber and protein from the cauliflower and cheese! It’s a win-win in my book!
FAQ Section
How can I make Cheesy Cauliflower Gratin ahead of time?
Great question! You can absolutely prepare my Cheesy Cauliflower Gratin ahead of time. Just follow the recipe up to the baking step, then cover the dish tightly with plastic wrap or foil and refrigerate it for up to 24 hours. When you’re ready to bake, simply remove the cover and pop it in the oven. You might need to add an extra 5-10 minutes to the baking time since it will be chilled. This way, you can enjoy the creamy goodness without the last-minute rush!
Can I use other cheeses in this recipe?
Absolutely! One of the best parts about this Cheesy Cauliflower Gratin is its versatility. While I love the classic combination of cheddar and Parmesan, you can mix it up with other cheeses like Gruyère for a nutty flavor or mozzarella for extra gooeyness. Just keep in mind that different cheeses may alter the taste and texture a bit, but that can lead to some delicious discoveries!
Is Cheesy Cauliflower Gratin suitable for a vegetarian diet?
Yes, my Cheesy Cauliflower Gratin is indeed suitable for a vegetarian diet! It’s loaded with wholesome ingredients like cauliflower, cheese, and creamy goodness, making it perfect for veggie lovers. If you want to make it even more plant-based, you can substitute the heavy cream and milk with your favorite non-dairy alternatives, like almond or oat milk, and use vegan cheese. It’s a flexible dish that can cater to various dietary preferences!
Why You’ll Love This Recipe
- Quick and easy to prepare, making it perfect for busy weeknights.
- Deliciously creamy and cheesy, it’s a comforting dish that everyone will love.
- A fantastic way to sneak in some veggies, even for picky eaters!
- Versatile enough to pair with any main dish or serve as a standalone meal.
- Can be made ahead of time for those days when you need a stress-free dinner option.
- The rich flavors of cheddar and Parmesan create a mouthwatering experience.
- Customizable with different cheeses and herbs to suit your taste.
Tips for Success
To make sure your Cheesy Cauliflower Gratin turns out absolutely perfect, here are some of my favorite pro tips! Trust me, these little tricks can make a big difference.
- Use Fresh Ingredients: Fresh cauliflower not only tastes better but also has a lovely texture that holds up well during baking. Opt for florets that are firm and bright white for the best flavor!
- Don’t Skip the Steaming: Steaming the cauliflower is crucial! It helps to soften the florets just enough to soak up that delicious cheese sauce without becoming mushy. Keep an eye on them, 5-7 minutes is all they need!
- Mix Cheeses: Don’t be afraid to experiment with different cheeses! Mixing cheddar with Gruyère or gouda can add depth to the flavor, and trust me, your taste buds will thank you!
- Get the Right Bake: Keep an eye on your gratin as it bakes! You want that beautiful golden crust on top, so if it’s browning too quickly, cover it with foil to prevent burning while ensuring the inside gets cooked through.
- Let It Rest: After baking, let the gratin sit for about 5-10 minutes before serving. This resting period helps it set up a bit, making it easier to serve and enjoy every cheesy bite!
- Season Well: Don’t forget to taste your cheese sauce before combining it with the cauliflower! Adjust the salt and pepper to your liking—every cheese has a different saltiness, so make it your own!
With these tips in your back pocket, you’ll be well on your way to creating the most scrumptious Cheesy Cauliflower Gratin imaginable. Enjoy every cheesy moment!
Variations
If you’re feeling adventurous and want to switch things up with your Cheesy Cauliflower Gratin, I’ve got some fantastic ideas for you! This dish is super versatile, and there are so many delicious ways to enhance those cheesy flavors. Here are some of my favorite variations:
- Herbed Delight: Add fresh or dried herbs like thyme, rosemary, or parsley to the cheese sauce for a burst of flavor. Just a teaspoon or two can elevate the dish and give it a lovely aroma!
- Spicy Kick: If you love a bit of heat, sprinkle in some red pepper flakes or a dash of hot sauce when making your cheese sauce. It adds a wonderful zing that pairs perfectly with the creamy texture.
- Veggie Medley: Feel free to mix in other vegetables like broccoli, spinach, or even sautéed mushrooms. Just steam them along with the cauliflower for a colorful and nutritious twist!
- Smoky Flavor: Incorporate smoked cheese like gouda or add a bit of smoked paprika instead of regular paprika. The smoky flavor will give your gratin a whole new dimension that’s hard to resist!
- Nutty Addition: Top your gratin with a sprinkle of toasted breadcrumbs mixed with chopped nuts like almonds or walnuts for a delightful crunch and added texture.
- Cheesy Combo: Experiment with different cheeses! Mixing in some fontina, mozzarella, or even blue cheese can create a unique flavor profile that’s sure to impress.
With these variations, you can make your Cheesy Cauliflower Gratin a new dish every time! So, don’t be afraid to get creative and let your taste buds guide you. Happy cooking!
Storage & Reheating Instructions
Now, let’s talk about storing those delicious leftovers of my Cheesy Cauliflower Gratin! If you find yourself with any extras (which is rare, but it happens), you’ll want to store it properly to keep all that cheesy goodness intact. First, let the gratin cool completely before storing it. This helps prevent condensation, which can make it soggy. Once cooled, transfer it to an airtight container and pop it in the refrigerator. It should stay fresh for about 3-4 days.
When it comes to reheating, I highly recommend using the oven to maintain that beautiful crust. Preheat your oven to 350°F (175°C) and place the leftover gratin in an oven-safe dish. You can cover it loosely with foil to prevent it from browning too much. Bake for about 15-20 minutes, or until it’s heated through and bubbling again. If you want to re-crisp the top, remove the foil for the last few minutes of baking—trust me, it’s worth it!
If you have a lot of leftovers or want to prepare it ahead of time, you can also freeze the Cheesy Cauliflower Gratin. Just make sure to use a freezer-safe container or wrap it tightly in plastic wrap and then foil. It should keep well for up to 2-3 months. When you’re ready to enjoy it again, let it thaw in the refrigerator overnight before reheating as mentioned above. With these simple storage tips, you can savor every cheesy bite, even days later!
Print
Cheesy Cauliflower Gratin: 7 Comforting Ways to Indulge
- Prep Time: 15 minutes
- Cook Time: 30 minutes
- Total Time: 45 minutes
- Yield: 6 servings 1x
- Category: Side Dish
- Method: Baking
- Cuisine: American
- Diet: Vegetarian
Description
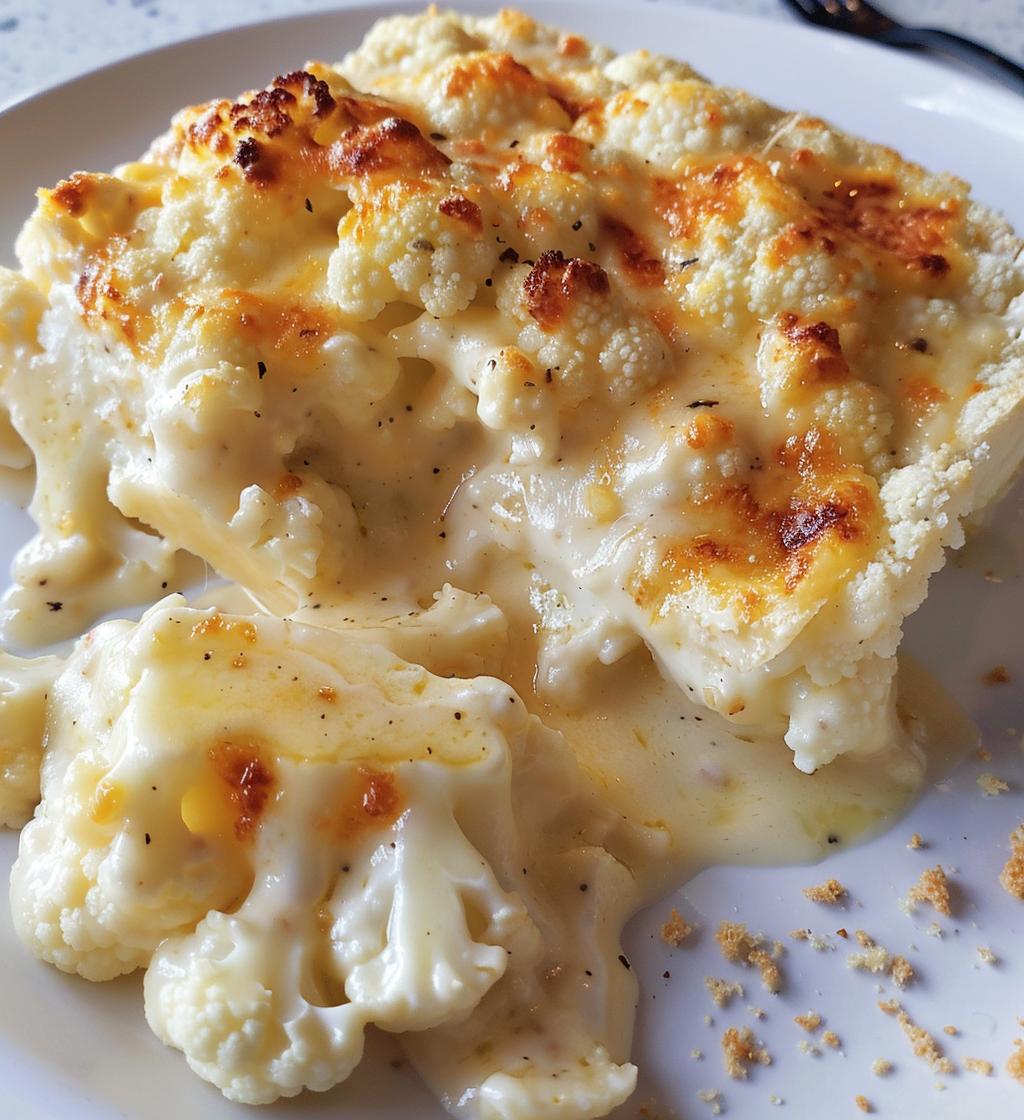
A creamy and cheesy cauliflower dish baked to perfection.
Ingredients
- 1 large head of cauliflower, cut into florets
- 2 cups cheddar cheese, shredded
- 1 cup heavy cream
- 1 cup milk
- 4 tablespoons butter
- 1/2 cup Parmesan cheese, grated
- 2 cloves garlic, minced
- Salt and pepper to taste
- 1/2 teaspoon paprika
Instructions
- Preheat your oven to 375°F (190°C).
- Steam the cauliflower florets until tender, about 5-7 minutes.
- In a saucepan, melt the butter over medium heat. Add garlic and sauté until fragrant.
- Stir in the heavy cream and milk, bringing to a simmer.
- Add cheddar cheese, salt, pepper, and paprika. Stir until cheese is melted.
- In a baking dish, combine steamed cauliflower and cheese sauce.
- Sprinkle Parmesan cheese on top.
- Bake for 25-30 minutes until golden and bubbly.
Notes
- Use fresh cauliflower for best flavor.
- Adjust cheese types based on your preference.
Nutrition
- Serving Size: 1 cup
- Calories: 300
- Sugar: 2g
- Sodium: 600mg
- Fat: 25g
- Saturated Fat: 15g
- Unsaturated Fat: 8g
- Trans Fat: 0g
- Carbohydrates: 10g
- Fiber: 3g
- Protein: 12g
- Cholesterol: 80mg
Keywords: Cheesy Cauliflower Gratin, Cauliflower Recipe, Cheesy Dish