
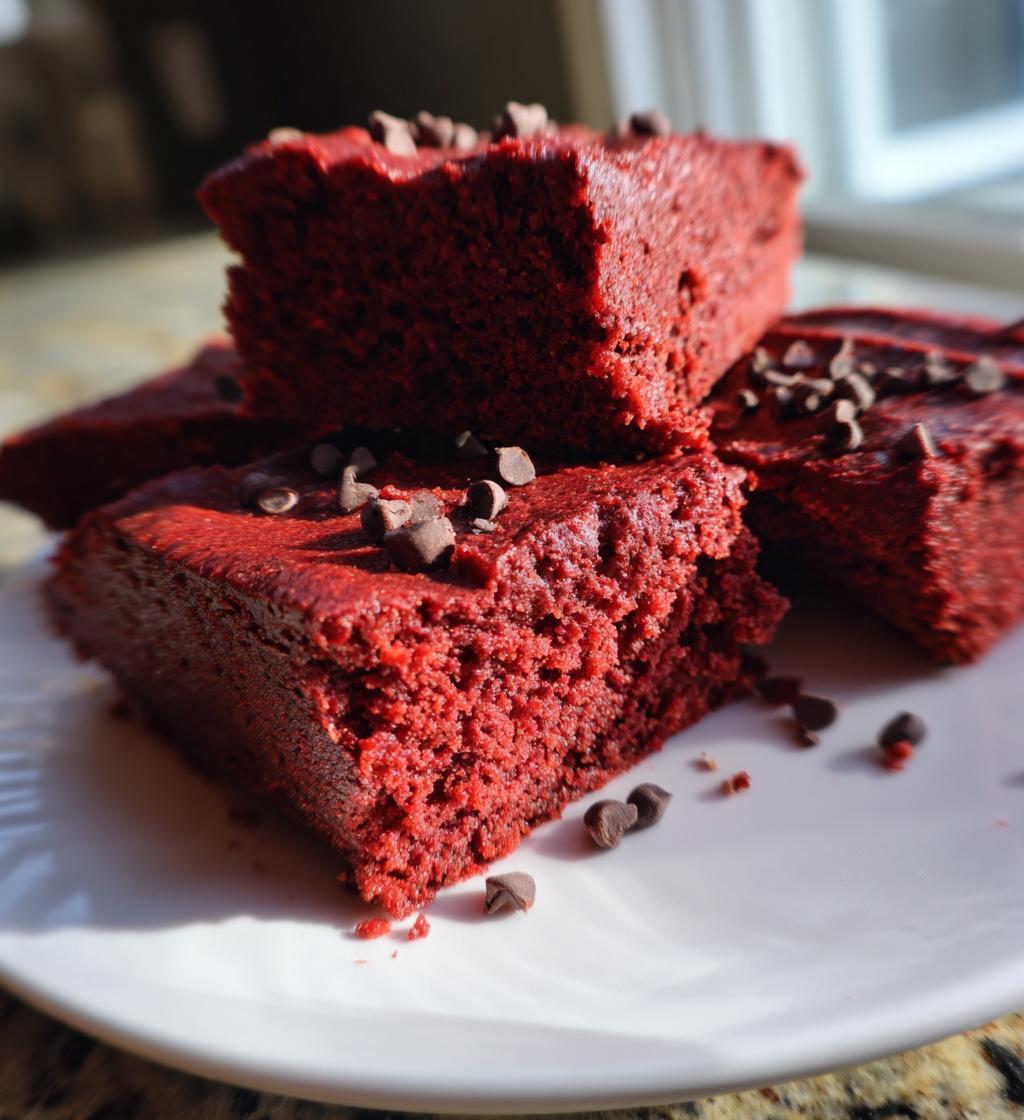
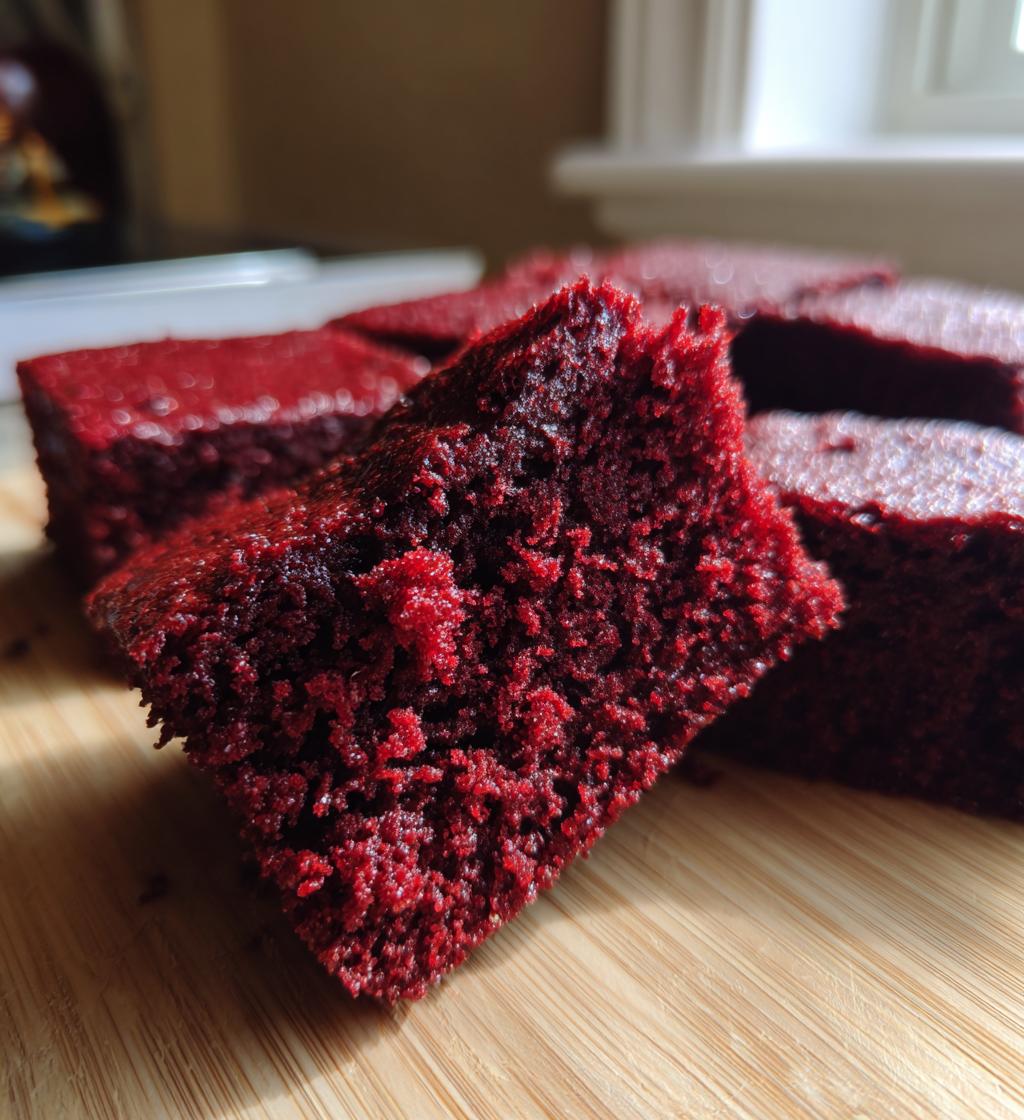
Oh my goodness, you’re going to love these red velvet bars! They’re a delightful twist on the classic dessert, and the best part? They’re both vegan and gluten-free! I created this recipe when I wanted to indulge my sweet tooth without sacrificing my dietary preferences. Trust me, the rich cocoa flavor combined with that beautiful red hue makes for a stunning treat that’s perfect for any occasion. Whether it’s for a cozy night in or a fun gathering with friends, these bars are sure to impress. You won’t even believe they’re vegan and gluten-free! Let’s dive into the deliciousness!
Ingredients List
(Tip: You’ll find the full list of ingredients and measurements in the recipe card below.)
- 1 cup almond flour
- 1/2 cup cocoa powder
- 1/2 cup maple syrup
- 1/3 cup coconut oil, melted
- 1 teaspoon vanilla extract
- 1 teaspoon baking soda
- 1/2 teaspoon salt
- 1 tablespoon apple cider vinegar
- 1 tablespoon red food coloring (vegan)
How to Prepare Red Velvet Bars Vegan Gluten Free
Step 1: Preheat the Oven
First things first, let’s get that oven preheated to 350°F (175°C). Preheating is super important because it helps the bars bake evenly and rise just right. So go ahead and get that heat going while you prepare the batter!
Step 2: Mix Dry Ingredients
In a large mixing bowl, it’s time to bring together the dry ingredients! Combine 1 cup of almond flour, 1/2 cup of cocoa powder, 1 teaspoon of baking soda, and 1/2 teaspoon of salt. I love giving them a good whisk to ensure everything is well mixed. You want that nice, even distribution of flavors, so take your time with this step!
Step 3: Combine Wet Ingredients
Now, grab another bowl for the wet ingredients. Whisk together 1/2 cup of maple syrup, 1/3 cup of melted coconut oil, 1 teaspoon of vanilla extract, 1 tablespoon of apple cider vinegar, and 1 tablespoon of vegan red food coloring. This is where the magic happens! The beautiful color and flavors come together, and the smell? Absolutely divine!
Step 4: Combine Both Mixtures
Time to mix it all together! Pour the wet ingredients into the bowl with the dry ingredients and gently fold them together until just combined. Be careful not to overmix; we want to keep those bars light and fluffy. You should have a lovely, thick batter that’s ready to go!
Step 5: Bake the Bars
Next, pour the batter into a greased baking dish, spreading it out evenly. Pop it into your preheated oven and bake for about 25-30 minutes. I usually start checking around the 25-minute mark—just insert a toothpick in the center, and if it comes out clean, they’re good to go!
Step 6: Cool and Slice
Once they’re out of the oven, let the bars cool in the pan for a bit before transferring them to a wire rack. Patience is key here! Let them cool completely before slicing into those gorgeous bars. Trust me, the wait will be worth it!
Why You’ll Love This Recipe
- Quick preparation—whip it up in just 15 minutes!
- Simple, wholesome ingredients that are easy to find
- Rich, decadent flavor that satisfies your sweet tooth
- Healthy twist on classic dessert—guilt-free indulgence!
- Completely vegan, so everyone can enjoy these delightful bars
- Gluten-free, making them perfect for those with dietary restrictions
Tips for Success
Alright, let’s make sure your red velvet bars turn out absolutely perfect! Here are some of my favorite tips to help you achieve sweet success:
- Adjust the Sweetness: If you like your desserts on the sweeter side, feel free to add a bit more maple syrup. Just remember, a little extra sweetness can go a long way!
- Check Your Baking Time: Ovens can vary, so start checking your bars around the 25-minute mark. You want them to be firm around the edges but still a little soft in the center—this ensures they stay moist and delicious!
- Let Them Cool Completely: I know it’s hard to resist, but letting the bars cool completely before slicing is key. It helps them firm up and makes for cleaner cuts!
- Experiment with Toppings: If you’re feeling fancy, try topping your bars with a vegan cream cheese frosting or some chopped nuts. It adds a delightful crunch and elevates the flavors!
- Use Fresh Ingredients: Make sure your baking soda is fresh to guarantee that perfect rise. Old baking soda can lead to dense bars, and nobody wants that!
With these tips in your back pocket, you’ll be well on your way to creating the most scrumptious red velvet bars ever. Happy baking!
Storage & Reheating Instructions
Once you’ve baked up these delightful red velvet bars, you’ll want to make sure they stay fresh and tasty! To store them, simply place the bars in an airtight container. They’ll keep well at room temperature for about a week—if they last that long, of course! If you want to keep them even longer, you can pop them in the fridge, where they’ll stay good for up to 10 days.
If you find yourself with leftovers (or if you just want to enjoy them again later), you can easily reheat them. Just microwave a bar for about 15-20 seconds to warm it up—this will bring back that soft, gooey texture. Or, if you prefer, you can warm them in the oven at 350°F (175°C) for about 5-10 minutes. Just keep an eye on them so they don’t overbake!
Whichever method you choose, you’re in for a treat! Enjoy every bite of these delicious red velvet bars, whether they’re fresh from the oven or reheated to perfection.
Nutritional Information
Now, let’s talk about the nutritional goodness of these red velvet bars! Keep in mind that the nutrition values can vary based on the specific brands and ingredients you use, so these numbers are just a general guideline. Here’s what you can expect per serving:
- Calories: 150
- Fat: 7g
- Saturated Fat: 5g
- Unsaturated Fat: 2g
- Trans Fat: 0g
- Carbohydrates: 20g
- Fiber: 3g
- Sugar: 10g
- Protein: 3g
- Sodium: 150mg
- Cholesterol: 0mg
These bars are a delightful treat that balances flavor and nutrition beautifully. Enjoy them guilt-free, knowing you’re indulging in something that’s both delicious and wholesome! Just remember, if you’re tracking your intake closely, adjust based on the specific ingredients you choose. Happy baking and snacking!
FAQ Section
Can I substitute almond flour for another flour?
Absolutely! If you’re not a fan of almond flour or have nut allergies, you can use a gluten-free all-purpose flour blend instead. Just keep in mind that the texture might vary a bit, but they should still turn out delicious!
What can I use instead of red food coloring?
If you’d like to skip the food coloring, you can use beet juice or powdered beetroot for a natural alternative! It will give you that lovely red hue without any artificial ingredients.
How do I know when my bars are done baking?
Great question! You’ll want to check them around the 25-minute mark. Insert a toothpick into the center, and if it comes out clean or with just a few crumbs, they’re ready to come out of the oven. Trust your instincts; they should be firm around the edges but still a tad soft in the center!
Can I freeze the red velvet bars?
Yes, you can! Just make sure to wrap them tightly in plastic wrap or store them in an airtight container. They’ll keep well in the freezer for up to 2 months. When you’re ready to enjoy them, let them thaw in the fridge overnight or pop them in the microwave for a quick warm-up!
Can I add mix-ins to the batter?
Definitely! Feel free to get creative! Chopped nuts, vegan chocolate chips, or even a swirl of your favorite nut butter can elevate these bars to the next level. Just be mindful of the quantity so the batter stays nice and thick!
Red Velvet Bars Vegan Gluten Free: 5 Irresistible Tips
- Prep Time: 15 minutes
- Cook Time: 30 minutes
- Total Time: 45 minutes
- Yield: 12 bars 1x
- Category: Dessert
- Method: Baking
- Cuisine: American
- Diet: Vegan
Description
Delicious red velvet bars that are both vegan and gluten free.
Ingredients
- 1 cup almond flour
- 1/2 cup cocoa powder
- 1/2 cup maple syrup
- 1/3 cup coconut oil, melted
- 1 teaspoon vanilla extract
- 1 teaspoon baking soda
- 1/2 teaspoon salt
- 1 tablespoon apple cider vinegar
- 1 tablespoon red food coloring (vegan)
Instructions
- Preheat your oven to 350°F (175°C).
- In a large bowl, mix almond flour, cocoa powder, baking soda, and salt.
- In another bowl, whisk together maple syrup, coconut oil, vanilla extract, apple cider vinegar, and red food coloring.
- Combine the wet and dry ingredients.
- Pour the batter into a greased baking dish.
- Bake for 25-30 minutes.
- Let cool before slicing into bars.
Notes
- Store in an airtight container for up to a week.
- Can be topped with vegan cream cheese frosting.
- Adjust sweetness to your preference.
Nutrition
- Serving Size: 1 bar
- Calories: 150
- Sugar: 10g
- Sodium: 150mg
- Fat: 7g
- Saturated Fat: 5g
- Unsaturated Fat: 2g
- Trans Fat: 0g
- Carbohydrates: 20g
- Fiber: 3g
- Protein: 3g
- Cholesterol: 0mg
Keywords: red velvet bars, vegan, gluten free, dessert