
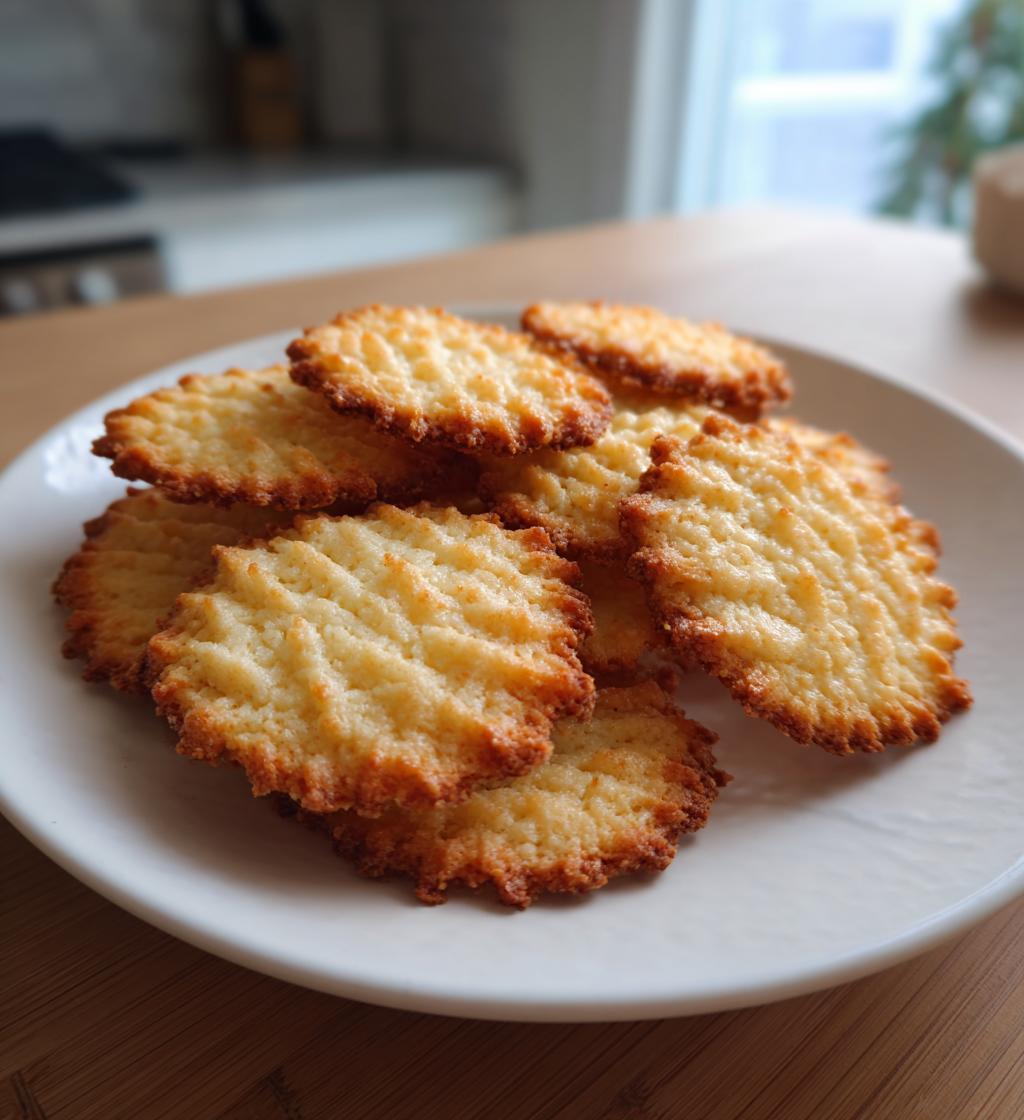
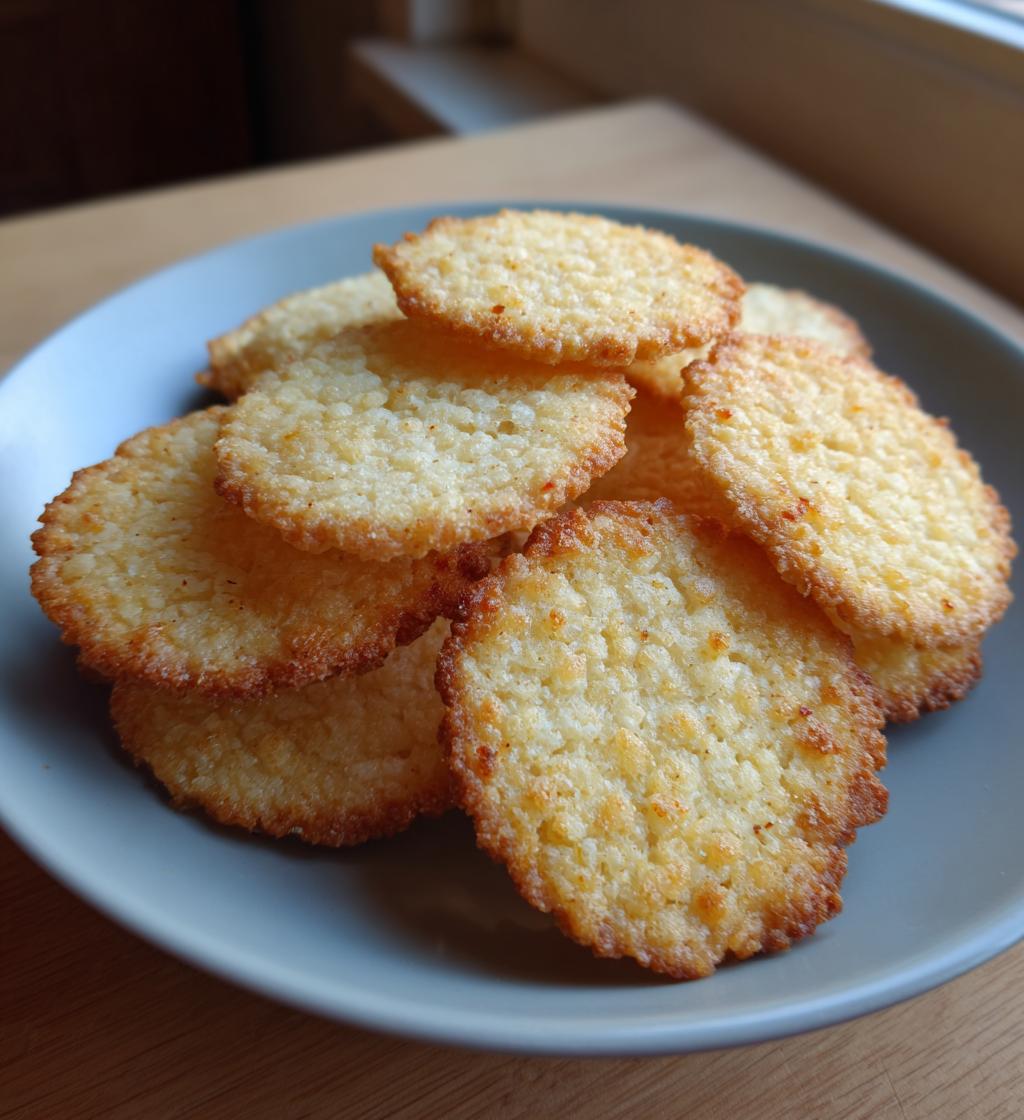
Oh my goodness, let me tell you about the joy of making these vegan vanilla wafers! Every time I whip up a batch, it feels like I’m taking a trip down memory lane. I remember enjoying those classic vanilla cookies as a kid, and now I get to recreate that experience in a way that fits my lifestyle. These wafers are so light and crispy, perfect for snacking or dunking into a warm cup of tea. Plus, they come together in no time at all, which is a huge win in my book! The smell of vanilla wafting through the kitchen is just heavenly. So, if you’re ready to bring some deliciousness into your life, let’s dive into this easy recipe that’ll have you reaching for more in no time!
Ingredients
- 1 cup all-purpose flour
- 1/2 cup granulated sugar
- 1/4 cup melted coconut oil
- 1/4 cup almond milk
- 1 teaspoon pure vanilla extract
- 1/2 teaspoon baking powder
- 1/4 teaspoon salt
How to Prepare Vegan Vanilla Wafers
Step-by-Step Instructions
Alright, let’s get those vegan vanilla wafers baking! First things first, preheat your oven to 350°F (175°C). This is super important because it ensures that your wafers bake evenly and get that perfect golden color.
While the oven is heating up, grab a large mixing bowl and combine 1 cup of all-purpose flour, 1/2 cup of granulated sugar, 1/2 teaspoon of baking powder, and 1/4 teaspoon of salt. Give it a good stir to make sure everything is well mixed. Wow, the smell of the sugar and flour together is just delightful!
Next, it’s time to add in the wet ingredients. Pour in 1/4 cup of melted coconut oil, 1/4 cup of almond milk, and 1 teaspoon of pure vanilla extract. Now, mix everything together until you get a smooth batter. Don’t worry if it feels a bit thick; that’s just how it should be!
Now, take a baking sheet and line it with parchment paper—this will help the wafers not stick. Using a spoon, drop spoonfuls of your batter onto the sheet, leaving some space between each one since they’ll spread a little while baking.
Pop those beauties into the oven for about 10-12 minutes. Keep an eye on them; you want the edges to turn just golden. Once they’re done, take them out and let them cool on the baking sheet for a few minutes before transferring them to a wire rack. And there you have it—delicious, light, and crispy vegan vanilla wafers ready to enjoy!
Why You’ll Love This Recipe
- Quick and easy to prepare—these wafers come together in just 27 minutes!
- Light and crispy texture that’s perfect for snacking or pairing with your favorite desserts.
- Made with simple, wholesome ingredients, so you know exactly what you’re eating.
- Versatile enough to enjoy on their own or as a delightful addition to banana pudding or ice cream.
- Totally customizable! You can easily switch up flavors by adding your favorite extracts or spices.
- Vegan-friendly, so everyone can indulge without worry.
- Perfect for sharing at gatherings or keeping on hand for when those snack cravings hit!
Tips for Success
To make sure your vegan vanilla wafers turn out perfectly every time, here are some tried-and-true tips! First, be sure to measure your flour correctly—spoon it into the measuring cup and level it off with a knife. Too much flour can make the wafers dense, and nobody wants that!
If you’re out of coconut oil, you can substitute it with vegan butter or even applesauce for a lighter version. Just remember, applesauce will add a hint of sweetness, so adjust your sugar accordingly!
Also, keep an eye on the baking time. Ovens can vary, so check your wafers a minute or two early. You want those edges just golden, not dark brown. Lastly, don’t skip the cooling process; letting them cool on a wire rack helps retain that delightful crispiness. With these tips, you’ll be enjoying perfect wafers in no time!
Variations of Vegan Vanilla Wafers
Oh, the fun you can have with these vegan vanilla wafers! If you’re feeling adventurous, why not switch up the flavor? For a nutty twist, try adding a teaspoon of almond extract instead of vanilla. It’s such a delightful change! You can also sprinkle in some cinnamon or nutmeg for a warm, spicy kick that’s perfect for cozy evenings.
Feeling zesty? A little lemon or orange zest can really brighten things up! And if you want to make them chocolatey, simply fold in some cocoa powder for a rich treat. Plus, you can even mix in some chopped nuts or dairy-free chocolate chips for extra texture. There are so many possibilities—get creative and make these wafers your own! Trust me, each variation is a new adventure waiting to happen!
Storage & Reheating Instructions
To keep your vegan vanilla wafers fresh and crispy, store them in an airtight container at room temperature. They’ll stay tasty for about a week—if they last that long! If you want to keep them longer, you can pop them in the freezer. Just make sure to layer them between parchment paper in a freezer-safe bag to prevent sticking.
When you’re ready to enjoy them again, simply let them thaw at room temperature for a bit. If you’d like to refresh their crispiness, just pop them in a preheated oven at 300°F (150°C) for about 5 minutes. They’ll taste just as delightful as when they were freshly baked!
Nutritional Information
Just a quick note before we dive into the numbers: nutritional values can vary based on the specific ingredients and brands you use, so keep that in mind! That said, here’s a typical breakdown for two of these delightful vegan vanilla wafers:
- Calories: 120
- Fat: 5g
- Saturated Fat: 4g
- Unsaturated Fat: 1g
- Trans Fat: 0g
- Cholesterol: 0mg
- Sodium: 50mg
- Carbohydrates: 18g
- Fiber: 1g
- Sugar: 6g
- Protein: 1g
These numbers make it pretty easy to enjoy these wafers without any guilt, right? Happy snacking!
FAQ Section
Got questions about these vegan vanilla wafers? I’ve got answers! Here are some of the most common queries I get:
How should I store my vegan vanilla wafers?
To keep them fresh, just pop them in an airtight container at room temperature. If you want them to last longer, you can freeze them. Just make sure to layer them with parchment paper to prevent sticking!
Can I substitute coconut oil?
Absolutely! You can use vegan butter or even applesauce if you want a lighter version. Just keep in mind that applesauce will add a touch of sweetness, so you might want to adjust the sugar a bit.
What’s the best way to serve these wafers?
Oh, they’re so versatile! You can enjoy them plain as a snack, or use them in desserts like banana pudding. They also make a delightful topping for ice cream. Yum!
Can I make these wafers gluten-free?
Yes! If you want to go gluten-free, simply substitute the all-purpose flour with a gluten-free flour blend. Just be sure to check for any additional binding agents if needed!
How long do they stay fresh?
These wafers are best enjoyed within a week when stored properly. But trust me, they probably won’t last that long—they’re too delicious!

Vegan Vanilla Wafers: 7 Irresistible Tips for Perfection
- Prep Time: 15 minutes
- Cook Time: 12 minutes
- Total Time: 27 minutes
- Yield: 24 wafers 1x
- Category: Snacks
- Method: Baking
- Cuisine: Vegan
- Diet: Vegan
Description
These vegan vanilla wafers are light and crispy, perfect for snacking or pairing with desserts.
Ingredients
- 1 cup all-purpose flour
- 1/2 cup sugar
- 1/4 cup coconut oil, melted
- 1/4 cup almond milk
- 1 teaspoon vanilla extract
- 1/2 teaspoon baking powder
- 1/4 teaspoon salt
Instructions
- Preheat your oven to 350°F (175°C).
- In a bowl, mix flour, sugar, baking powder, and salt.
- Add melted coconut oil, almond milk, and vanilla extract. Mix until smooth.
- Drop spoonfuls of batter onto a baking sheet lined with parchment paper.
- Bake for 10-12 minutes until edges are golden.
- Let cool before serving.
Notes
- Store in an airtight container.
- These wafers can be used in desserts like banana pudding.
- Experiment with flavors by adding almond or lemon extract.
Nutrition
- Serving Size: 2 wafers
- Calories: 120
- Sugar: 6g
- Sodium: 50mg
- Fat: 5g
- Saturated Fat: 4g
- Unsaturated Fat: 1g
- Trans Fat: 0g
- Carbohydrates: 18g
- Fiber: 1g
- Protein: 1g
- Cholesterol: 0mg
Keywords: vegan vanilla wafers