
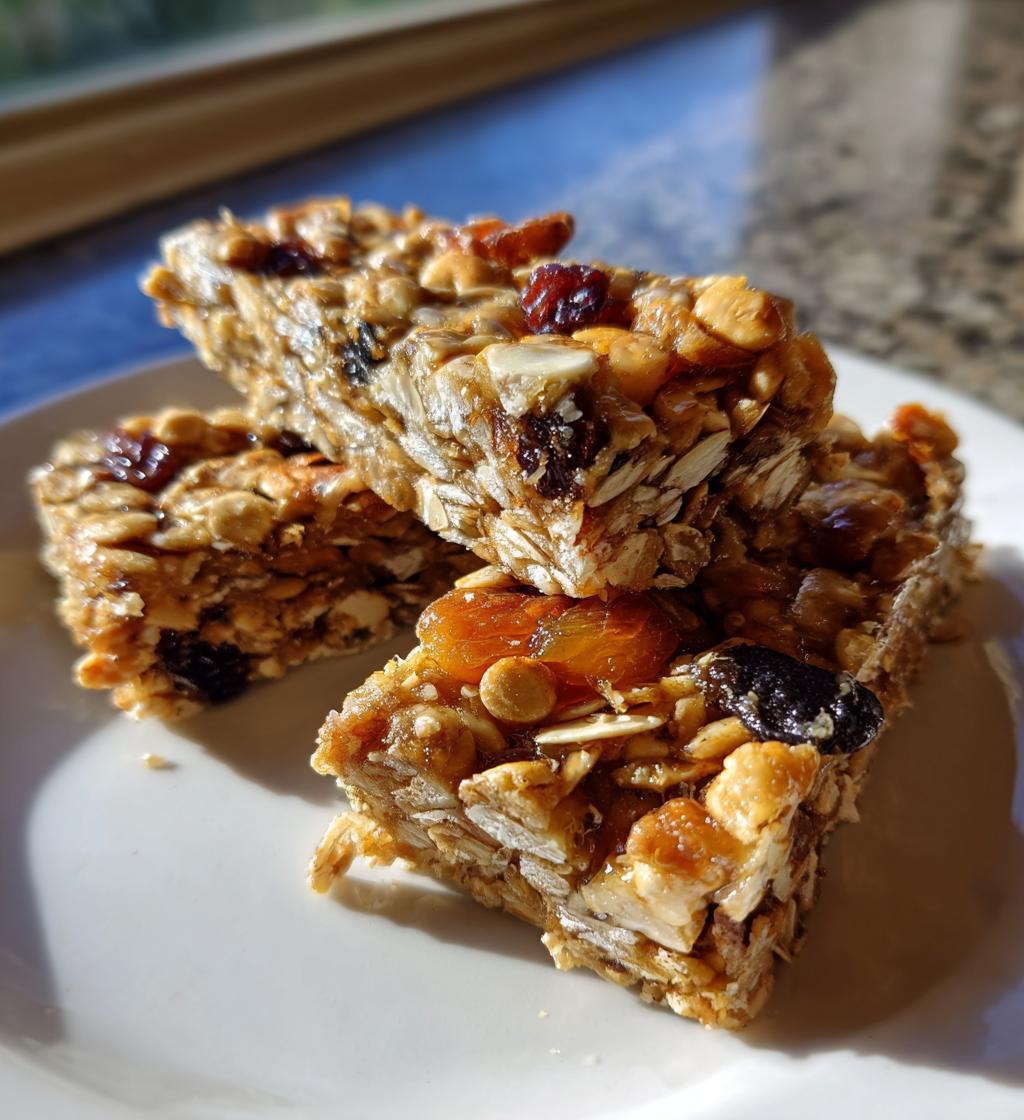
Oh my goodness, let me tell you about the joy of making homemade granola bars! They’re an absolute lifesaver for busy days and a deliciously healthy snack option. I mean, who doesn’t love a chewy, nutty treat that’s packed with wholesome ingredients? The best part? You can customize them to fit your taste! I love adding dried fruits and nuts for that extra pop of flavor. Plus, making them at home means you know exactly what’s going into each bar—no mystery ingredients here! Trust me, once you try this easy recipe, you’ll never want to reach for those store-bought bars again. Get ready to fall in love with your new favorite snack!
Ingredients List
Alright, let’s gather all the goodies you’ll need to whip up these fabulous granola bars! The ingredient list is super simple and straightforward, so get ready to make some deliciousness!
- 2 cups rolled oats
- 1/2 cup honey
- 1/2 cup almond butter
- 1/2 cup chopped nuts (I love using almonds or walnuts!)
- 1/2 cup dried fruit (raisins, cranberries, or even chopped apricots work great)
- 1/4 cup seeds (pumpkin or sunflower seeds add a nice crunch)
- 1 teaspoon vanilla extract
- 1/4 teaspoon salt
Feel free to mix and match based on what you love or have on hand! That’s the beauty of homemade granola bars—you can really make them your own!
How to Prepare Instructions
Now that we’ve got our ingredients ready, let’s dive into making these scrumptious granola bars! Follow these steps, and you’ll have a batch of deliciousness in no time!
Preheat the Oven
First things first, we need to preheat the oven to 350°F (175°C). This step is crucial because it ensures that your granola bars bake evenly and achieve that lovely golden-brown color. Trust me, this little step makes a big difference!
Mix Dry Ingredients
In a large mixing bowl, toss together the rolled oats, chopped nuts, dried fruit, and seeds. Give it a good stir to make sure everything is combined evenly. You want those oats to be well-coated in all the yummy bits! I love using my hands for this part—it really helps to break up any clumps and ensures every bite has a bit of everything!
Heat Wet Ingredients
Next, grab a saucepan and put it on low heat. Add the honey and almond butter, and stir until they’re melted and well combined. This should only take a couple of minutes, but keep an eye on it! You want a smooth, pourable consistency. If it feels too thick, don’t hesitate to add a splash of water to loosen it up!
Combine Ingredients
Once your wet mixture is ready, remove it from heat and stir in the vanilla extract and salt. Then, pour this gooey goodness over your dry ingredients. Now, mix, mix, mix! You want to ensure that every last oat and nut is coated with the almond butter and honey mixture. It might take a bit of elbow grease, but it’s so worth it!
Bake the Mixture
Now, it’s time to press this mixture into a lined baking dish. Use a spatula or your hands to flatten it down evenly—don’t be shy! The more compact it is, the better your bars will hold together. Bake in your preheated oven for about 20 minutes or until the edges are golden brown. You’ll know they’re ready when your kitchen smells heavenly!
Cooling and Cutting
Once they’re out of the oven, let the granola bars cool completely in the pan. This step is super important because if you cut them too soon, they’ll crumble apart! Once they’re cool, lift them out using the edges of the parchment paper and cut them into bars. I usually do this with a sharp knife for clean edges. And voilà—your homemade granola bars are ready to enjoy!
Why You’ll Love This Recipe
- Healthy Snacking: These homemade granola bars are a fantastic way to fuel your day with wholesome ingredients and no hidden sugars or preservatives. You know exactly what’s in them, and that peace of mind is priceless!
- Easy to Make: Seriously, if I can do it, you can too! This recipe requires minimal effort and just a few simple steps. Perfect for those who want a delicious snack without spending hours in the kitchen.
- Customizable: The sky’s the limit when it comes to customizing your granola bars! Swap out nuts, add different dried fruits, or even sprinkle in some chocolate chips if you’re feeling indulgent. Make them uniquely yours!
- Perfect for Meal Prep: I love making a big batch at the start of the week. They’re great for on-the-go breakfasts, snacks for work, or even post-workout fuel. Easy to grab and go!
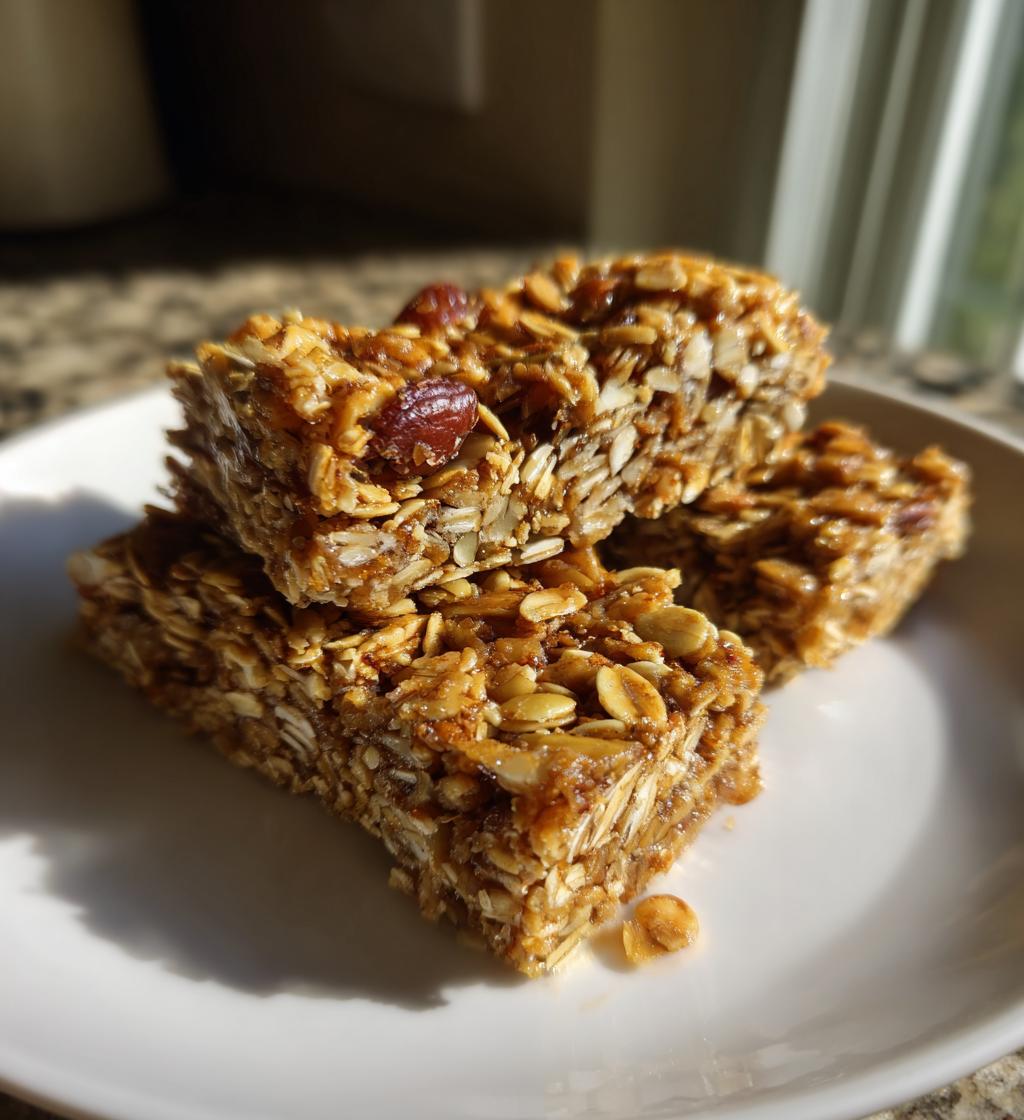
- Tasty and Satisfying: The combination of chewy oats, crunchy nuts, and sweet honey makes these bars absolutely delightful. Each bite is a perfect balance of flavors and textures!
- Kid-Friendly: These granola bars are a hit with kids too! They’ll never know they’re eating something healthy, and you can feel good about giving them a snack that’s nutritious.
Tips for Success
Alright, let’s make sure your granola bars turn out absolutely perfect every time! Here are some of my favorite tips and tricks to help you along the way.
- Don’t Skip the Preheat: Always preheat your oven! This ensures that the bars bake evenly, and you’ll get that delightful golden-brown color. Trust me; it’s worth the wait!
- Pack It In: When pressing the mixture into the baking dish, really pack it down! The denser the mixture, the better your bars will hold together. If they’re too loose, they might crumble apart when you cut them.
- Keep an Eye on Baking Time: Ovens can vary, so check on your bars a couple of minutes before the suggested baking time. You want them golden around the edges but not overdone. They’ll firm up as they cool, so don’t worry if they seem a little soft right out of the oven!
- Let Them Cool: Seriously, patience is key! Letting the bars cool completely in the pan helps them solidify and makes cutting them much easier. If you cut them too soon, you’ll end up with a crumbly mess—not ideal!
- Experiment with Flavors: Don’t be afraid to get creative! Add spices like cinnamon or nutmeg for a warm flavor, or toss in some coconut flakes for a tropical twist. The beauty of homemade granola bars is that you can tailor them to your taste!
- Storage Tips: Store your granola bars in an airtight container to keep them fresh. They can be kept at room temperature for a week, but if you want them to last longer, pop them in the fridge. You can even freeze them for up to three months—just wrap them individually!
And there you go! With these tips, you’ll be a granola bar pro in no time. Enjoy the process, and most importantly, have fun experimenting!
Nutritional Information
Let’s talk nutrition! Here’s the estimated nutritional data for one of these delightful homemade granola bars. Keep in mind that these values can vary based on the specific ingredients you choose, but this will give you a good idea of what you’re munching on!
- Calories: 150
- Fat: 7g
- Protein: 4g
- Carbohydrates: 21g
- Sugar: 8g
- Fiber: 3g
- Sodium: 50mg
So, there you have it! A tasty and wholesome snack that won’t leave you feeling guilty. Enjoy every bite knowing you’re treating your body right!
FAQ Section
Can I use different nut butters?
Absolutely! While I love almond butter, feel free to swap it for peanut butter, cashew butter, or even sunflower seed butter if you want a nut-free option. Each will give your granola bars a slightly different flavor, but they’ll still be delicious!
Can I make these granola bars without honey?
Yes! If you’re looking for a vegan alternative, try using maple syrup or agave nectar instead. Just keep in mind that the sweetness level may vary a bit, so adjust to your taste!
How do I prevent my granola bars from crumbling?
Great question! The key is to really pack the mixture tightly before baking. And remember to let them cool completely in the pan before cutting! If they’re too loose, you might not have pressed them down enough.
Can I add chocolate chips to my granola bars?
Oh, definitely! Chocolate chips can be a delightful addition. Just fold them into the mixture after you’ve combined the wet and dry ingredients. You’ll get that sweet, melty goodness in every bite!
How long do homemade granola bars last?
If stored in an airtight container, they’ll keep well at room temperature for about a week. For longer storage, you can pop them in the fridge or even freeze them for up to three months. Just make sure to wrap them individually if you freeze them!
Granola Bar Recipe: 5 Steps to Delicious Homemade Treats
- Prep Time: 10 minutes
- Cook Time: 20 minutes
- Total Time: 30 minutes
- Yield: 12 bars 1x
- Category: Snack
- Method: Baking
- Cuisine: American
- Diet: Vegetarian
Description
Homemade granola bar recipe that is healthy and easy to make.
Ingredients
- 2 cups rolled oats
- 1/2 cup honey
- 1/2 cup almond butter
- 1/2 cup chopped nuts
- 1/2 cup dried fruit
- 1/4 cup seeds
- 1 teaspoon vanilla extract
- 1/4 teaspoon salt
Instructions
- Preheat the oven to 350°F (175°C).
- In a bowl, mix oats, nuts, dried fruit, and seeds.
- In a saucepan, heat honey and almond butter until melted.
- Add vanilla and salt to the mixture, then pour it over the dry ingredients.
- Stir until everything is well combined.
- Press the mixture into a lined baking dish.
- Bake for 20 minutes or until golden brown.
- Let it cool before cutting into bars.
Notes
- Store bars in an airtight container.
- You can customize with your favorite ingredients.
- Adjust sweetness to your preference.
Nutrition
- Serving Size: 1 bar
- Calories: 150
- Sugar: 8g
- Sodium: 50mg
- Fat: 7g
- Saturated Fat: 1g
- Unsaturated Fat: 6g
- Trans Fat: 0g
- Carbohydrates: 21g
- Fiber: 3g
- Protein: 4g
- Cholesterol: 0mg
Keywords: granola bar, healthy snack, homemade granola